WordCamp US 2020 was canceled, citing online event fatigue. But the organizers of WordCamp Minneapolis / St. Paul did not. Would we just be another notch in the bedpost of 2020 online event fatigue?
To be honest, the organizing team did contemplate canceling WordCamp Minneapolis / St. Paul as the Coronavirus pandemic continued to linger. But everyone agreed that pivoting to a single-day virtual event was a better idea – and we stayed the course.
When we had a real-life venue selected, there was an excellent computer lab available with over twenty computers. Going virtual meant re-thinking the game-plan. With WordCamp US canceled, it looks like WordCamp MSP’s KidsCamp might wind up being the only virtual KidsCamp of 2020.
Since it was uncharted territory, we cut the attendance in half, to 10 available spots. We reserved them for locals only, as our regular in-person conference is truly supposed to highlight pillars of our local community. With 80% local speakers at the conference, I think our organizers nailed it.
Swag
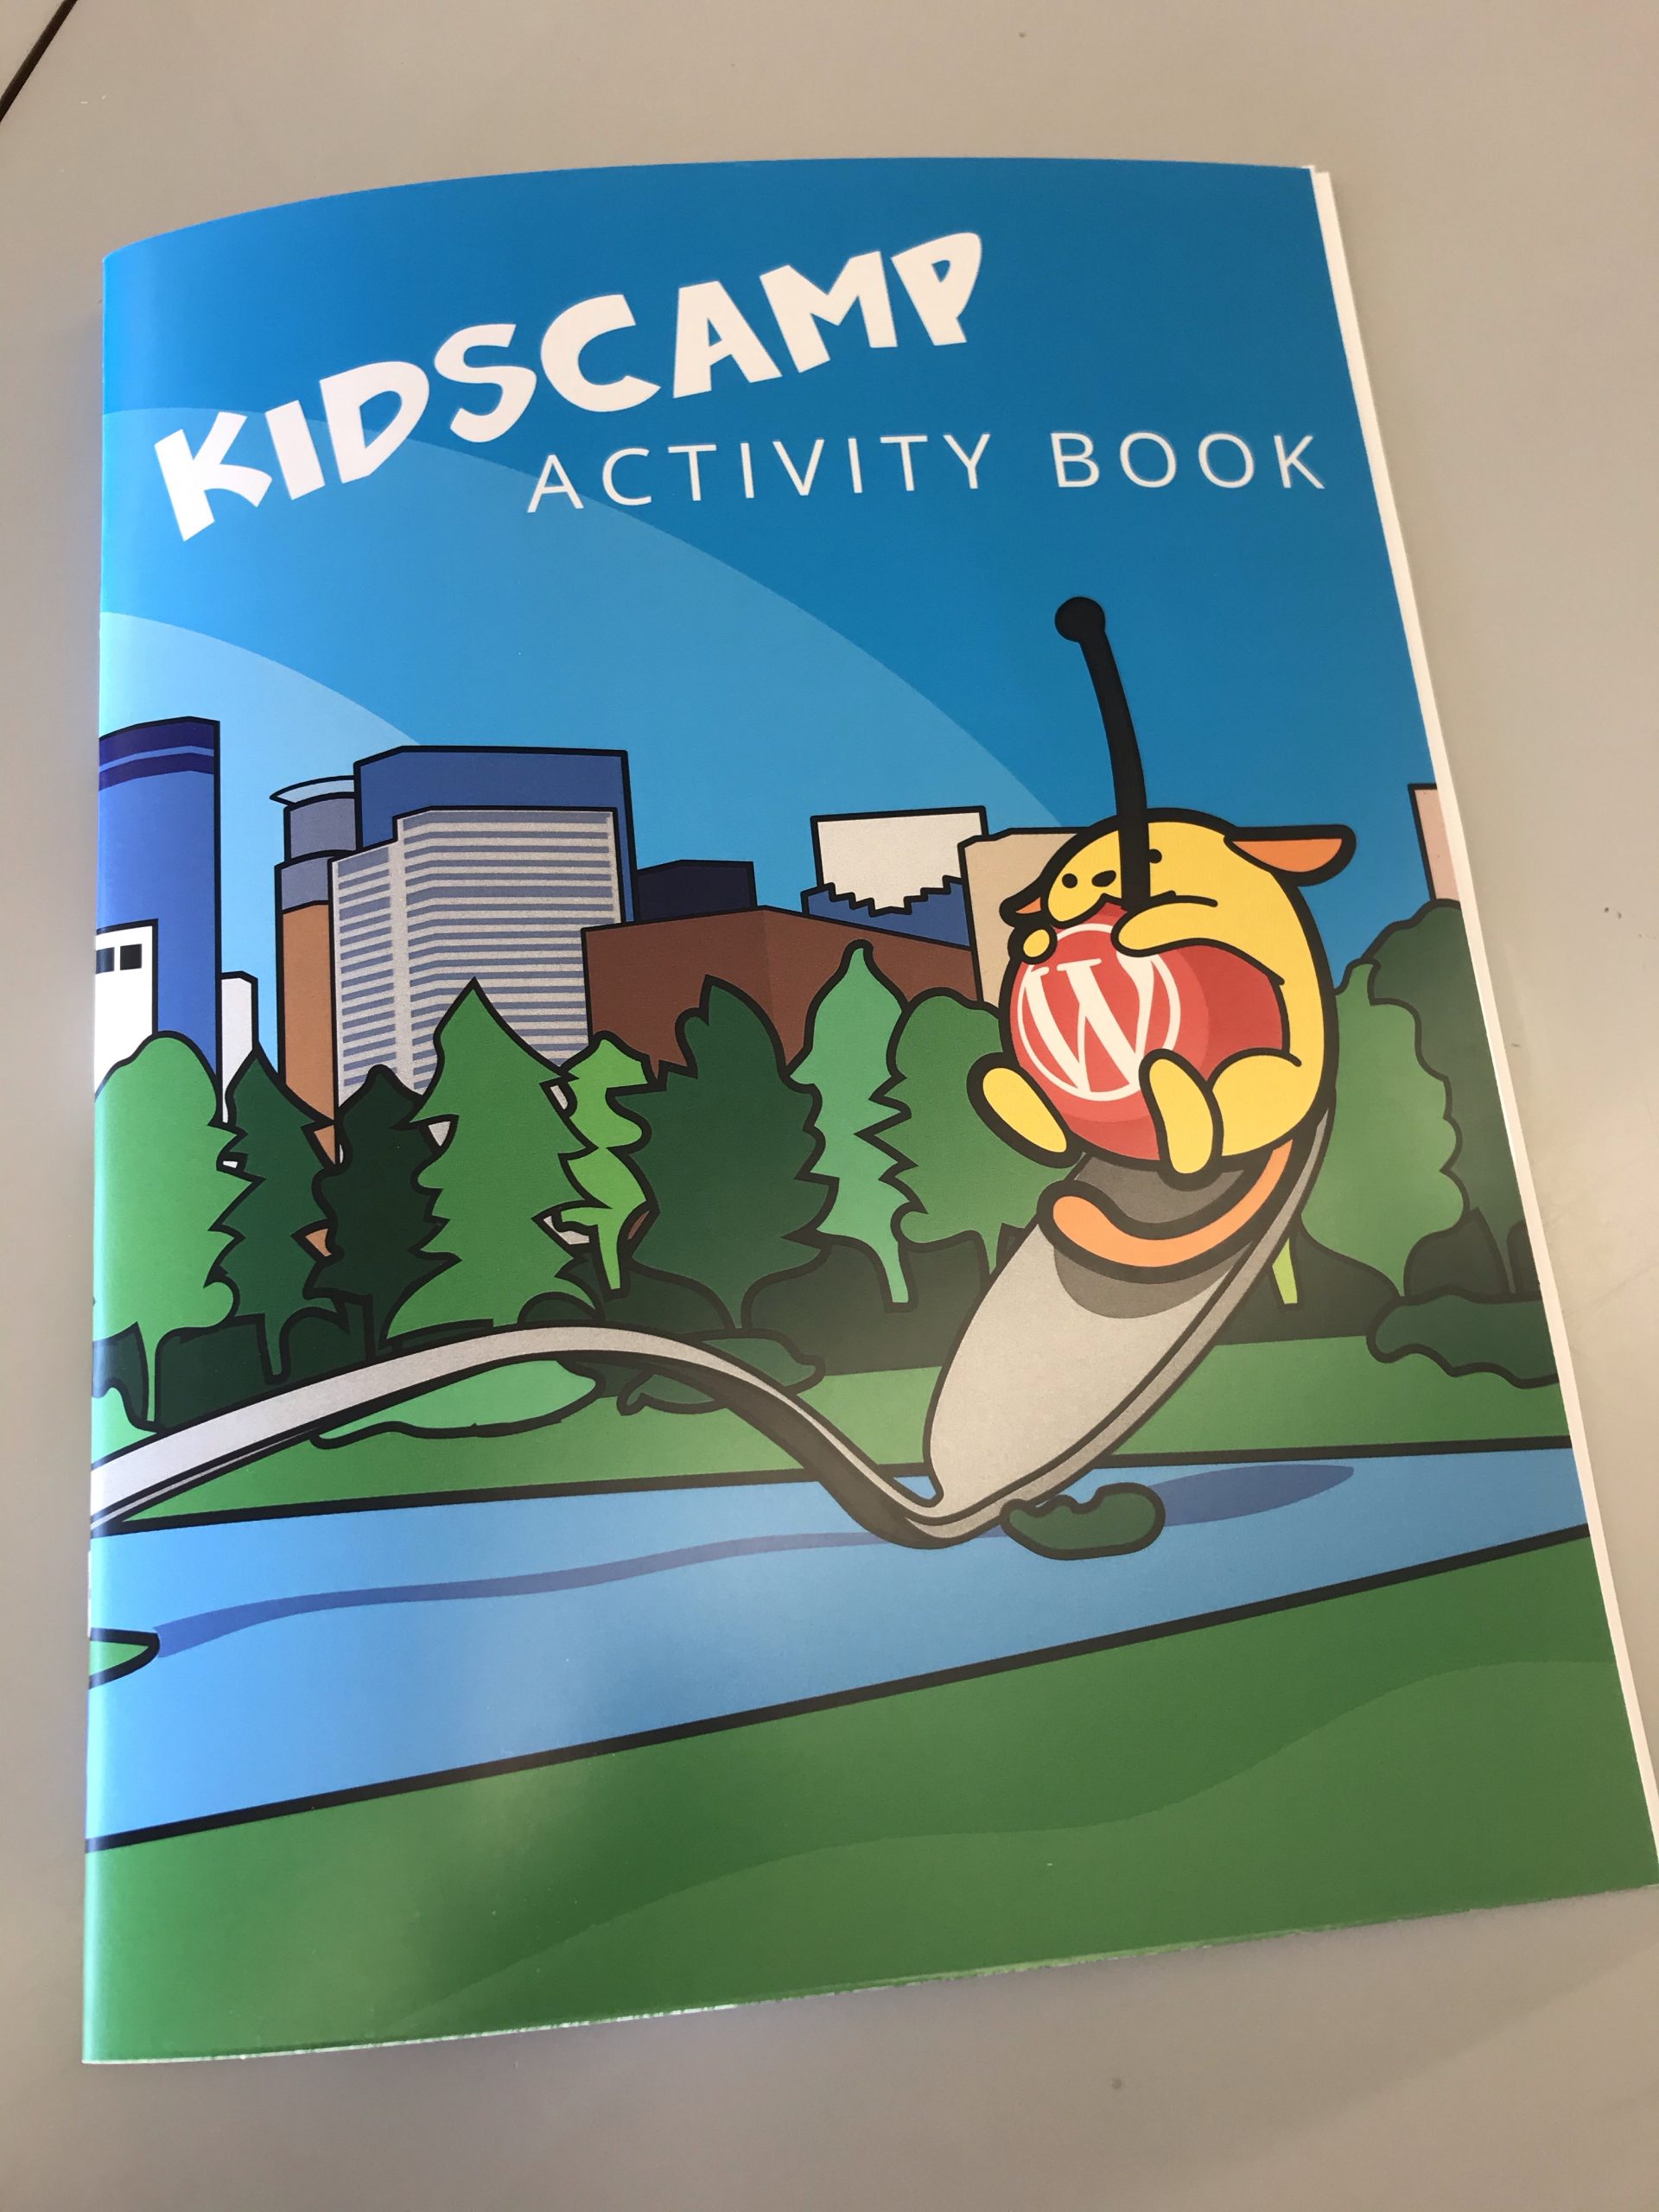
SWAG – Stuff We All Get. Virtual swag? 🤔 That sound silly – kids like real stuff. So we mailed the attendees some stickers and a KidsCamp Activity Book. Michelle from Marktime Media made amazing coloring books as attendee swag for WordCamp Minneapolis 2015. She repurposed that book into an evergreen KidsCamp Activity Book:
Check out the inside pages – including the first page which has a place to write down all of your new hosting and WordPress site details.
Dry-Run
To make sure things would run smoothly, I went through the entire curriculum with my 11 year old son. We did it the same day the rest of the team was doing their streaming dry-run, two days before the live event. I even had my son go to his grandma’s and log in there via Zoom so we could simulate teaching remotely.
What did I learn from that experience? While I can power through a 3-hour zoom call with no issues, kids need to take a break. When my son asked to take a break I realized that I also was hungry, thirsty, or needed to use the restroom. So I added TAKE A BREAK in all-caps to my schedule notes in various places.
The Live Event
The day of the event went off without a hitch. We had 8 registrants and only 6 showed up. A 25% no-show rate is typical for WordCamp, so I didn’t sweat it.
Safety
We talked about online safety – I cited a lot of information from NetSmartzKids – which is what the Cub Scouts Cyber-Chip merit is based on (also it’s a WordPress site 😎).
Brainstorming
We did some self-reflection and brainstorming. We talked about people we follow on YouTube and social media and what we like about them. My son cited DanTDM who plays a variety of games, not just Minecraft. When it came to self-reflection, I was pleasantly surprised that my son listed gaming as one of his interests, not just Fortnite. He wound up setting up a site with the central ideal of helping people with their gaming strategies. I likened it to Chris Lema’s mantra of Be Helpful – it warmed my heart 😍
Other kids chose different central ideas based on their interests: Animals, Music, Gaming – it was good to see a variety from the group.
WP Setup
We went with GoDaddy as our KidsCamp hosting sponsor, and they provided slick managed WordPress sites that didn’t require us to FTP any zip files to get started. This was one of the most important pieces of doing the camp virtually. We literally had zero technical issues to troubleshoot. 💪
One of the first things we did once we were into the WordPress dashboard was to reset our account password (GoDaddy generates a random one). We talked about password security and choosing something long-ish to make it hard to guess. This is my favorite reference for increasing password strength with length.
Then we were off, publishing an about page and our first post. Then customizing our themes to reflect our tastes.
Lessons Learned
Besides taking breaks, doing the event virtually was challenging because I wanted all of the kids to stay in sync. When you’re in a lab, it’s easy to see what screen someone is on and help them move forward.
My approach to doing it virtually was to share my screen and have everyone let me know when they’re on the same screen so we can all move forward together. It was challenging at times because some kids would give a thumbs-up on their camera, some would type “done” in chat, some would confirm aloud, and others wouldn’t respond. I left plenty of breathing room and we managed to stay together.
I’m glad we were able to put this event on, and I’m hoping dearly that we can do KidsCamp again in person at Metro State in 2021 🤞
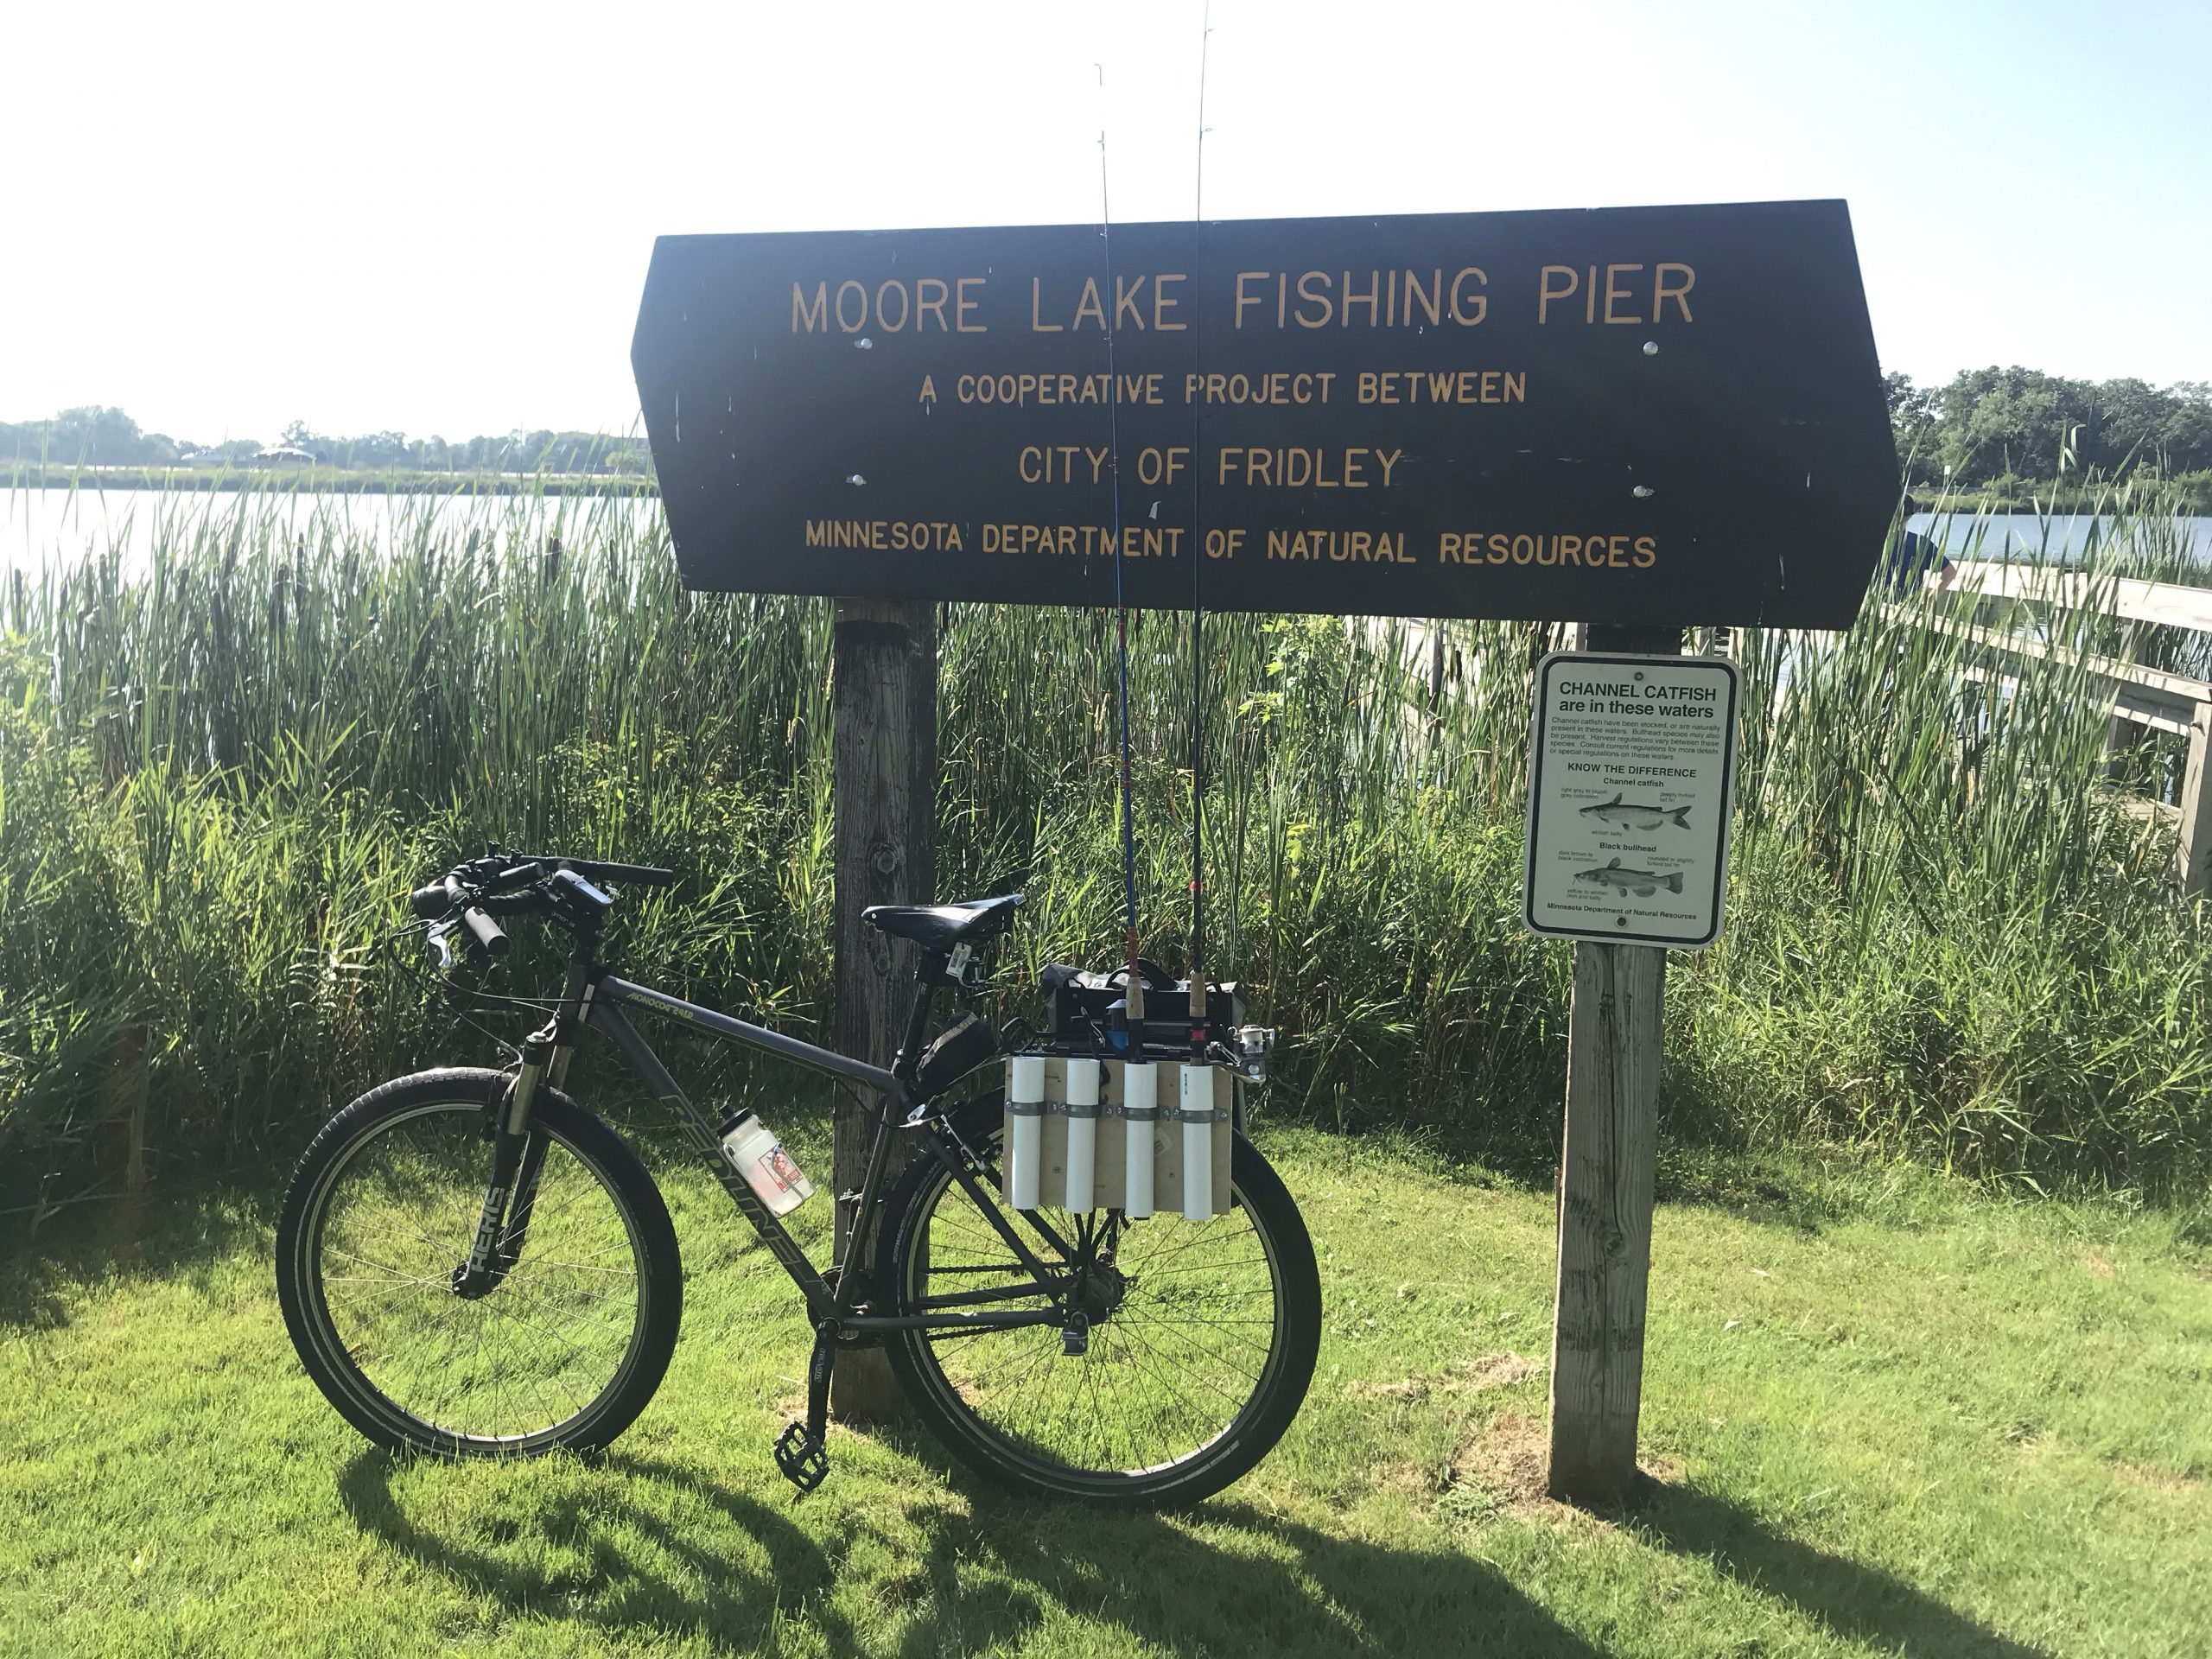
Looking at it made me think that a similar, but more useful application of vertical bike rack storage, would be for fishing rods. Moore Lake is just down the hill from where I live, and it’s stocked with Bluegills and Bass 🎣
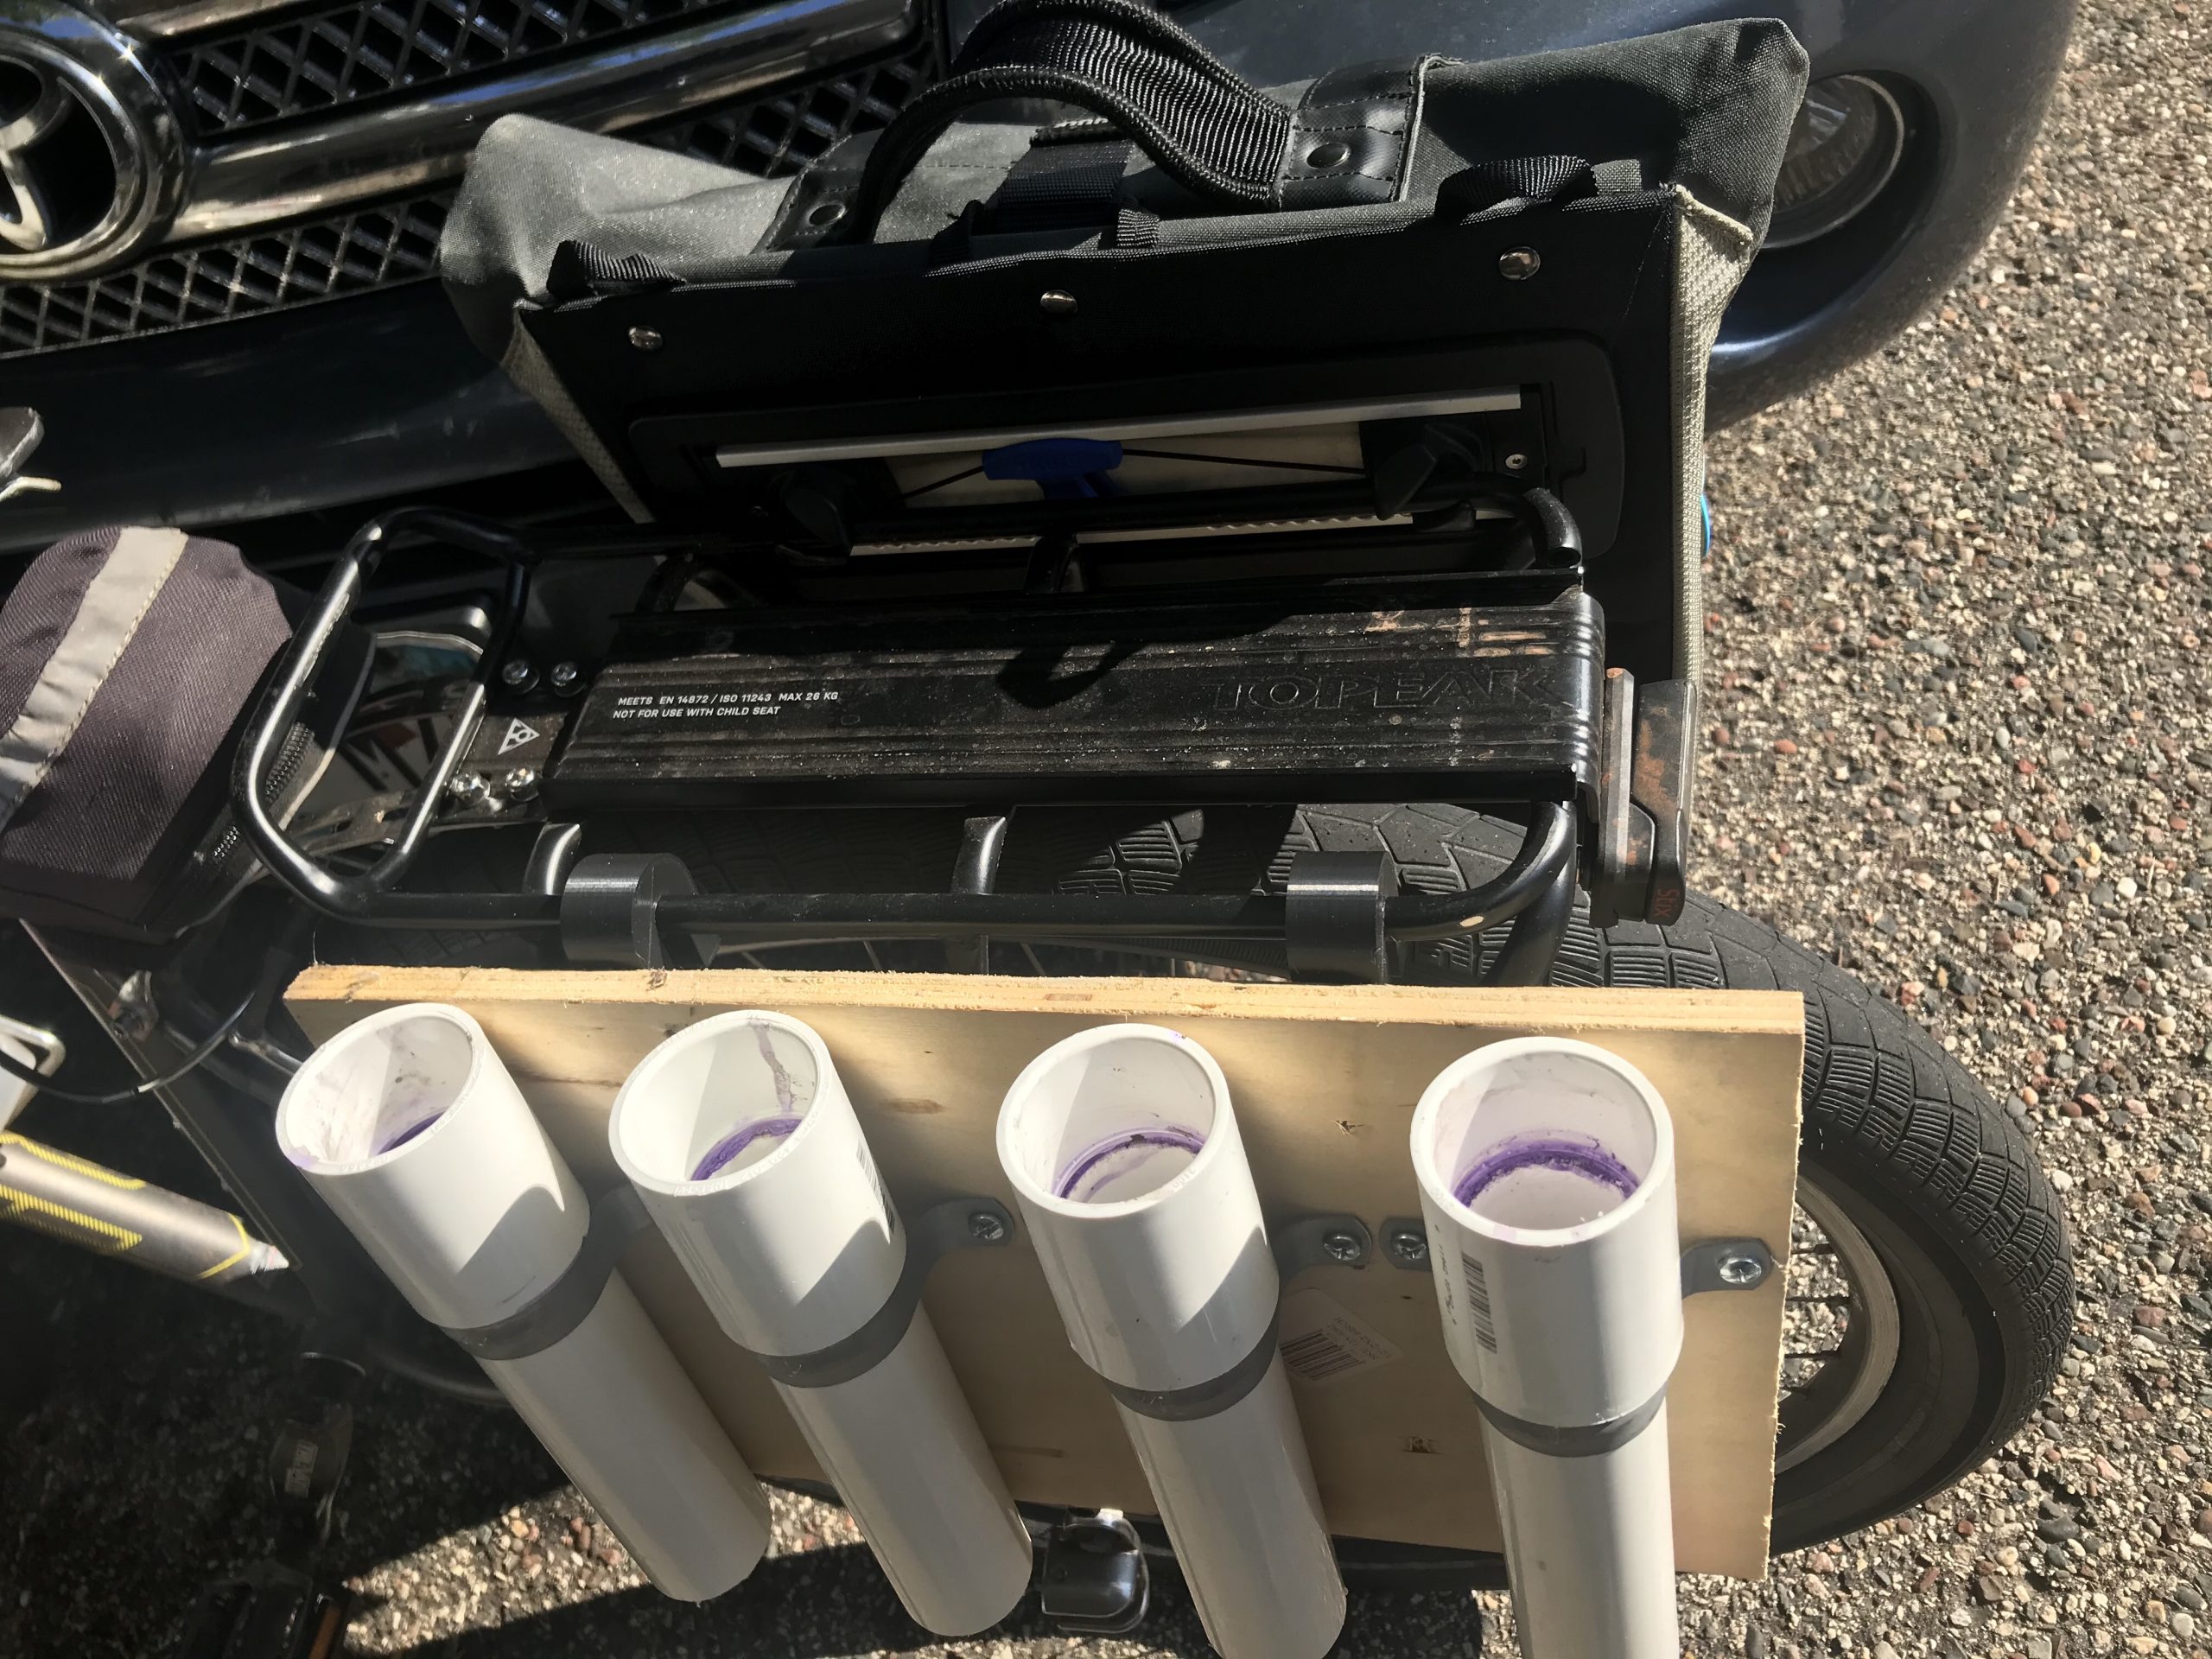
I made this fishing rod holder that attaches to my bike rack for less than $20, mostly from scraps I had in the garage. It holds four rods, but you could adjust it for as many as you’d like, as long as your bike rack setup will accommodate them.
I chose 1-1/4″ PVC because all of our rod handles will fit into that size pipe – you should test fit your thickest fishing rod before you buy.
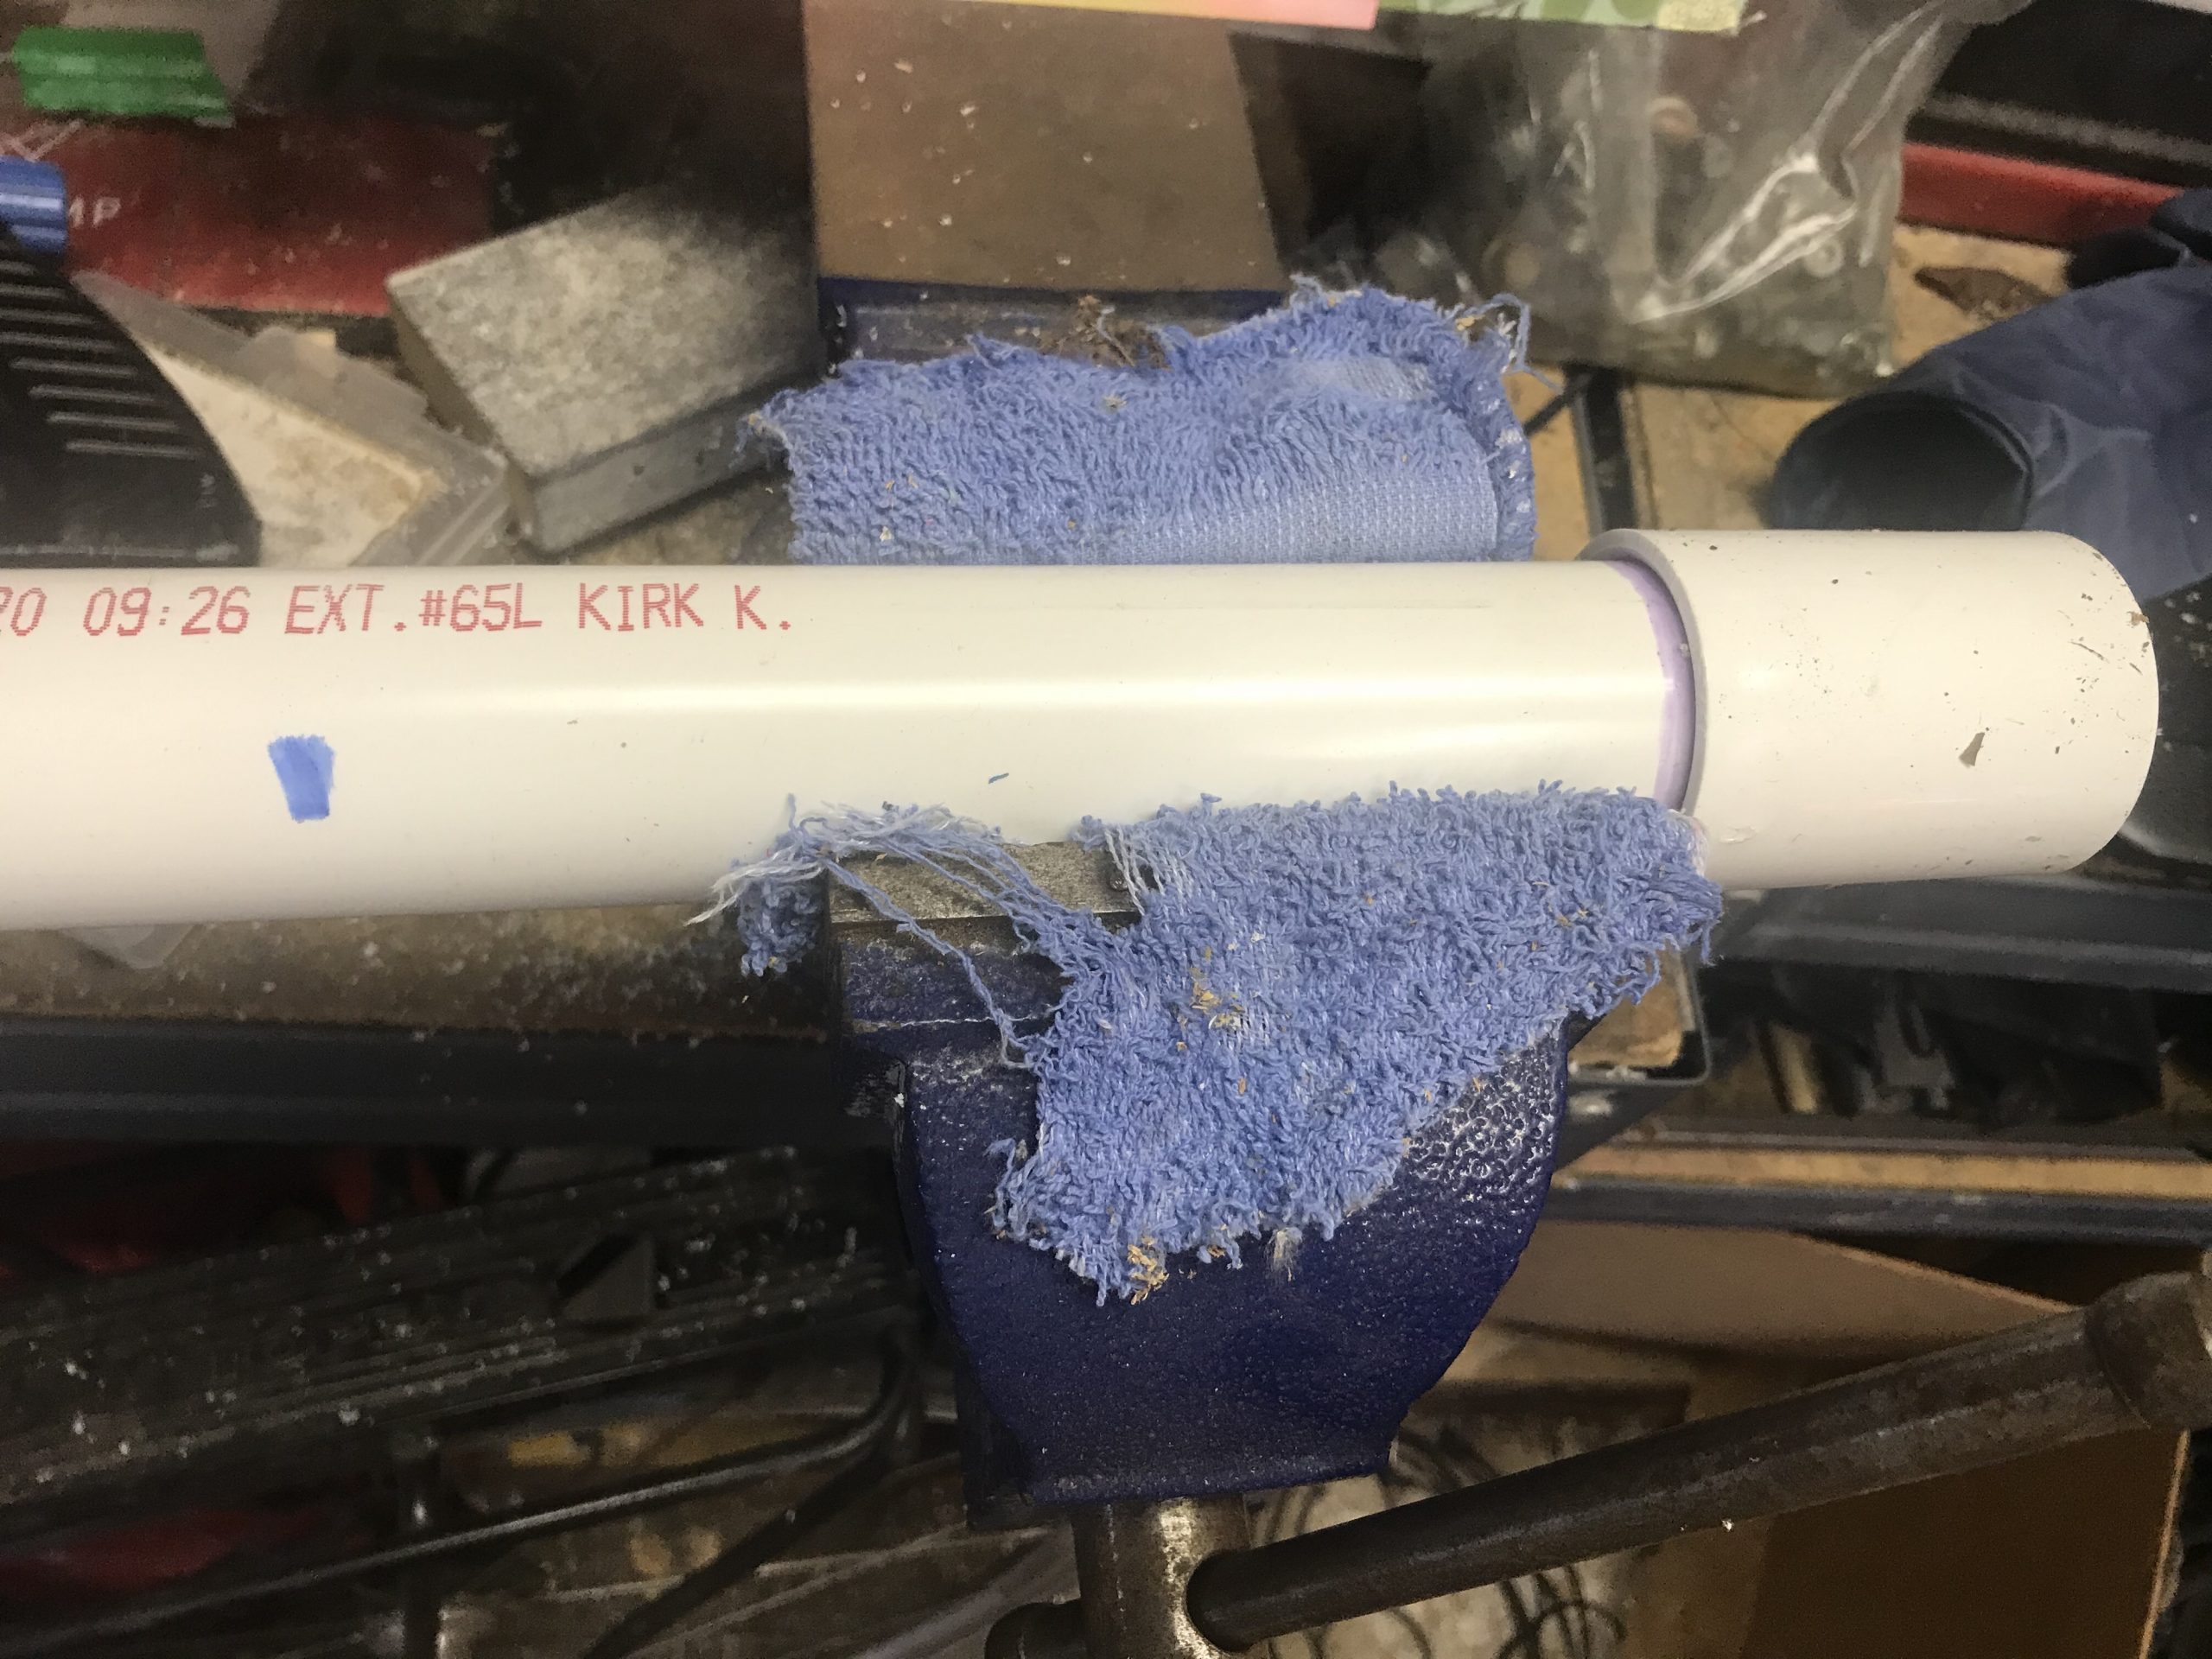
I attached a PVC coupling to the pipe and then cut the pipe (with the coupling attached) using a hacksaw to 9 inches. This was both the size of my scrap wood and the size of the longest rod handle. You should go longer if your handles are longer than 9 inches.
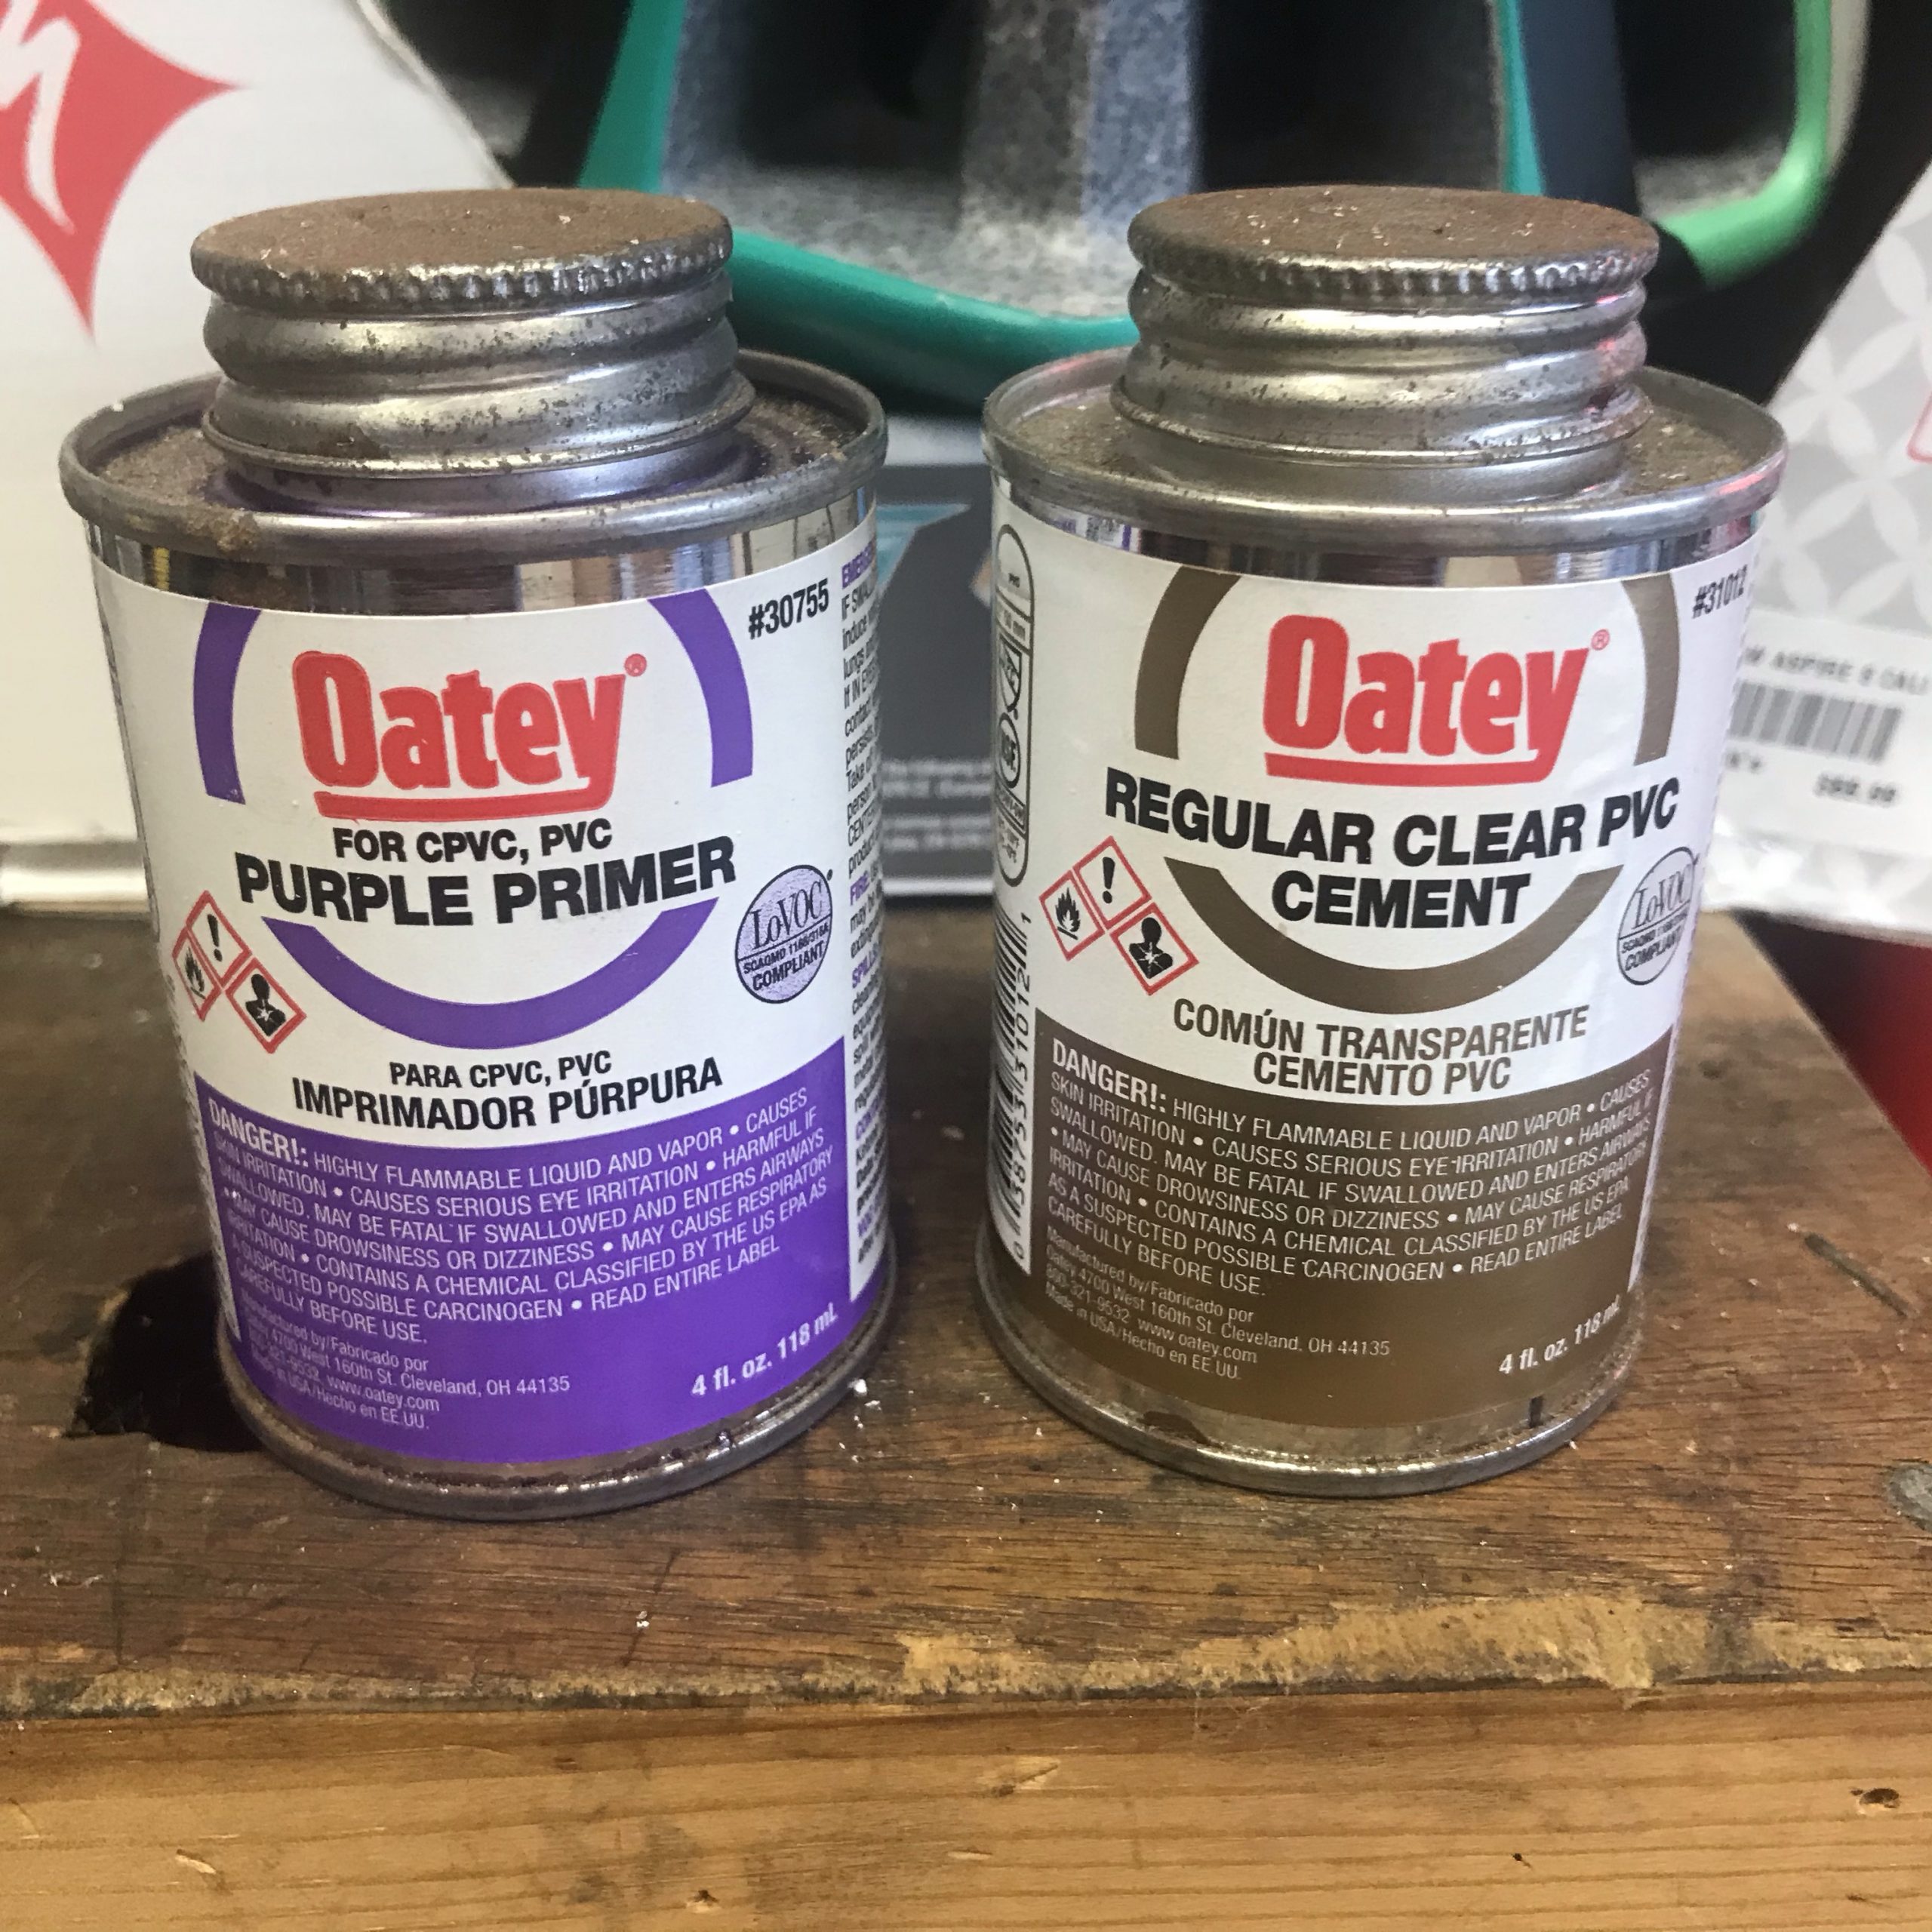
To make a permanent connection, I used PVC primer and cement to bond the couplers to the pipes.
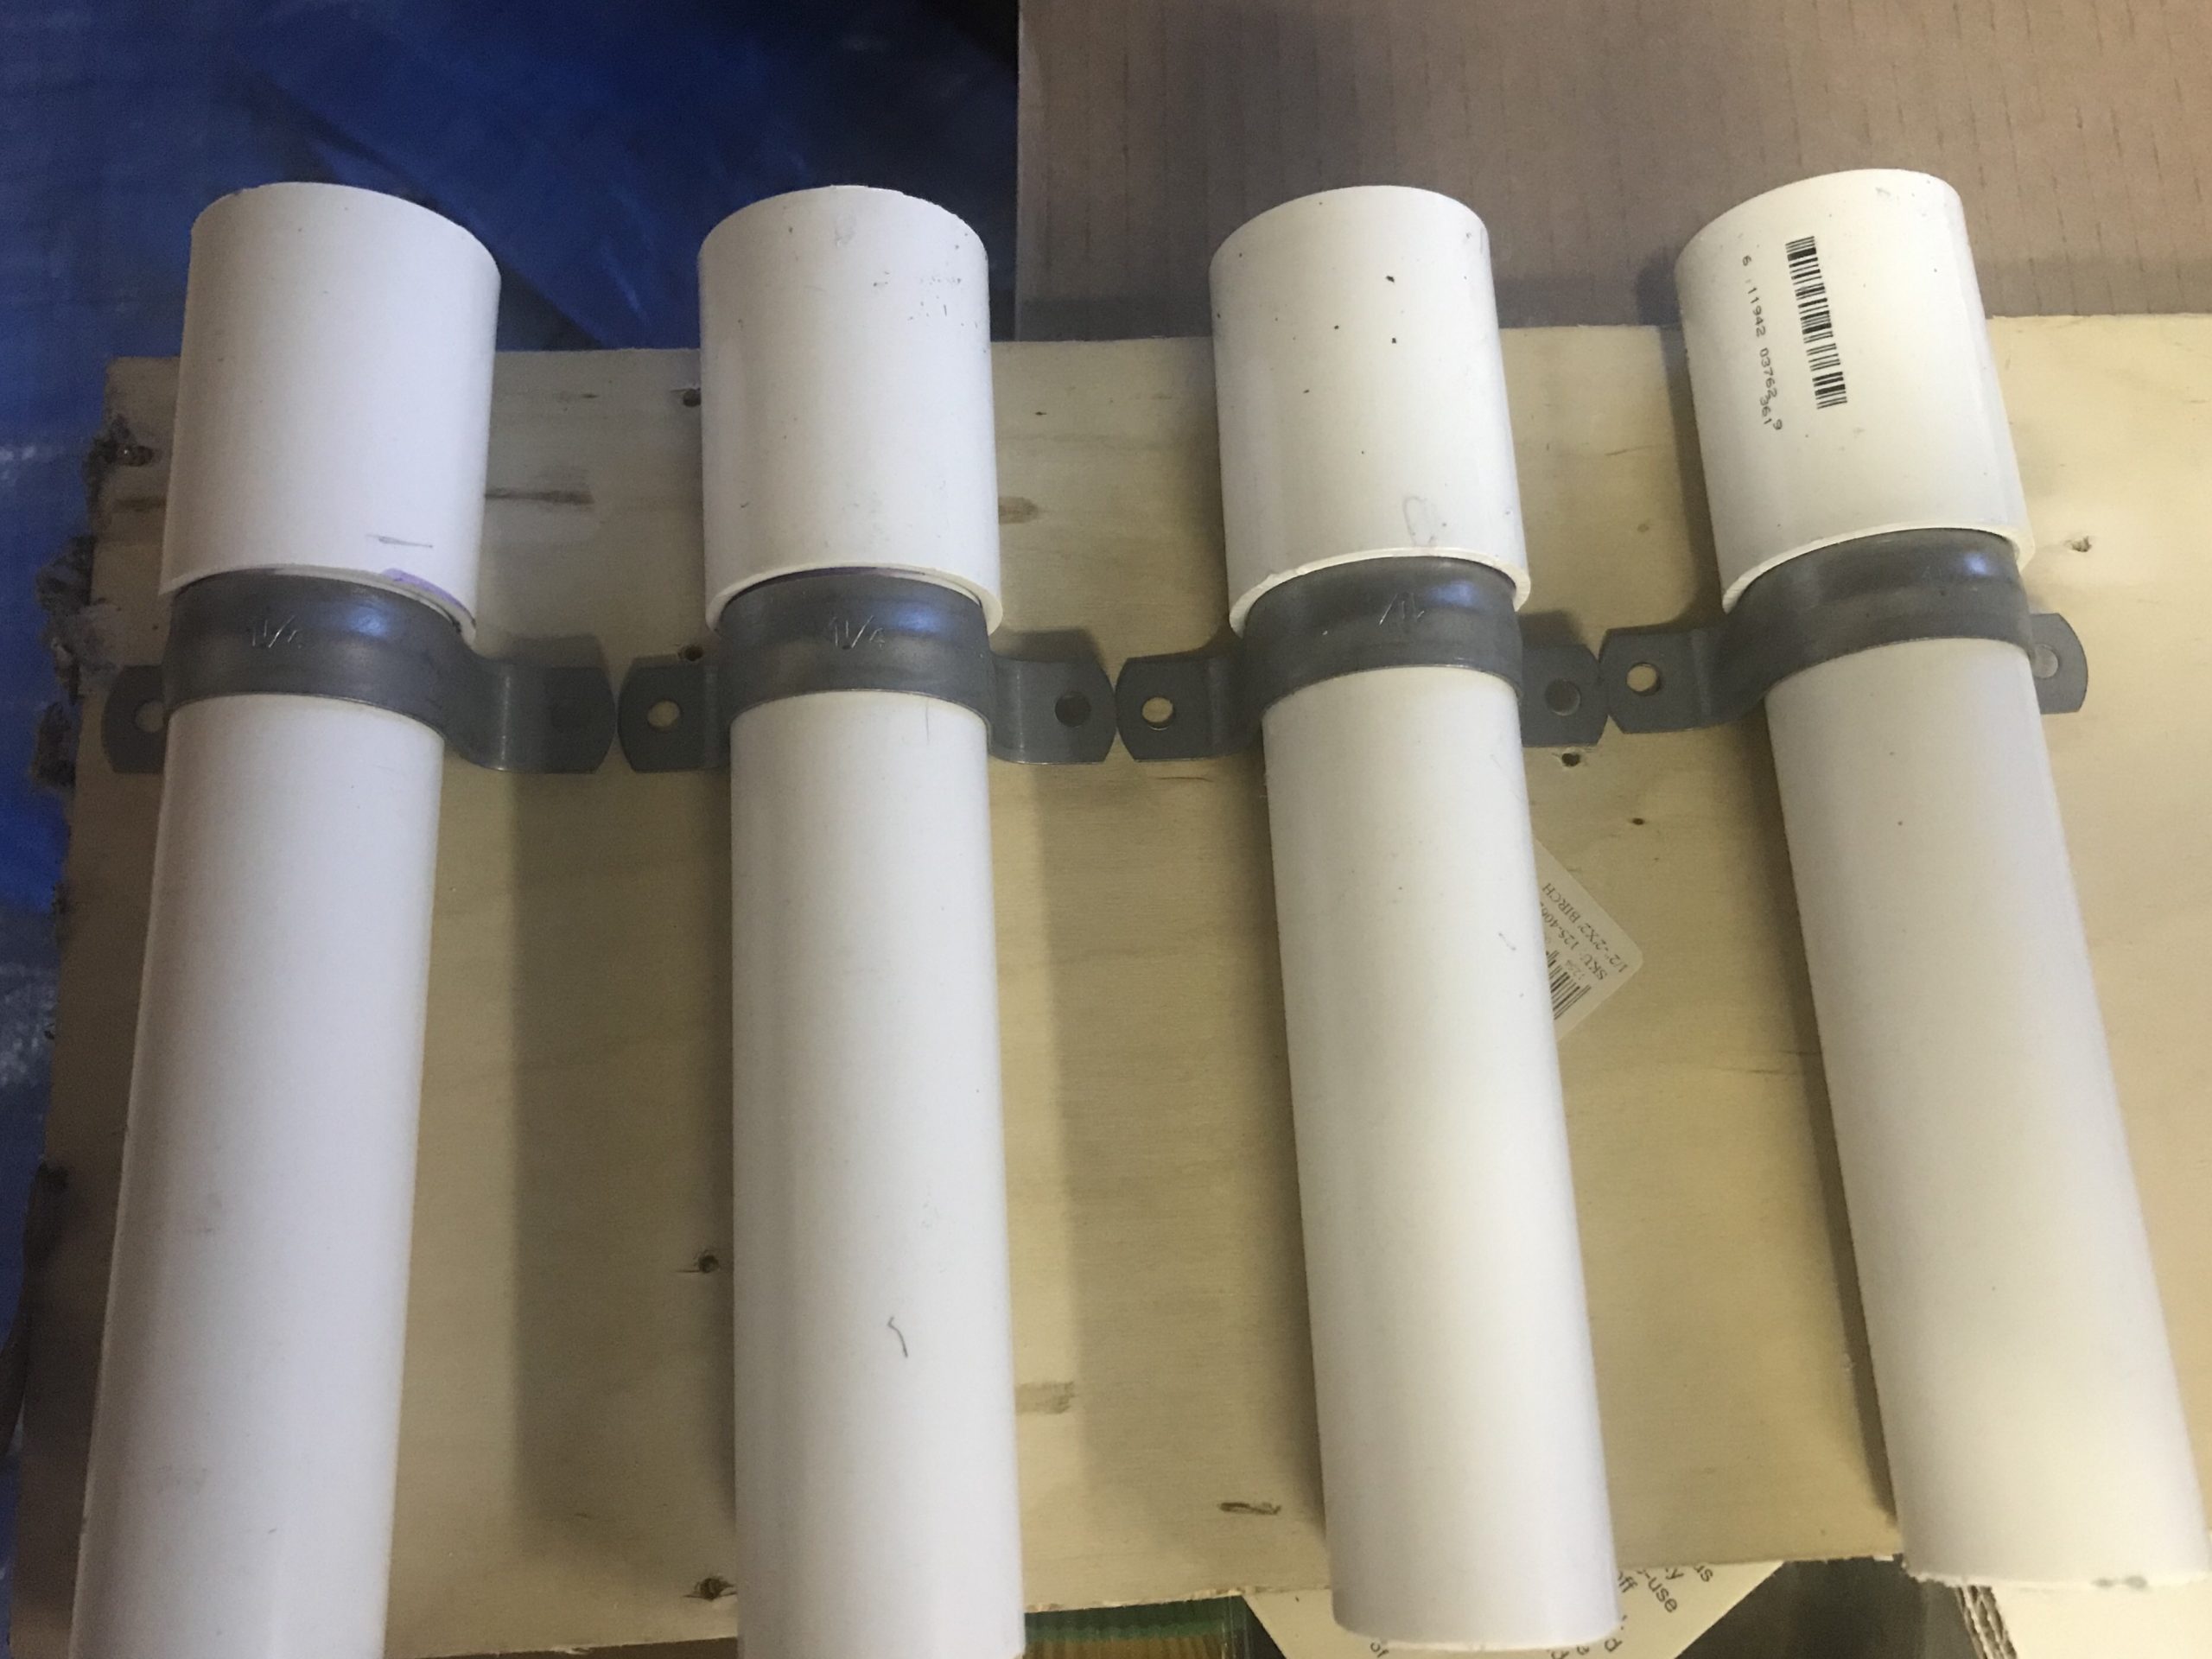
The couplers are there to serve as stops for the tubing straps – so they don’t fall through them.
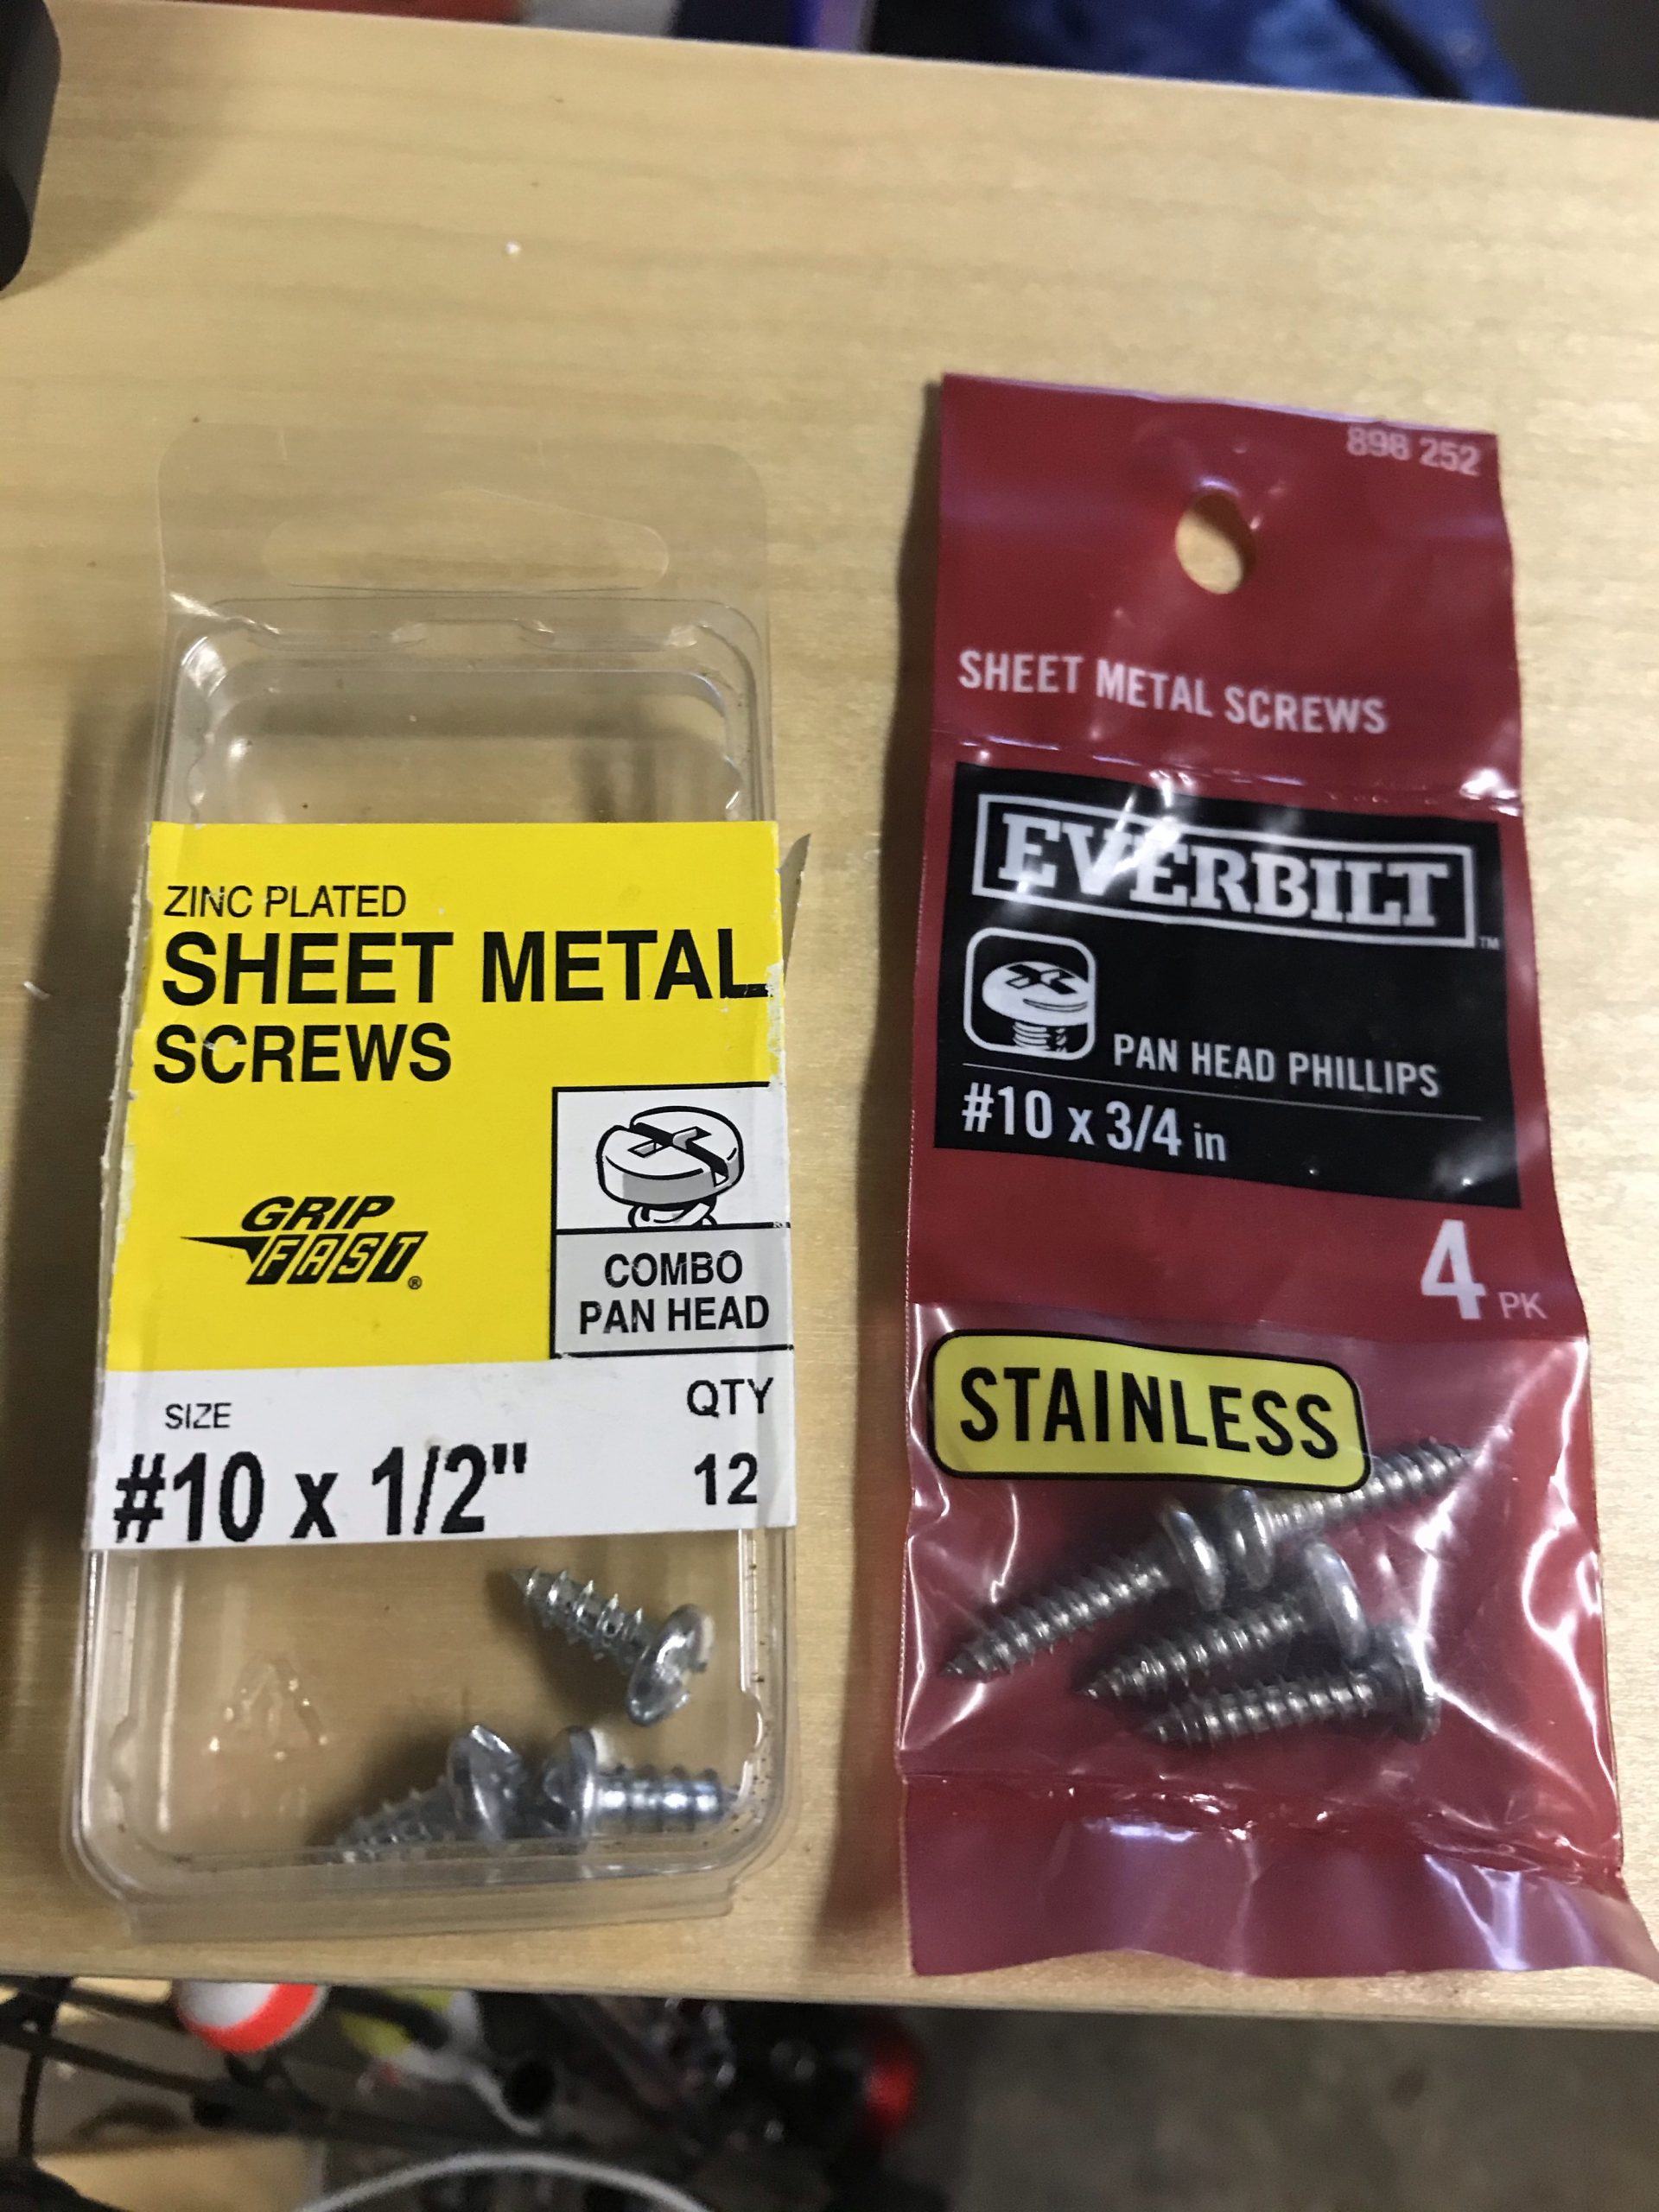
To fasten the tube straps to the board I used #10 x 1/2″ sheet metal screws. I pre-drilled holes in the wood with a 1/8″ drill bit, then used a screwdriver on the screws.
I designed 3D printed hangers because I couldn’t find any readily available hooks that I liked at the hardware store. I like Topeak racks because of how their bag systems attach. I designed the hangars to conform to the Topeak’s 10mm rod construction – which I believe is a standard size for many bike racks.
To fasten the hangers to the board, I used #10 x 3/4″ sheet metal screws.
Backing and Hangars
The board I used was some leftover 1/2″ plywood. Mine was 9″ wide so I went with that – luckily that’s how long our rod handles are. You can cut the width to however many rods you want to hold. For my 4 rod holders it wound up being 15″x9″.
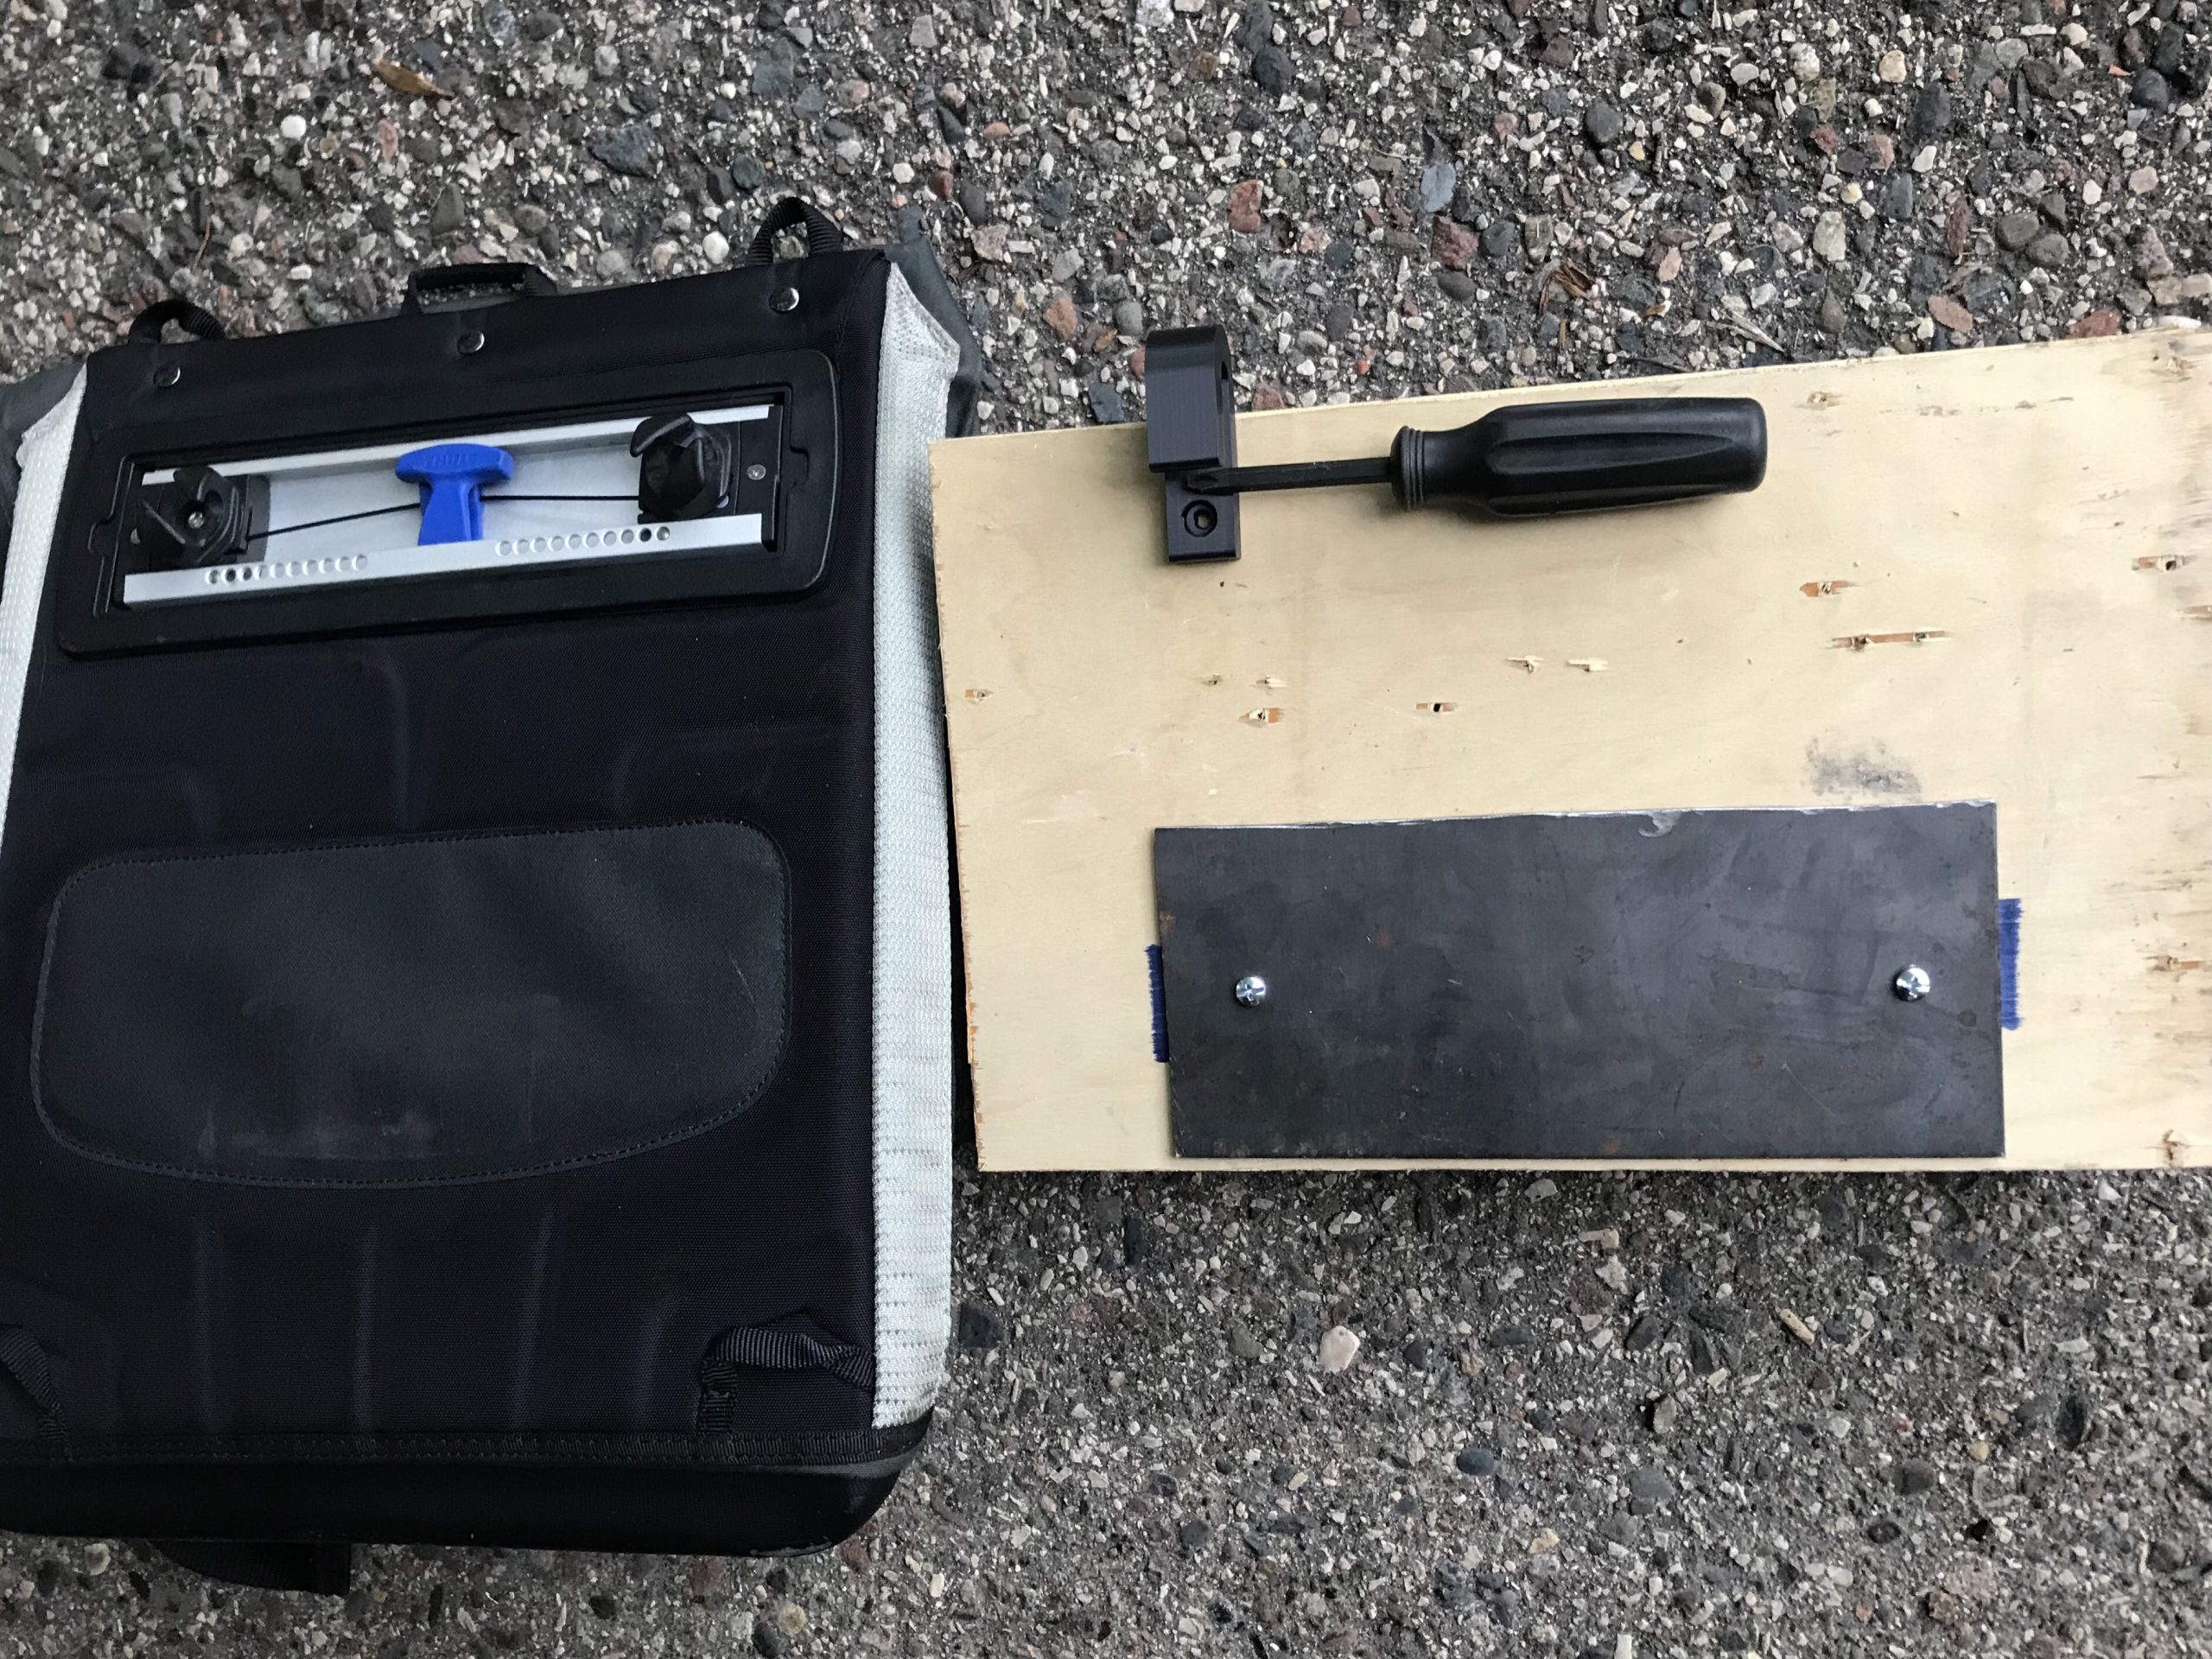
To make sure everything lines up well on the back, I used my Thule panniers as an example. The metal plate that sticks to the magnet is approximately 9″x4″ – so I cut a piece of sheet metal that size. You can use a hacksaw to (slowly) cut it. I used a cutting wheel to make quick work.
I also used the Thule pannier as a reference to gauge the placement of the metal backing position relative to the hangers so they’d be generally in the right place. It will ensure the steel plate is the right place so it will line up with the rack magnet without having to move it around on the rack.
I used 3/4″ screws to fasten the hangers, and 1/2″ screws to hold the steel plate. I pre-drilled the steel with a 3/16″ drill bit, and the wood with a 1/8″ one.
There’s no provisions on this rack for bait and tackle, but you can use the opposite side of the rack for a pannier, or just put your bait and tackle in a backpack.
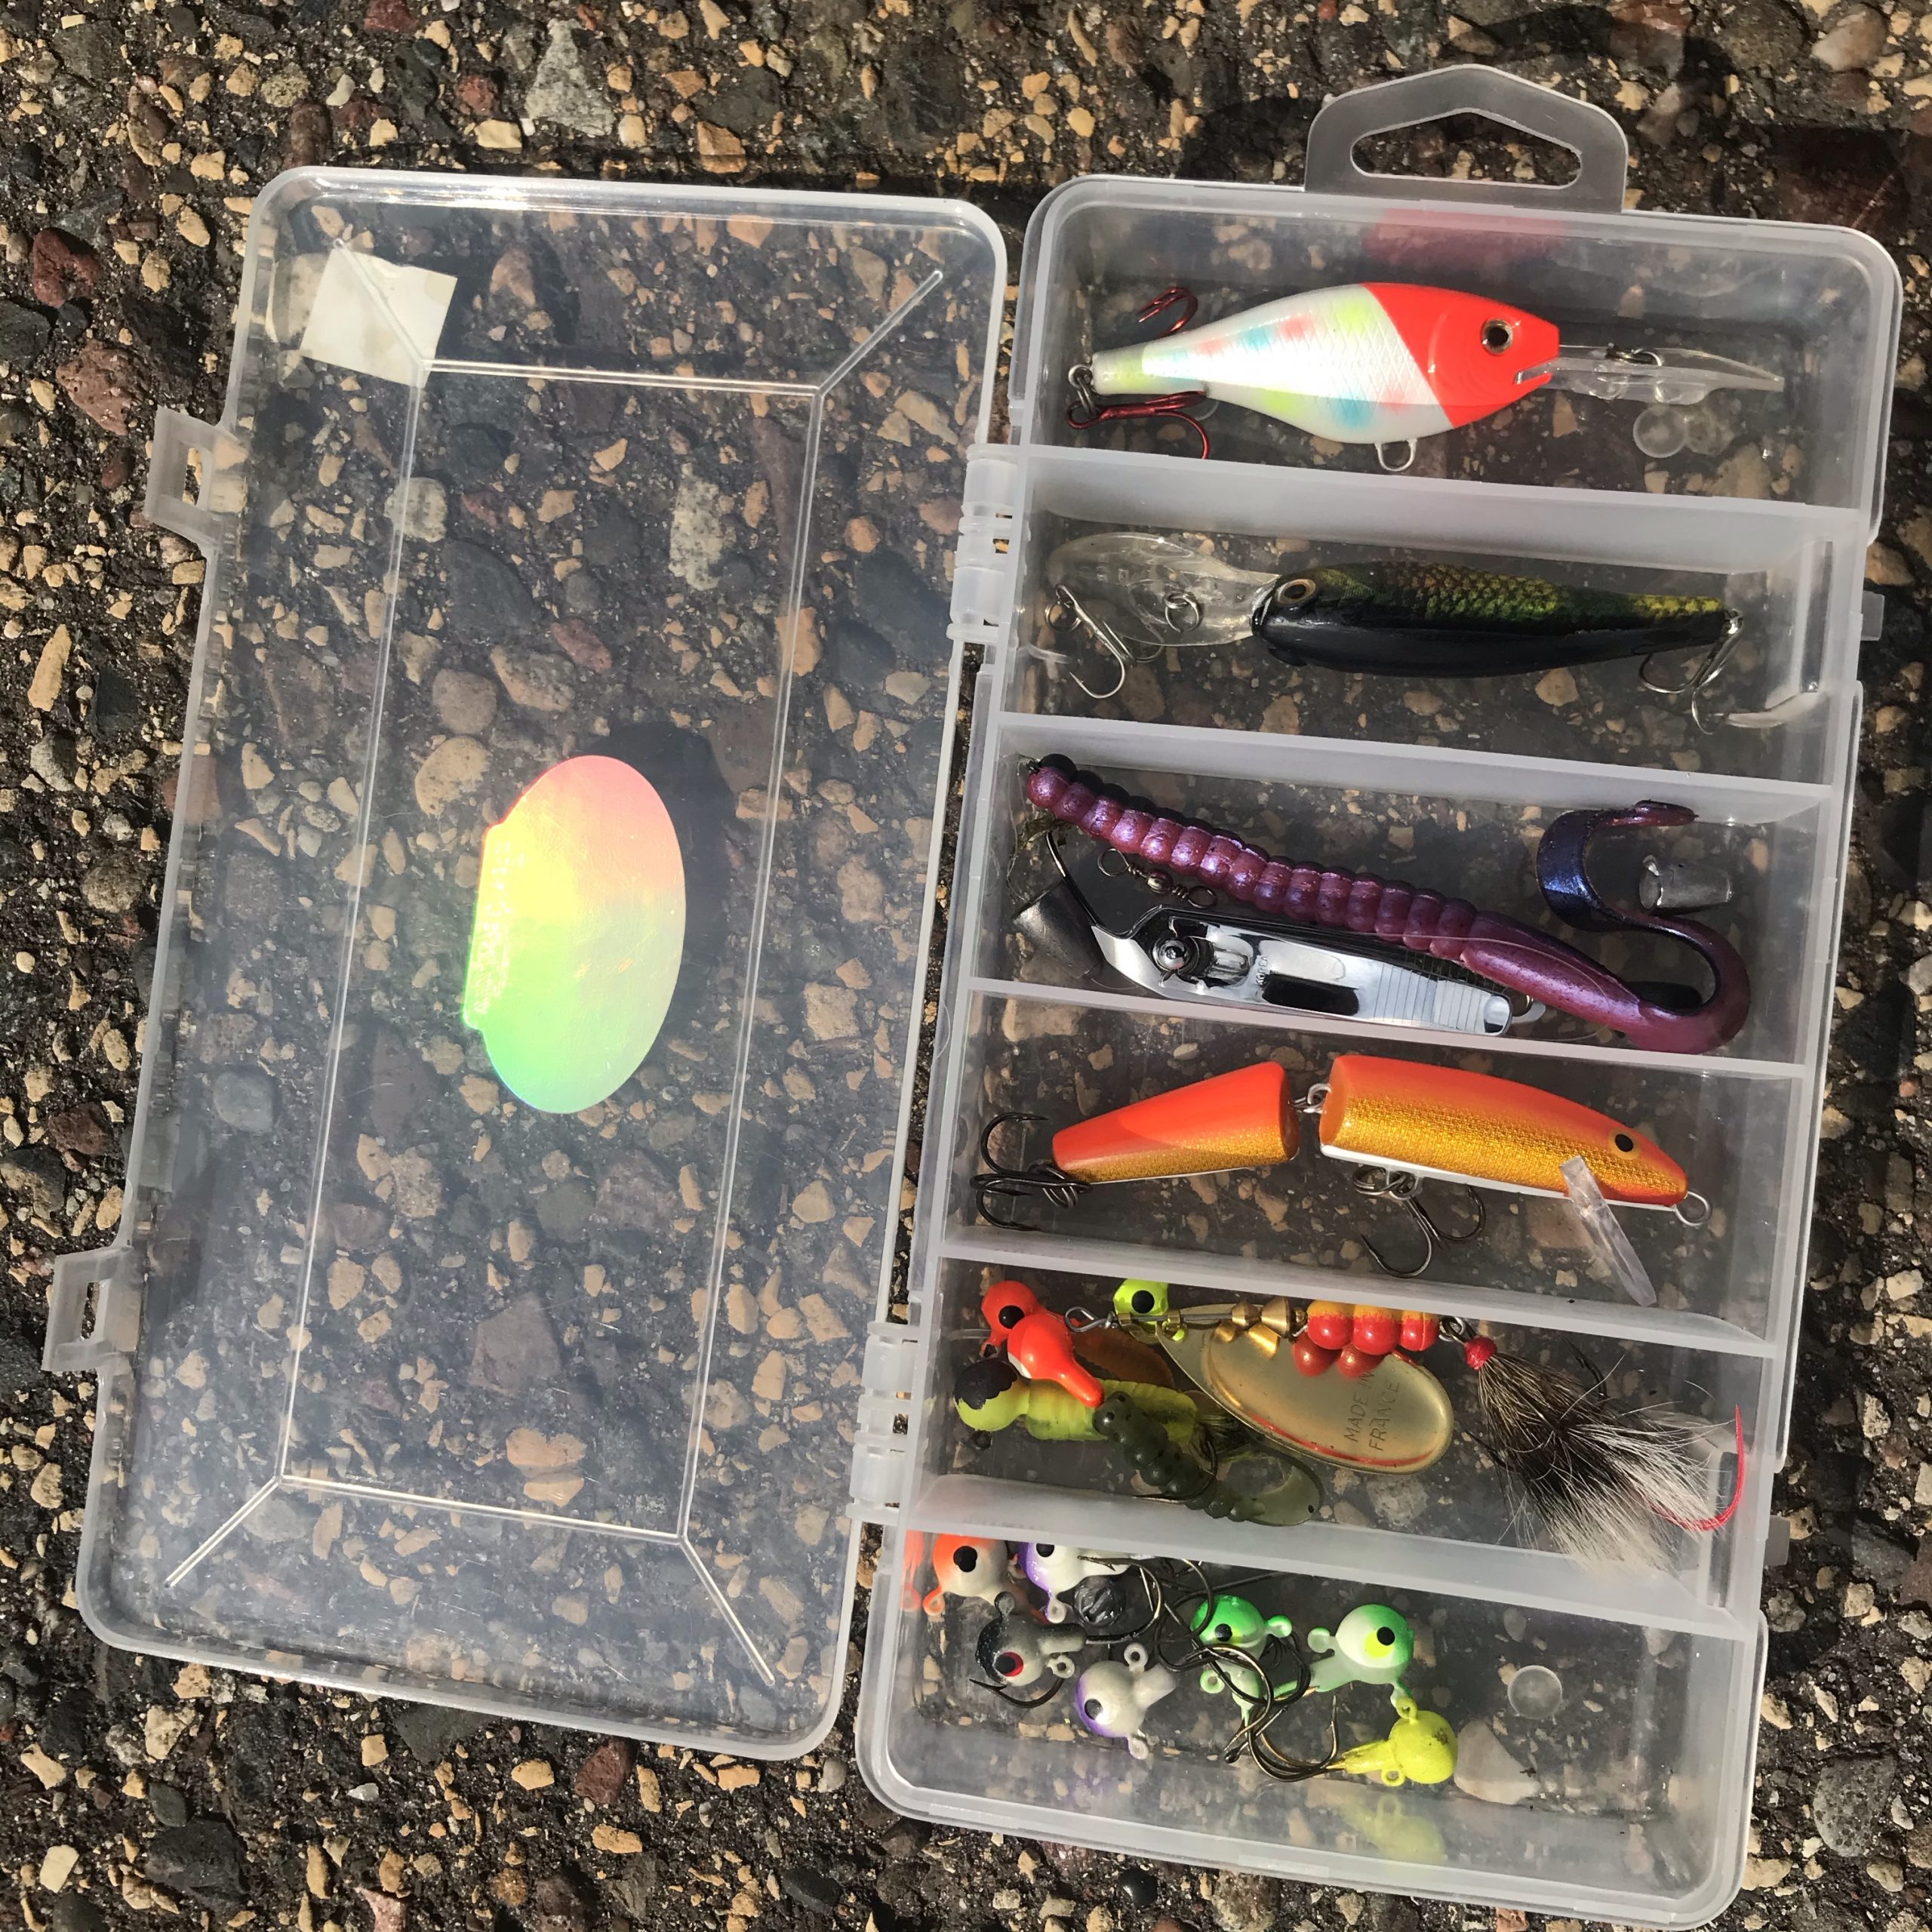
When I’m fishing while paddling, I keep a very small tackle box on the boat with me, and that is also perfect for local fishing by bike.
Usability tips
Riding around with 6-foot fishing poles is like riding around with a whip antenna – it’s real tall. Just beware of any low tunnels or doorways, tree branches, etc.
Also, you’re not going to be able to put a leg over the back like you normally would. A pole (and hooks) will prevent you from doing that. Be mindful while you’re getting on and off.
I (perhaps stupidly) tried out the purple worm seen in my tackle box above – set up as a Texas Rig. I felt some serious bites, but I didn’t land anything. In the end I’m lucky because I didn’t bring a net if I actually had caught a tenacious bass.
While I didn’t bring one, you could certainly put a net in one of the holders. This is more of a catch-and-release type of rig, and I wasn’t planning on any big bites my first time out, just a couple of sunfish 🐟
Disclaimer: I am not left handed, but this is a great transmitter whether you’re left or right handed…
During quarantine I played VRC at least once a week to get my racing fix since all of the tracks were closed. My daughter would often ask if she could try racing as she watched me play. But converting my Spektrum DX3R to left handed operation meant taking it apart to move all the components to the left.
I’d been eyeing a Flysky Noble NB4 because it’s a pro-level low latency transmitter, and it’s killer feature is that it can instantly switch from right to left-handed operation.
Since I wasn’t getting to the track anytime soon, I sold my DX3R and ordered a Noble NB4 with some extra receivers. This write-up will go through some of the features and how I set it up because there are a few things you’ll want to consider.
Continue reading →
Before you install Duplicati, there’s one question you need to ask:
Does this computer have multiple user logins (that you want to back-up), or is it primarily used by one user?
This is important because you can install Duplicati in one of two ways: to run as a single-user, or to run as a system service that is available to all users. By default Duplicati is installed for a single user, but if there is more than one user on the computer you want to be able to back-up, you’ll want to install it as a service.
If you don’t install it as a service, when Duplicati tries to read files that belong to the other users, it will get a permission denied error and won’t be able to back those files up. You don’t want to find out that your files weren’t backed up when it’s too late.
I’ve provided some MacOS specific configurations in that section for setting it up as a service.
RaspberryPi
Install Duplicati on a RasperryPi
To get Duplicati successfully installed on a RaspberryPi running Raspbian, you’ll likely have to also install some of the mono dependencies to avoid installation errors.
Once that’s done you can (re)install Duplicati, hopefully without errors.
MacOS
For my MacOS installation I needed to install it as a service. It’s my wife’s Macbook. I also use it for Fusion360, and I like my scroll settings different than she does. So it has two user accounts, both with files we want to back-up. Installing Duplicati as a service in this case is a must.
Both of the plist configuration files can be installed as any user as they’ll be going in a system-wide location which will run Duplicati as a system service.
Service LaunchDaemon
$ sudo vi /Library/LaunchDaemons/com.duplicati.server.plist
Once those two files are in place, the next time you reboot and log in, any and all users should have a Duplicati icon in the system tray. You can then configure a backup job to read all users’ files without issue.
Useful Duplicati Options (all platforms)
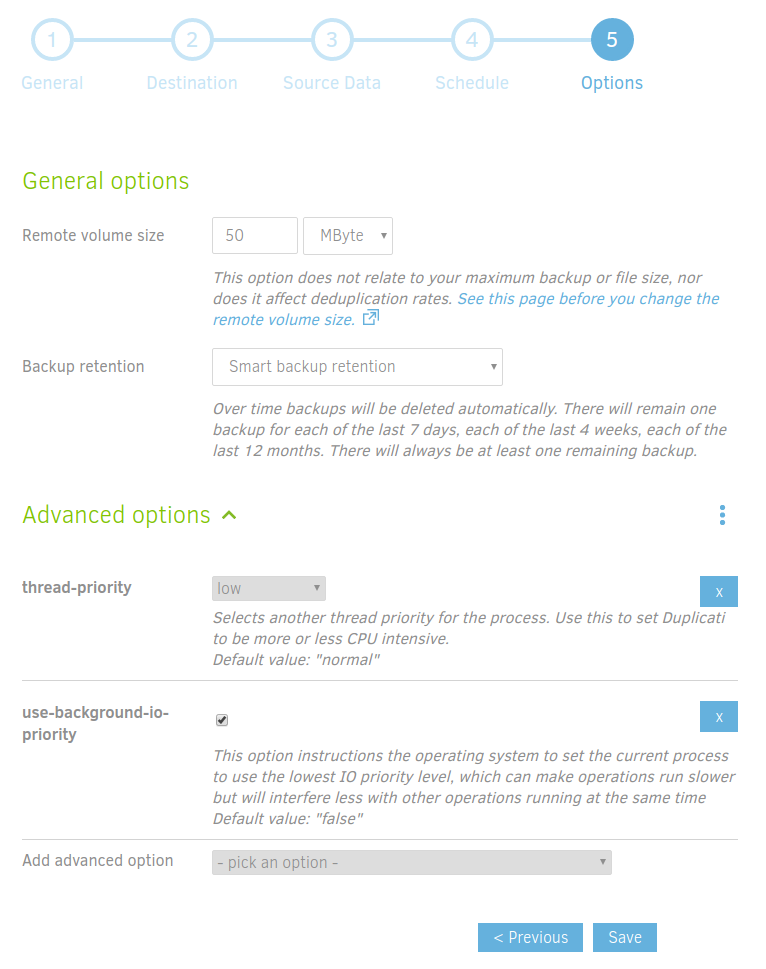
There are two settings to reduce Duplicati’s resource usage:
use-background-io-priority
thread-priority
On my brand-new 2019 XPS13 developer system Duplicati was using 280% CPU.
In other words, three of the 8 available cores were dedicated to Duplicati, plus disk I/O. I recommend setting use-background-io-priority to true and thread-priority to something below “normal” to adjust the CPU usage to an acceptable level. You can find these under “Advanced options” on the last page of the Add/Edit Configuration page of a backup.
Test
As always, test your configuration. I like to do a daily backup with “Smart backup retention” so my backup cloud disk usage doesn’t grow indeterminately.
Make sure your RaspberryPi backups are completing. It will take a while if you have a lot of data. For a 1TB backup from my RaspberryPi, it took a full week to complete because it is s-l-o-w. Once a full backup is made, the incremental updates shouldn’t take as long, but they may still take longer than a day to complete.