After using an old Garmin GPS last year, I hinted that I might switch to (also owned by Garmin) the Navionics Boating app. To get the party started, I shopped for cheap tablets during Amazon Prime Day.
I have a perfectly good iPad that could do this job, but the thought of a $400 tablet at the bottom of the lake made me sad 😭 So I looked for tablets less than $100 that have GPS. I guess I’m ok with one Benjamin sinking to the bottom of the lake 😂
Cheap GPS Tablets
Cheap tablets mean Android, and there’s a ton of no-name stuff out there that might do the trick. The real pro-tip is: read the reviews! I started by ordering this FACETEL 10″ tablet. None of the tablets under $100 are going to have 5-star reviews, but this one had 4 out of 5 stars with over 1,000 reviews. It said GPS right in the title, so it’s all good right? Nope, searching the comments for “GPS” revealed that all reviews mentioning GPS were there to state it doesn’t actually have GPS 😞 Luckily I saw those before the order had been fulfilled, so I quickly cancelled and kept looking 👀
Another prime deal was a TELECAST 10″ tablet for less than $100. It had 4 out of 5 stars as well, but not as many reviews – only about 200. But the review results for “GPS” all state that it works well and they’re amazed for the cost. This is the way.
Combo sonar & map
I updated all of the Android software when it arrived, and then installed the Navionics Boating app and Vexilar’s Sonarphone app. Navionics and Vexilar have partnered to provide use of both Navionics Boating and Vexilar Sonarphone views while in the Boating app. Doing this on the tablet worked OK, but I found a solution I like better: Android split-screen. It’s a feature of Android version 10 and up, and the TELECAST shipped with Android 11. The reason I like Android split-screen better is because you have the full version of both apps running side-by-side, rather than a watered down version embedded inside another app.
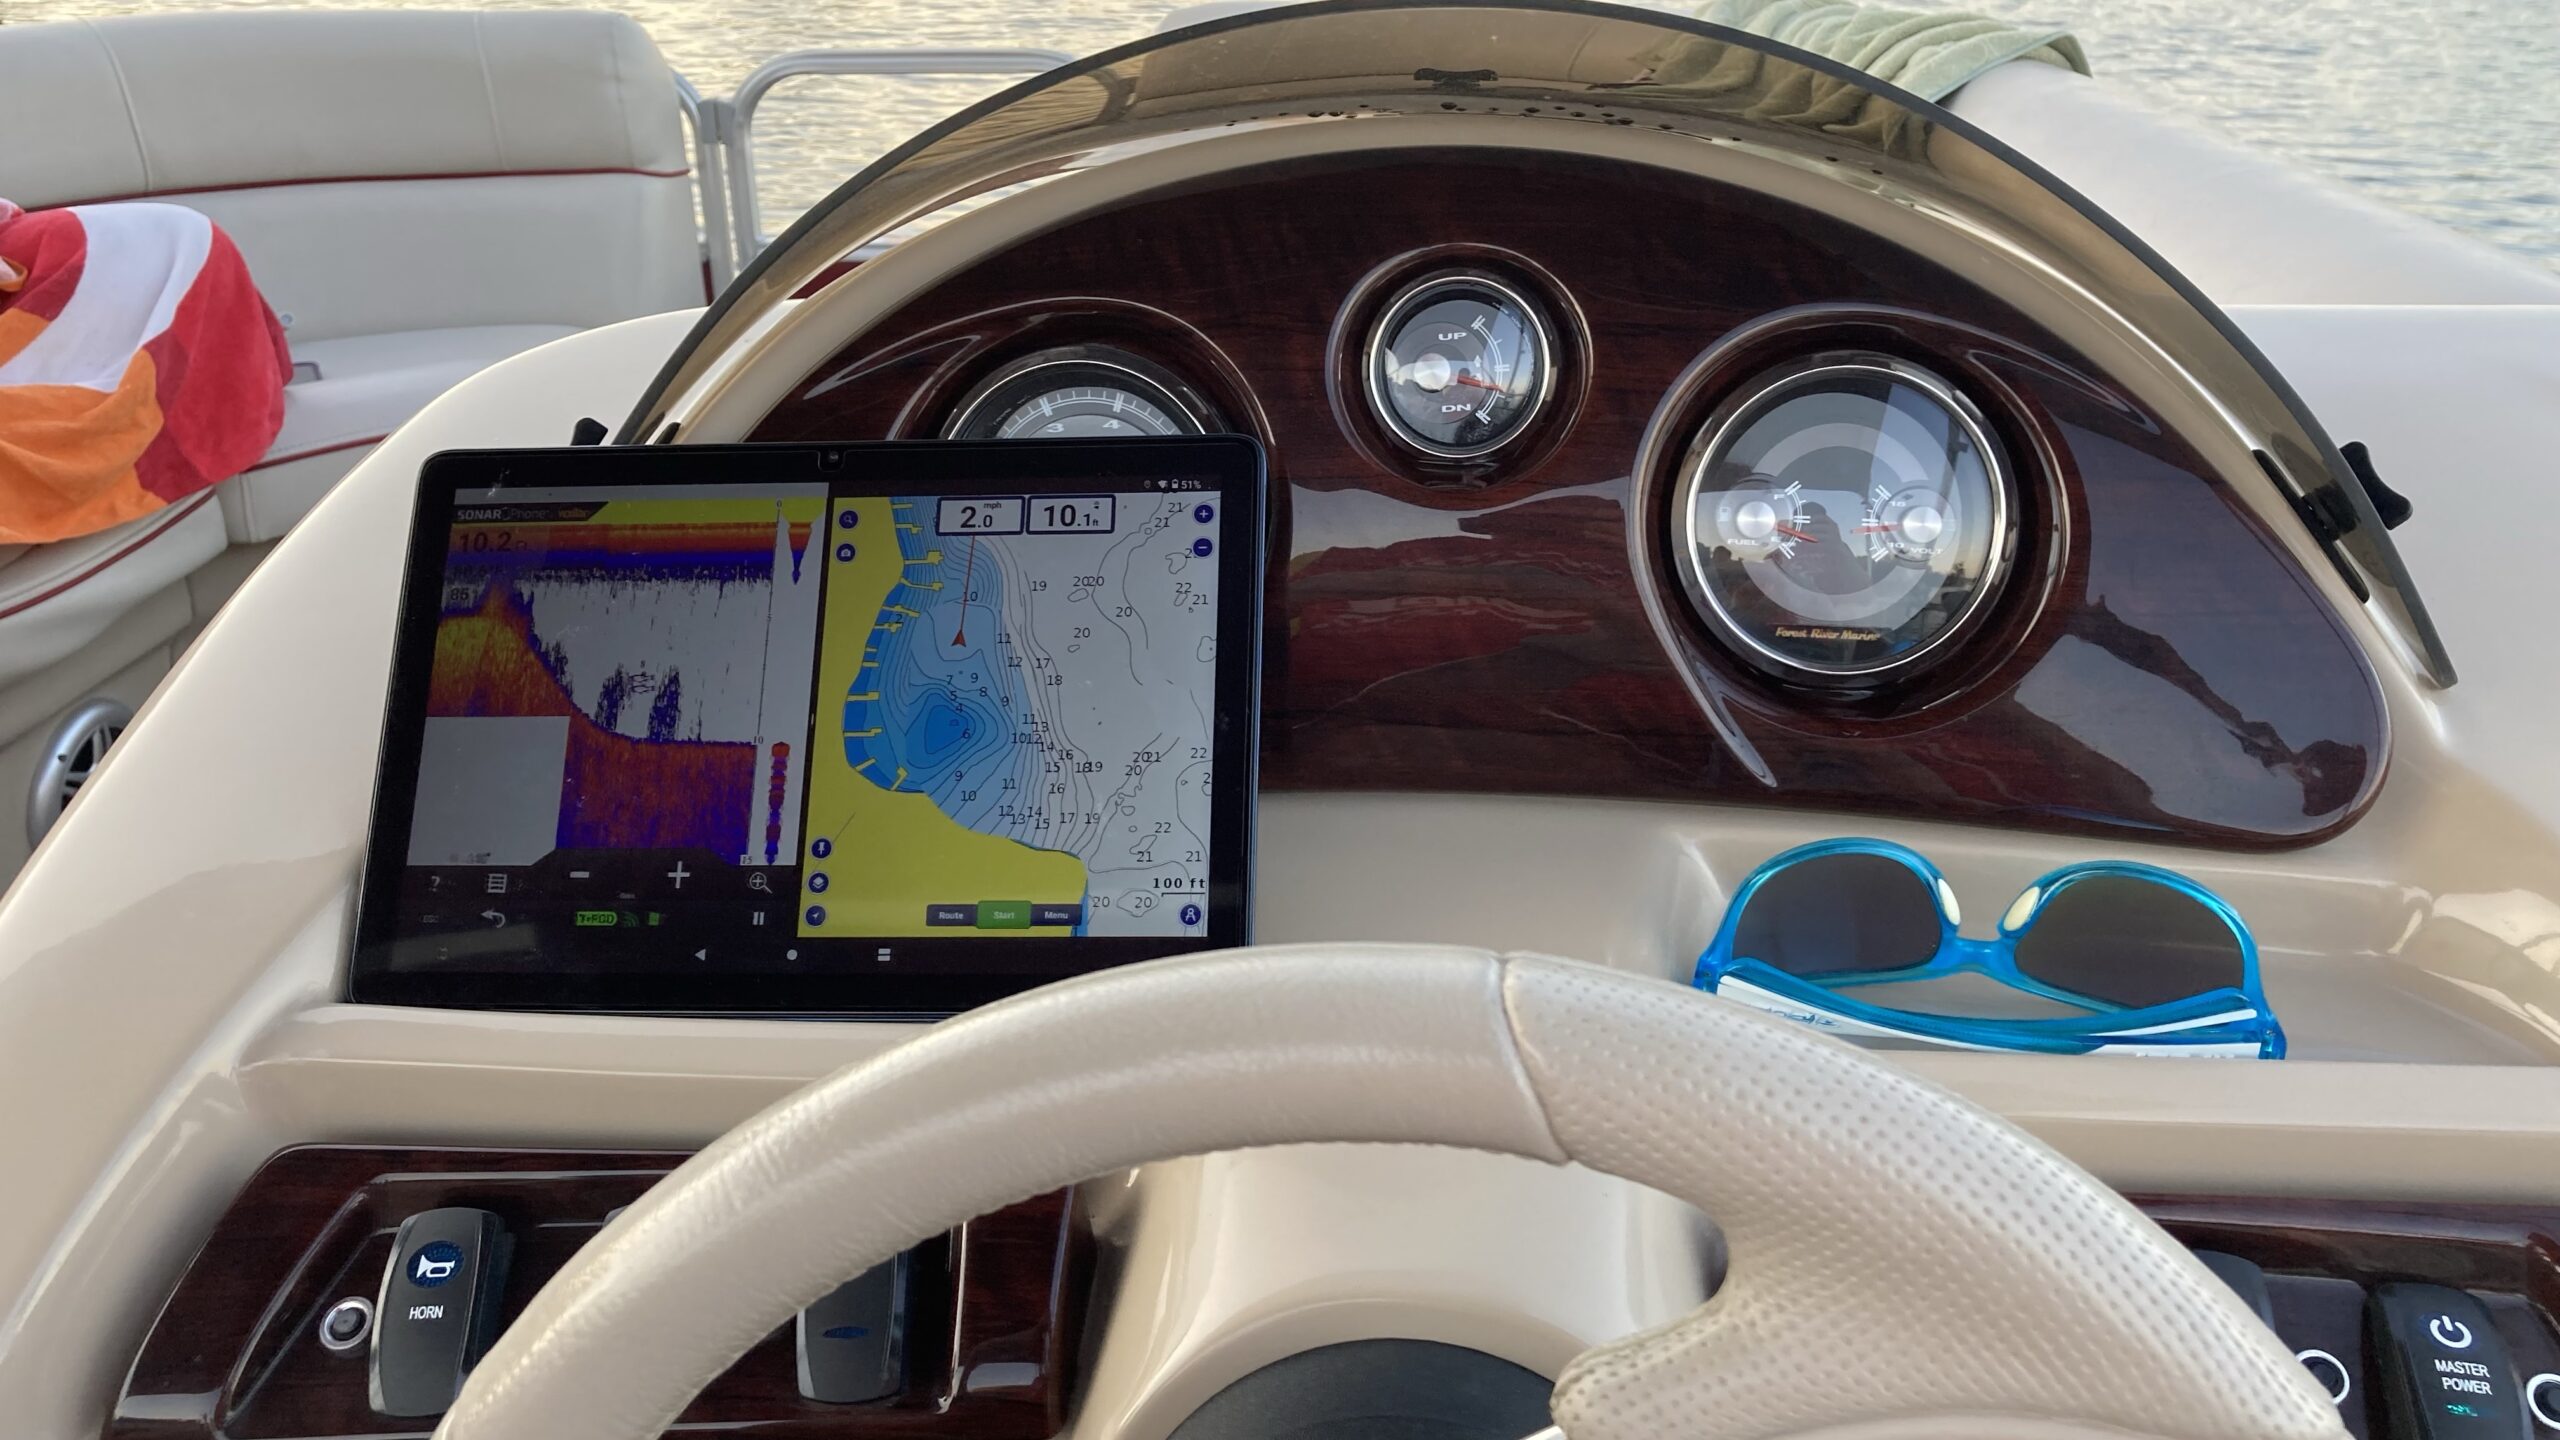
Using split-screen allows me to choose how much screen real estate should be used by which app, and it can be adjusted on the fly. This proof-of-concept leads me to believe that I’m not tied down to the Vexilar & Navionics combo. If I want to switch to a different navigation software or a sonar unit like the Deeper Pro+ 2 – I’ll be able to without issue.
Mounting
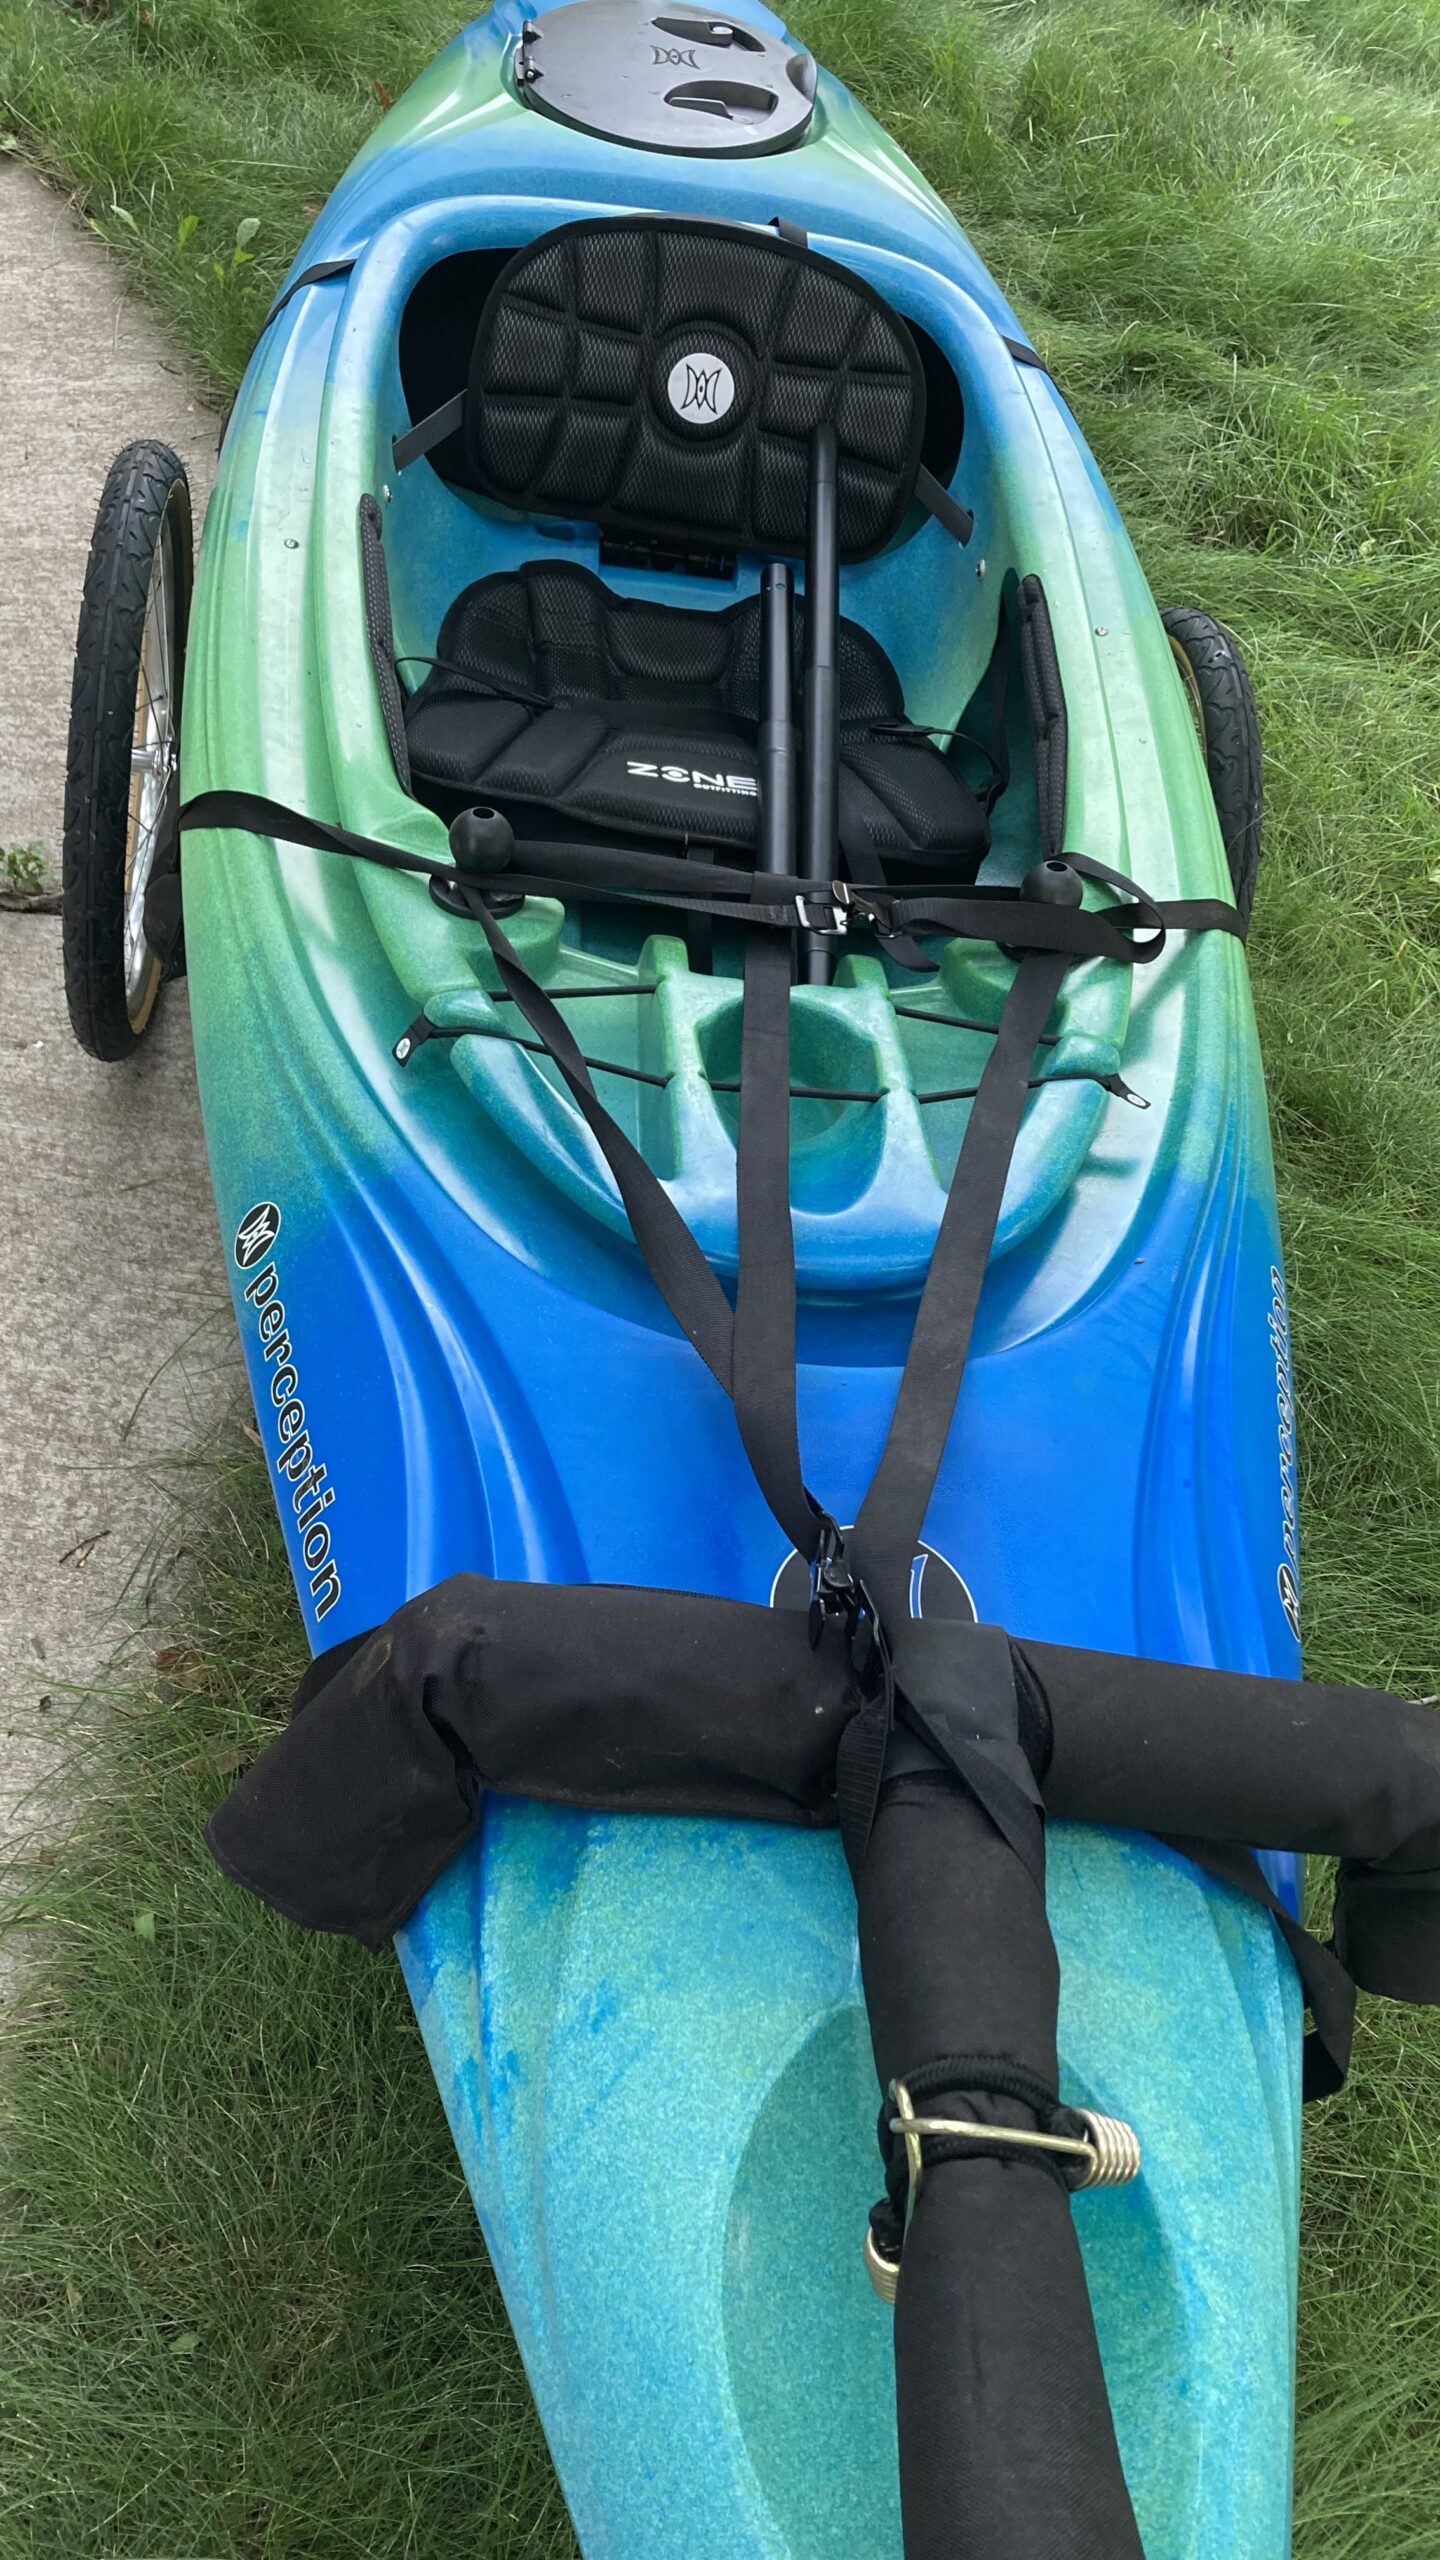
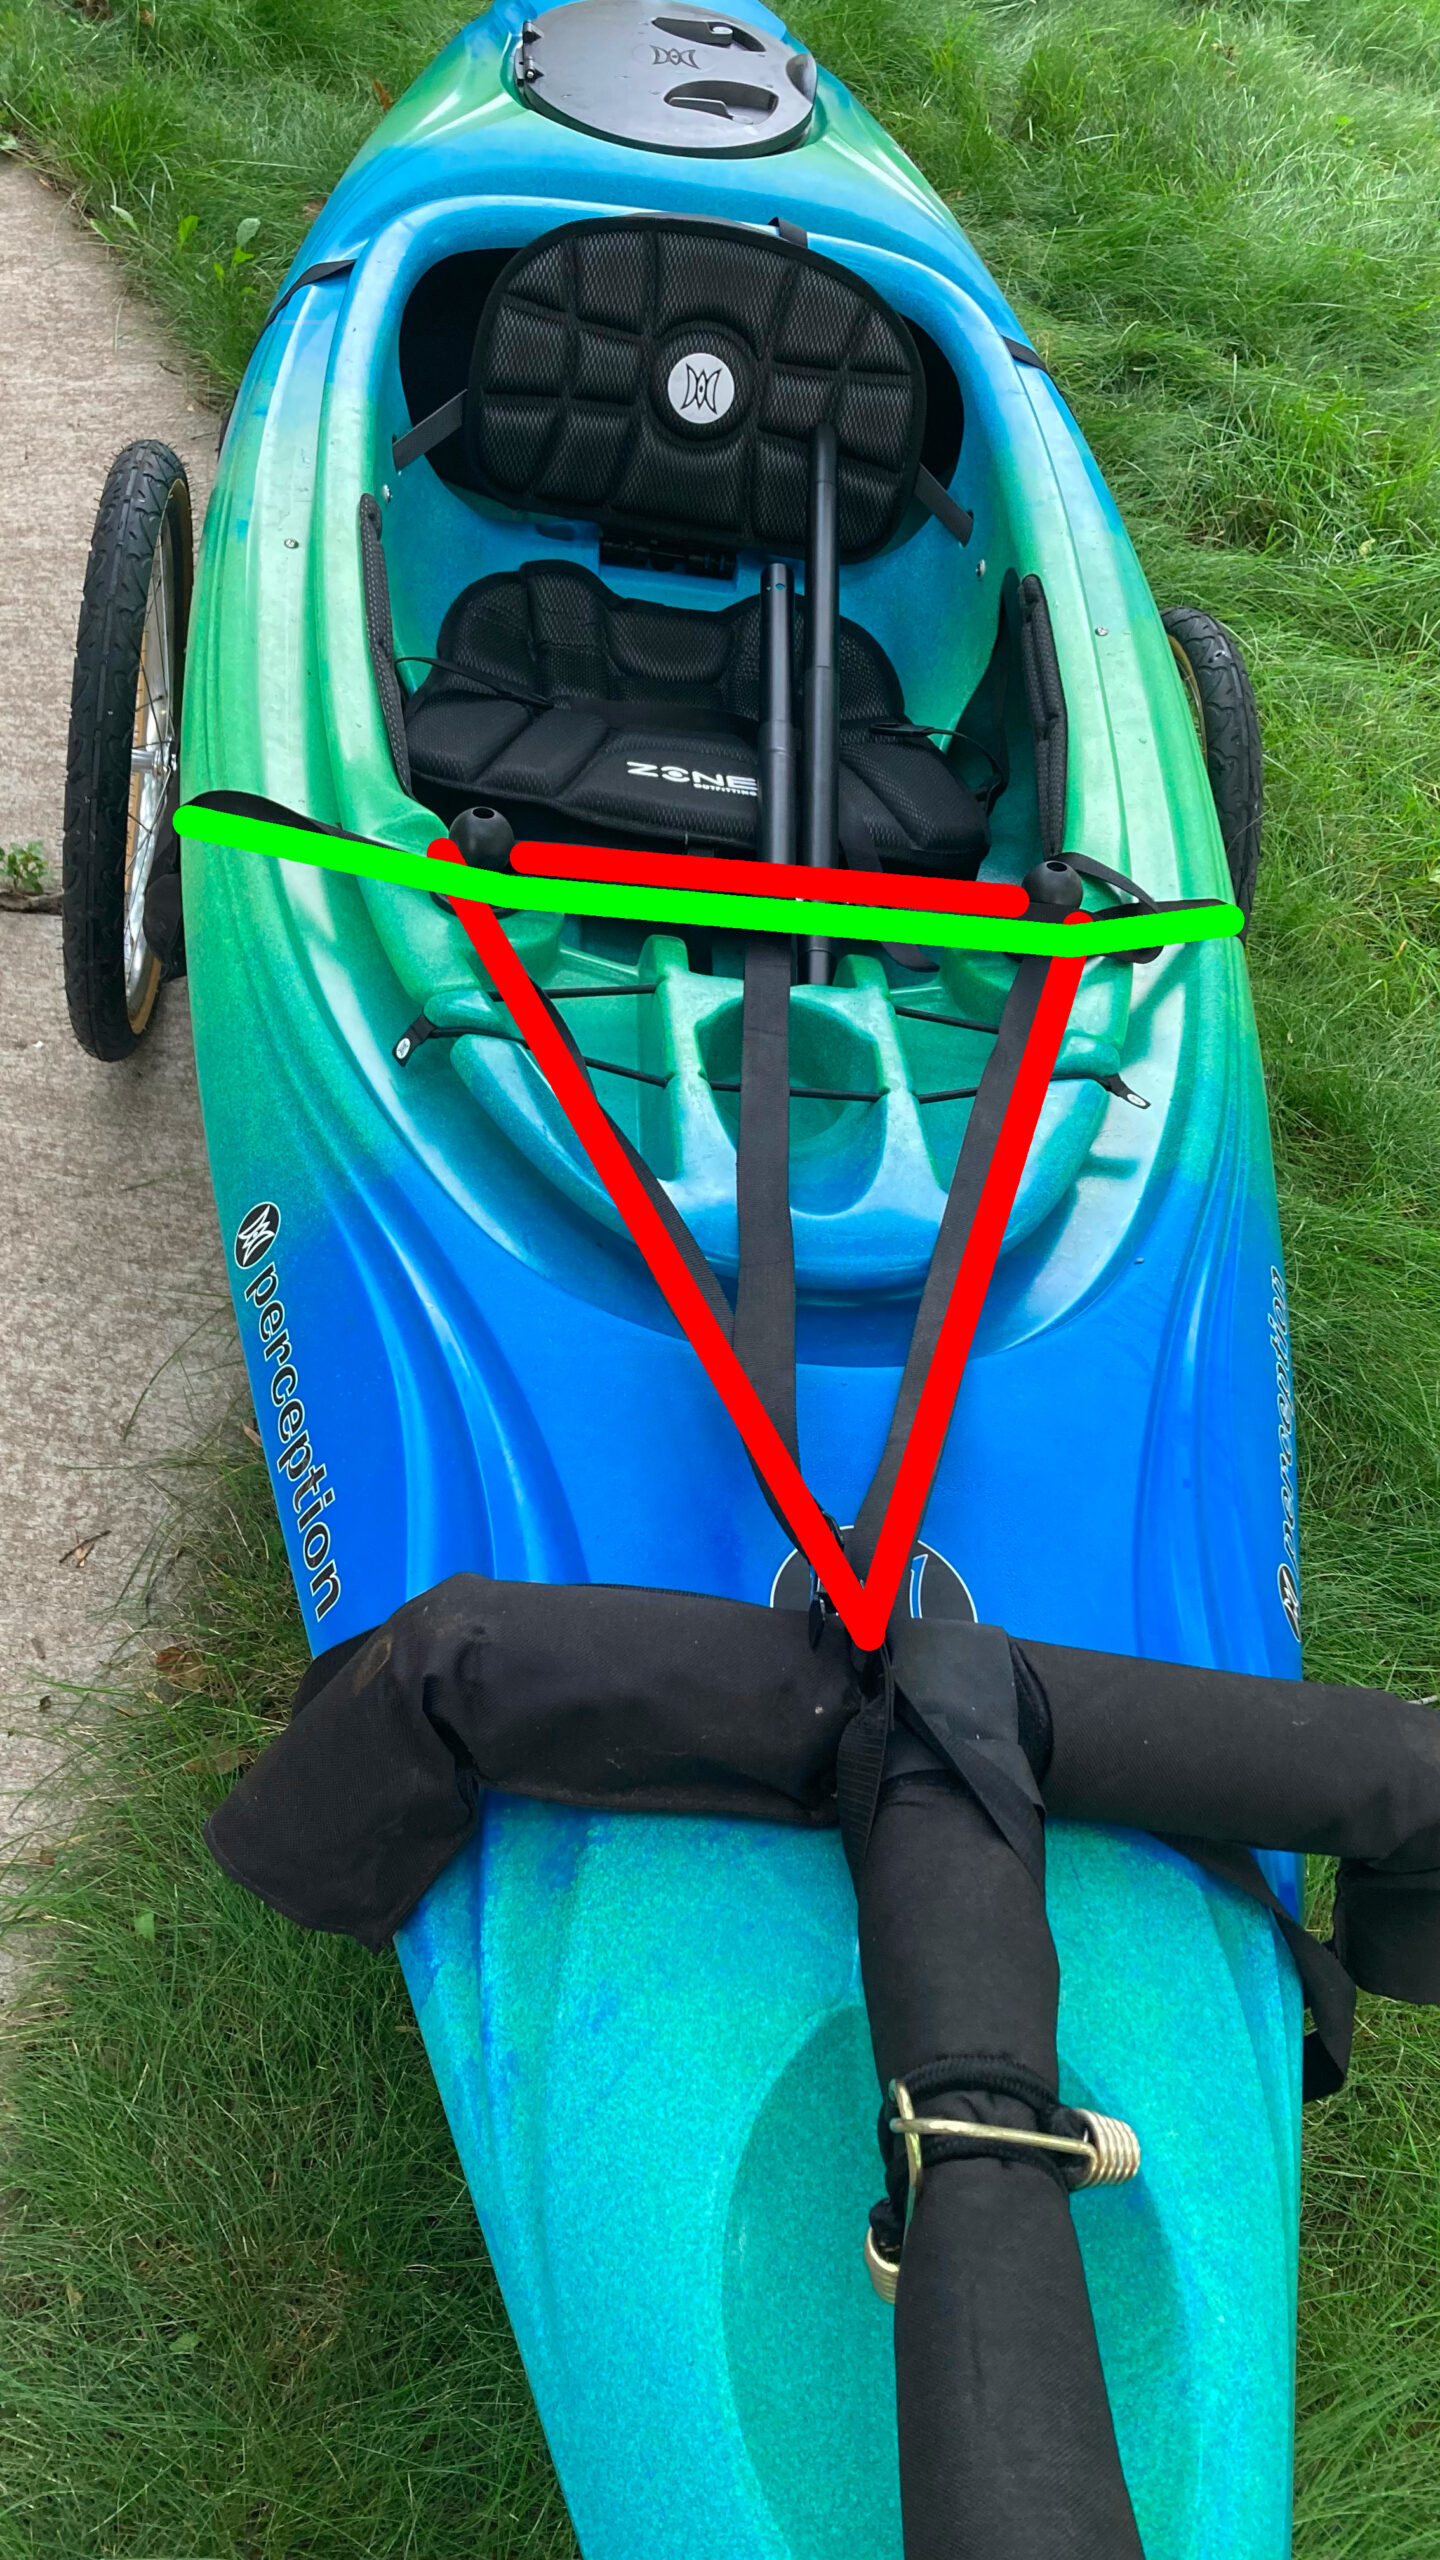
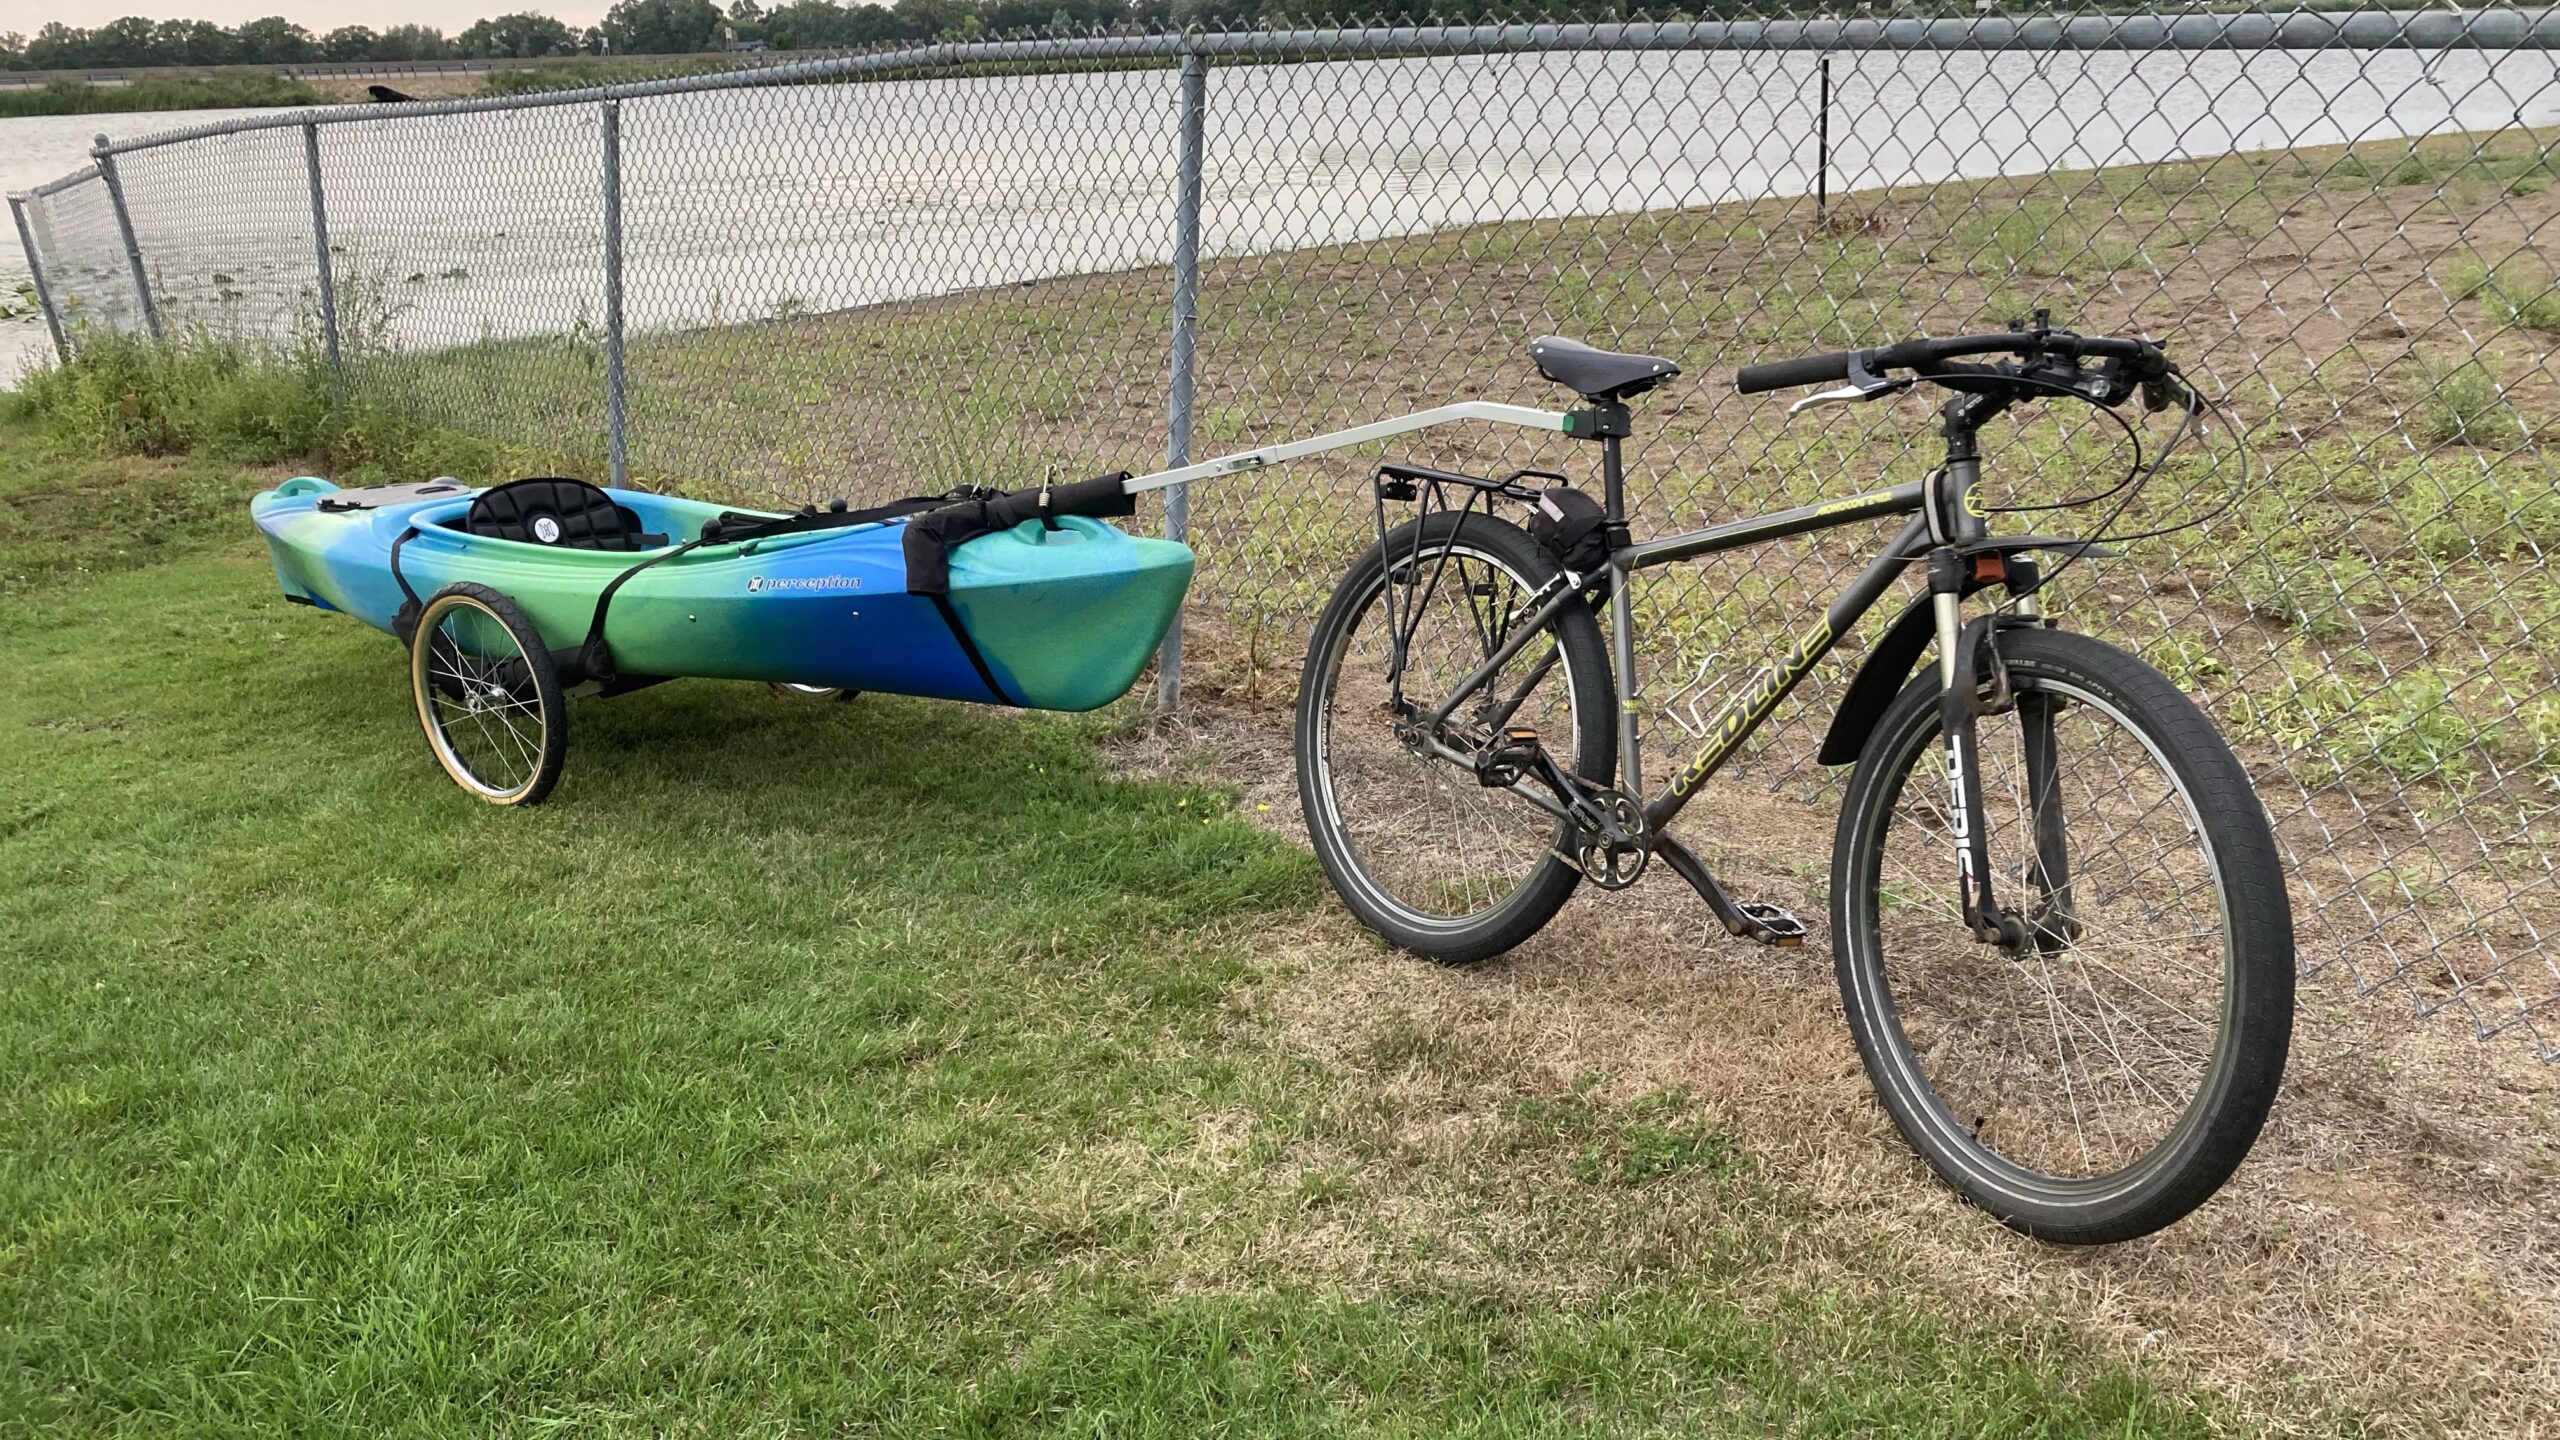
I have an extra ram mount base from some kayak accessories I purchased, so I’m looking for mount options that can use that. I’ll post a further update once I have something workable. If anyone has mounting options for tablets on a boat (specifically a pontoon), I’d love to hear them. Seeing the screen during bright sunlight is definitely going to be a challenge 😎