The foam tape, when used with adhesion promoter, works great for all bumps, jumps and falls. The cheap Ax-Man lights however, left something to be desired. One quit after some moisture got into the housing, the other quit because it was just plain cheap – I’d never paid more than $5 for any of them at Ax-Man.
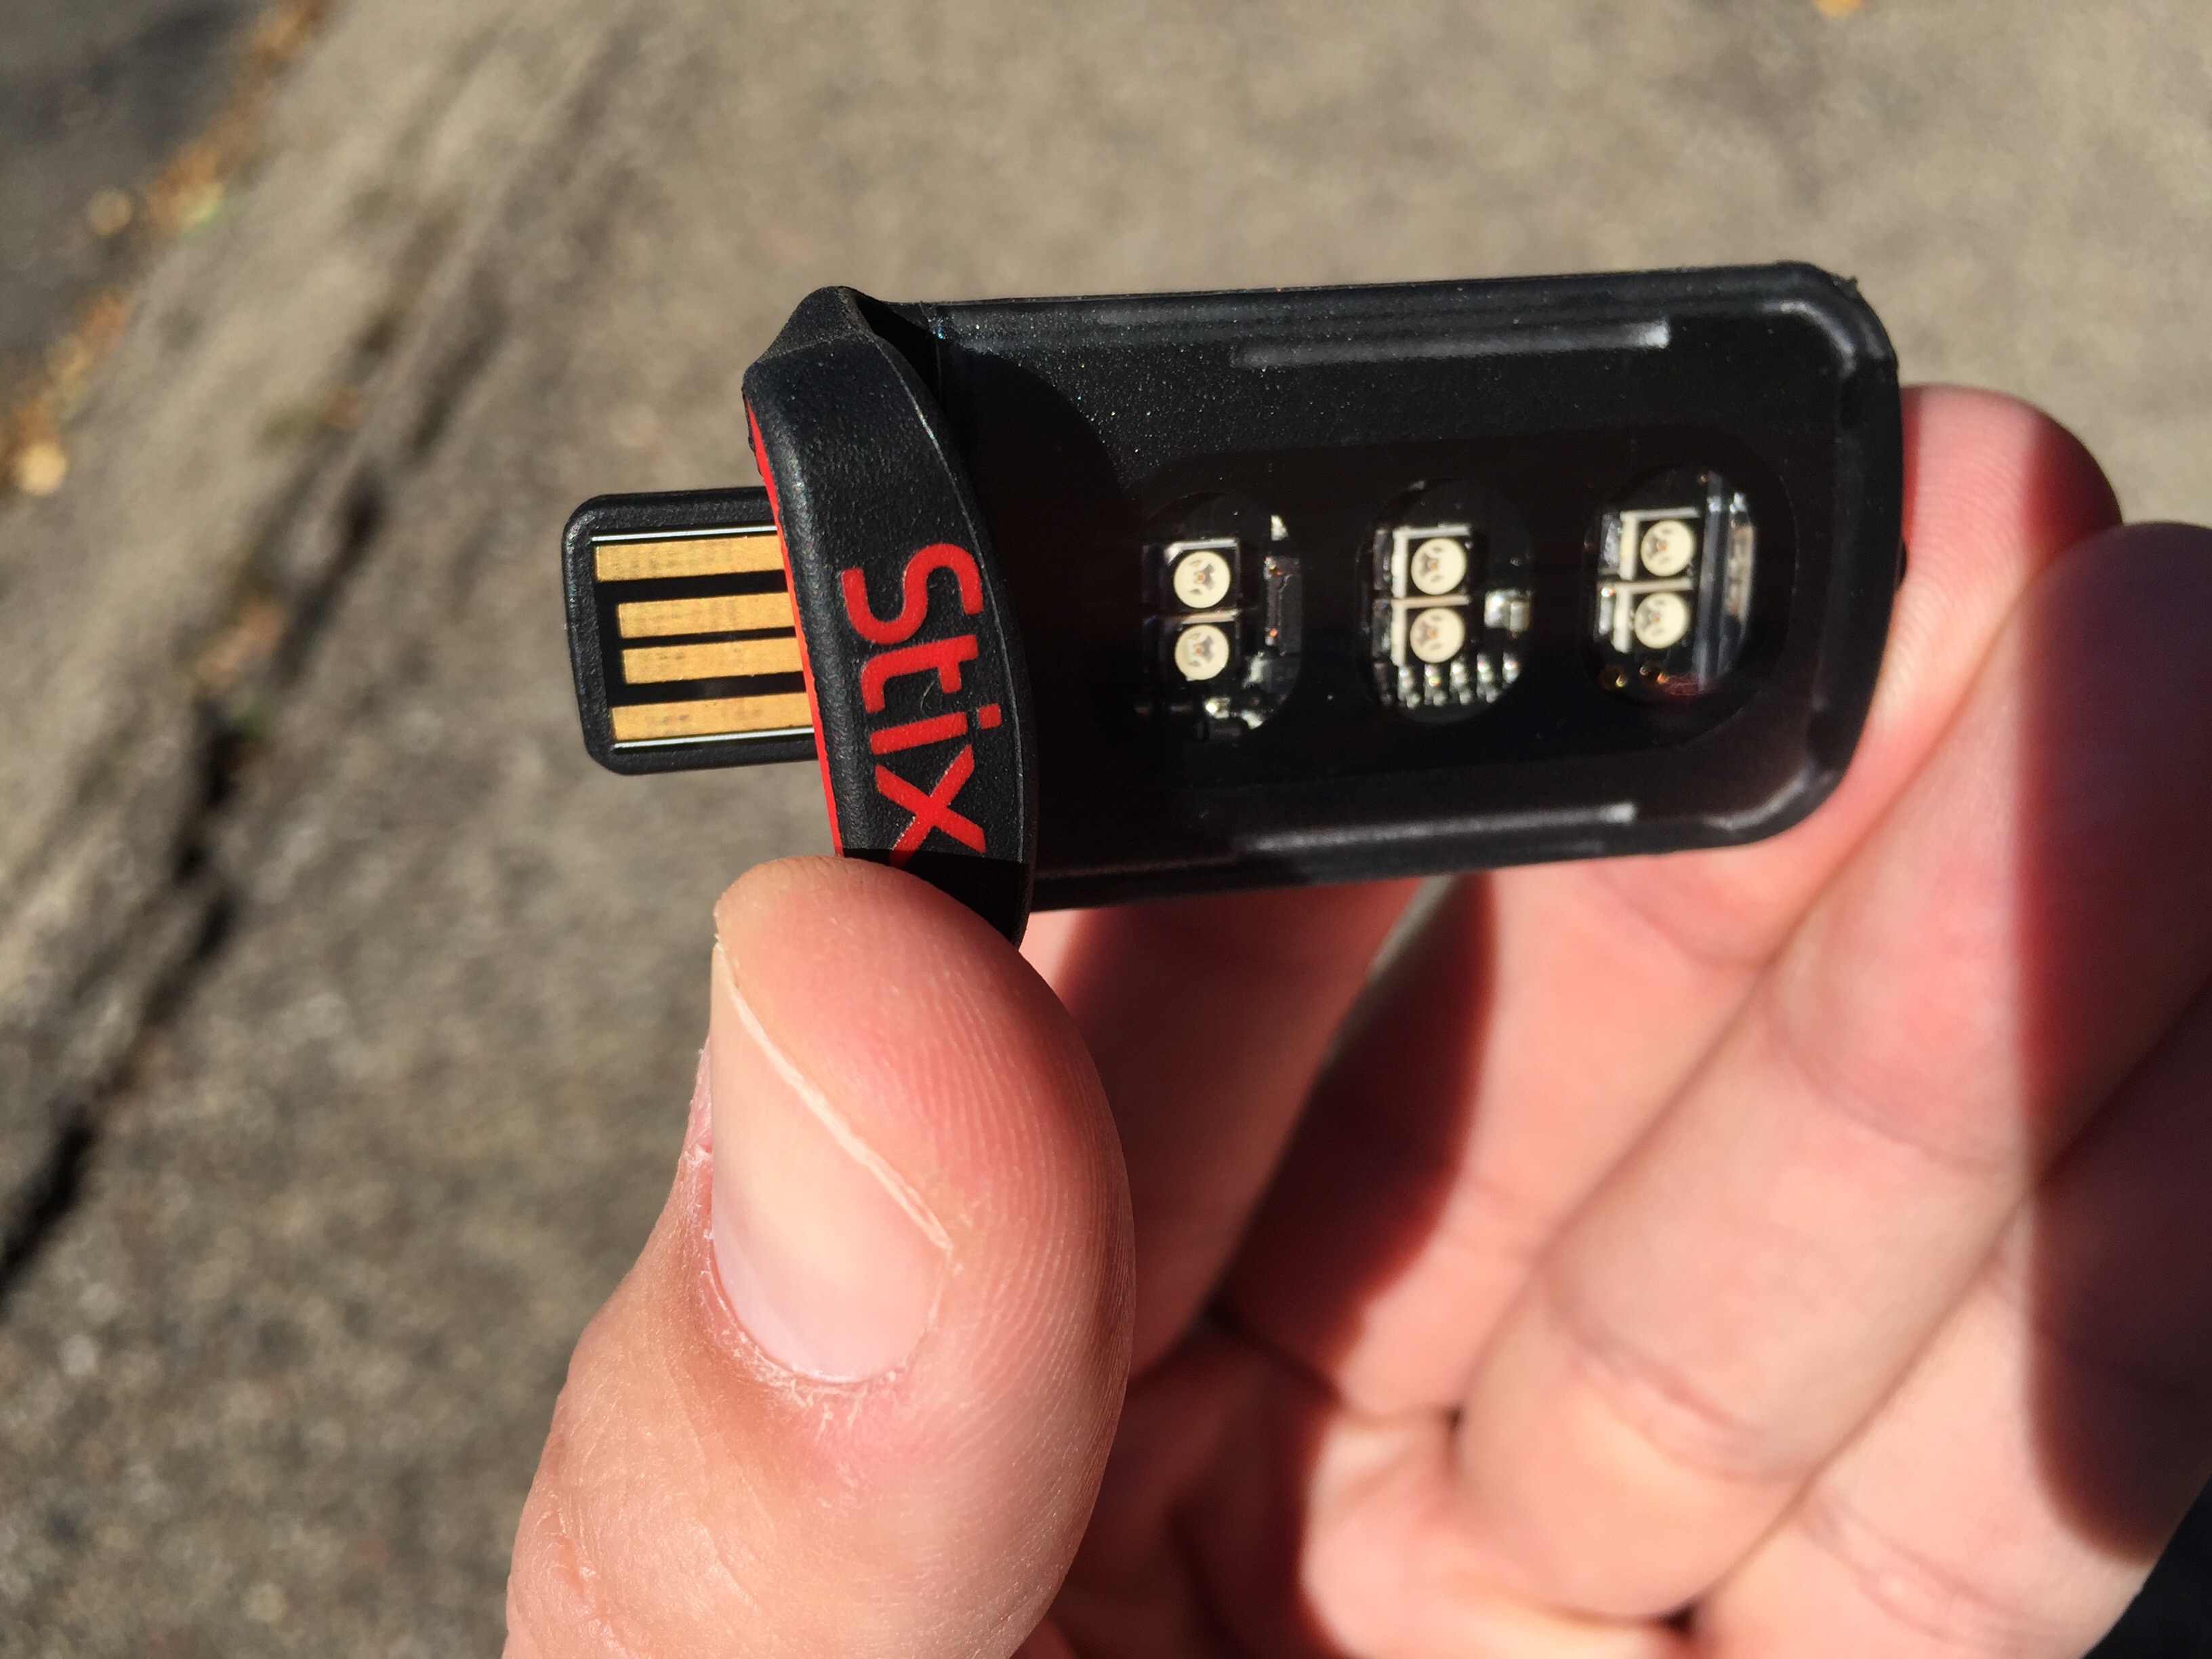
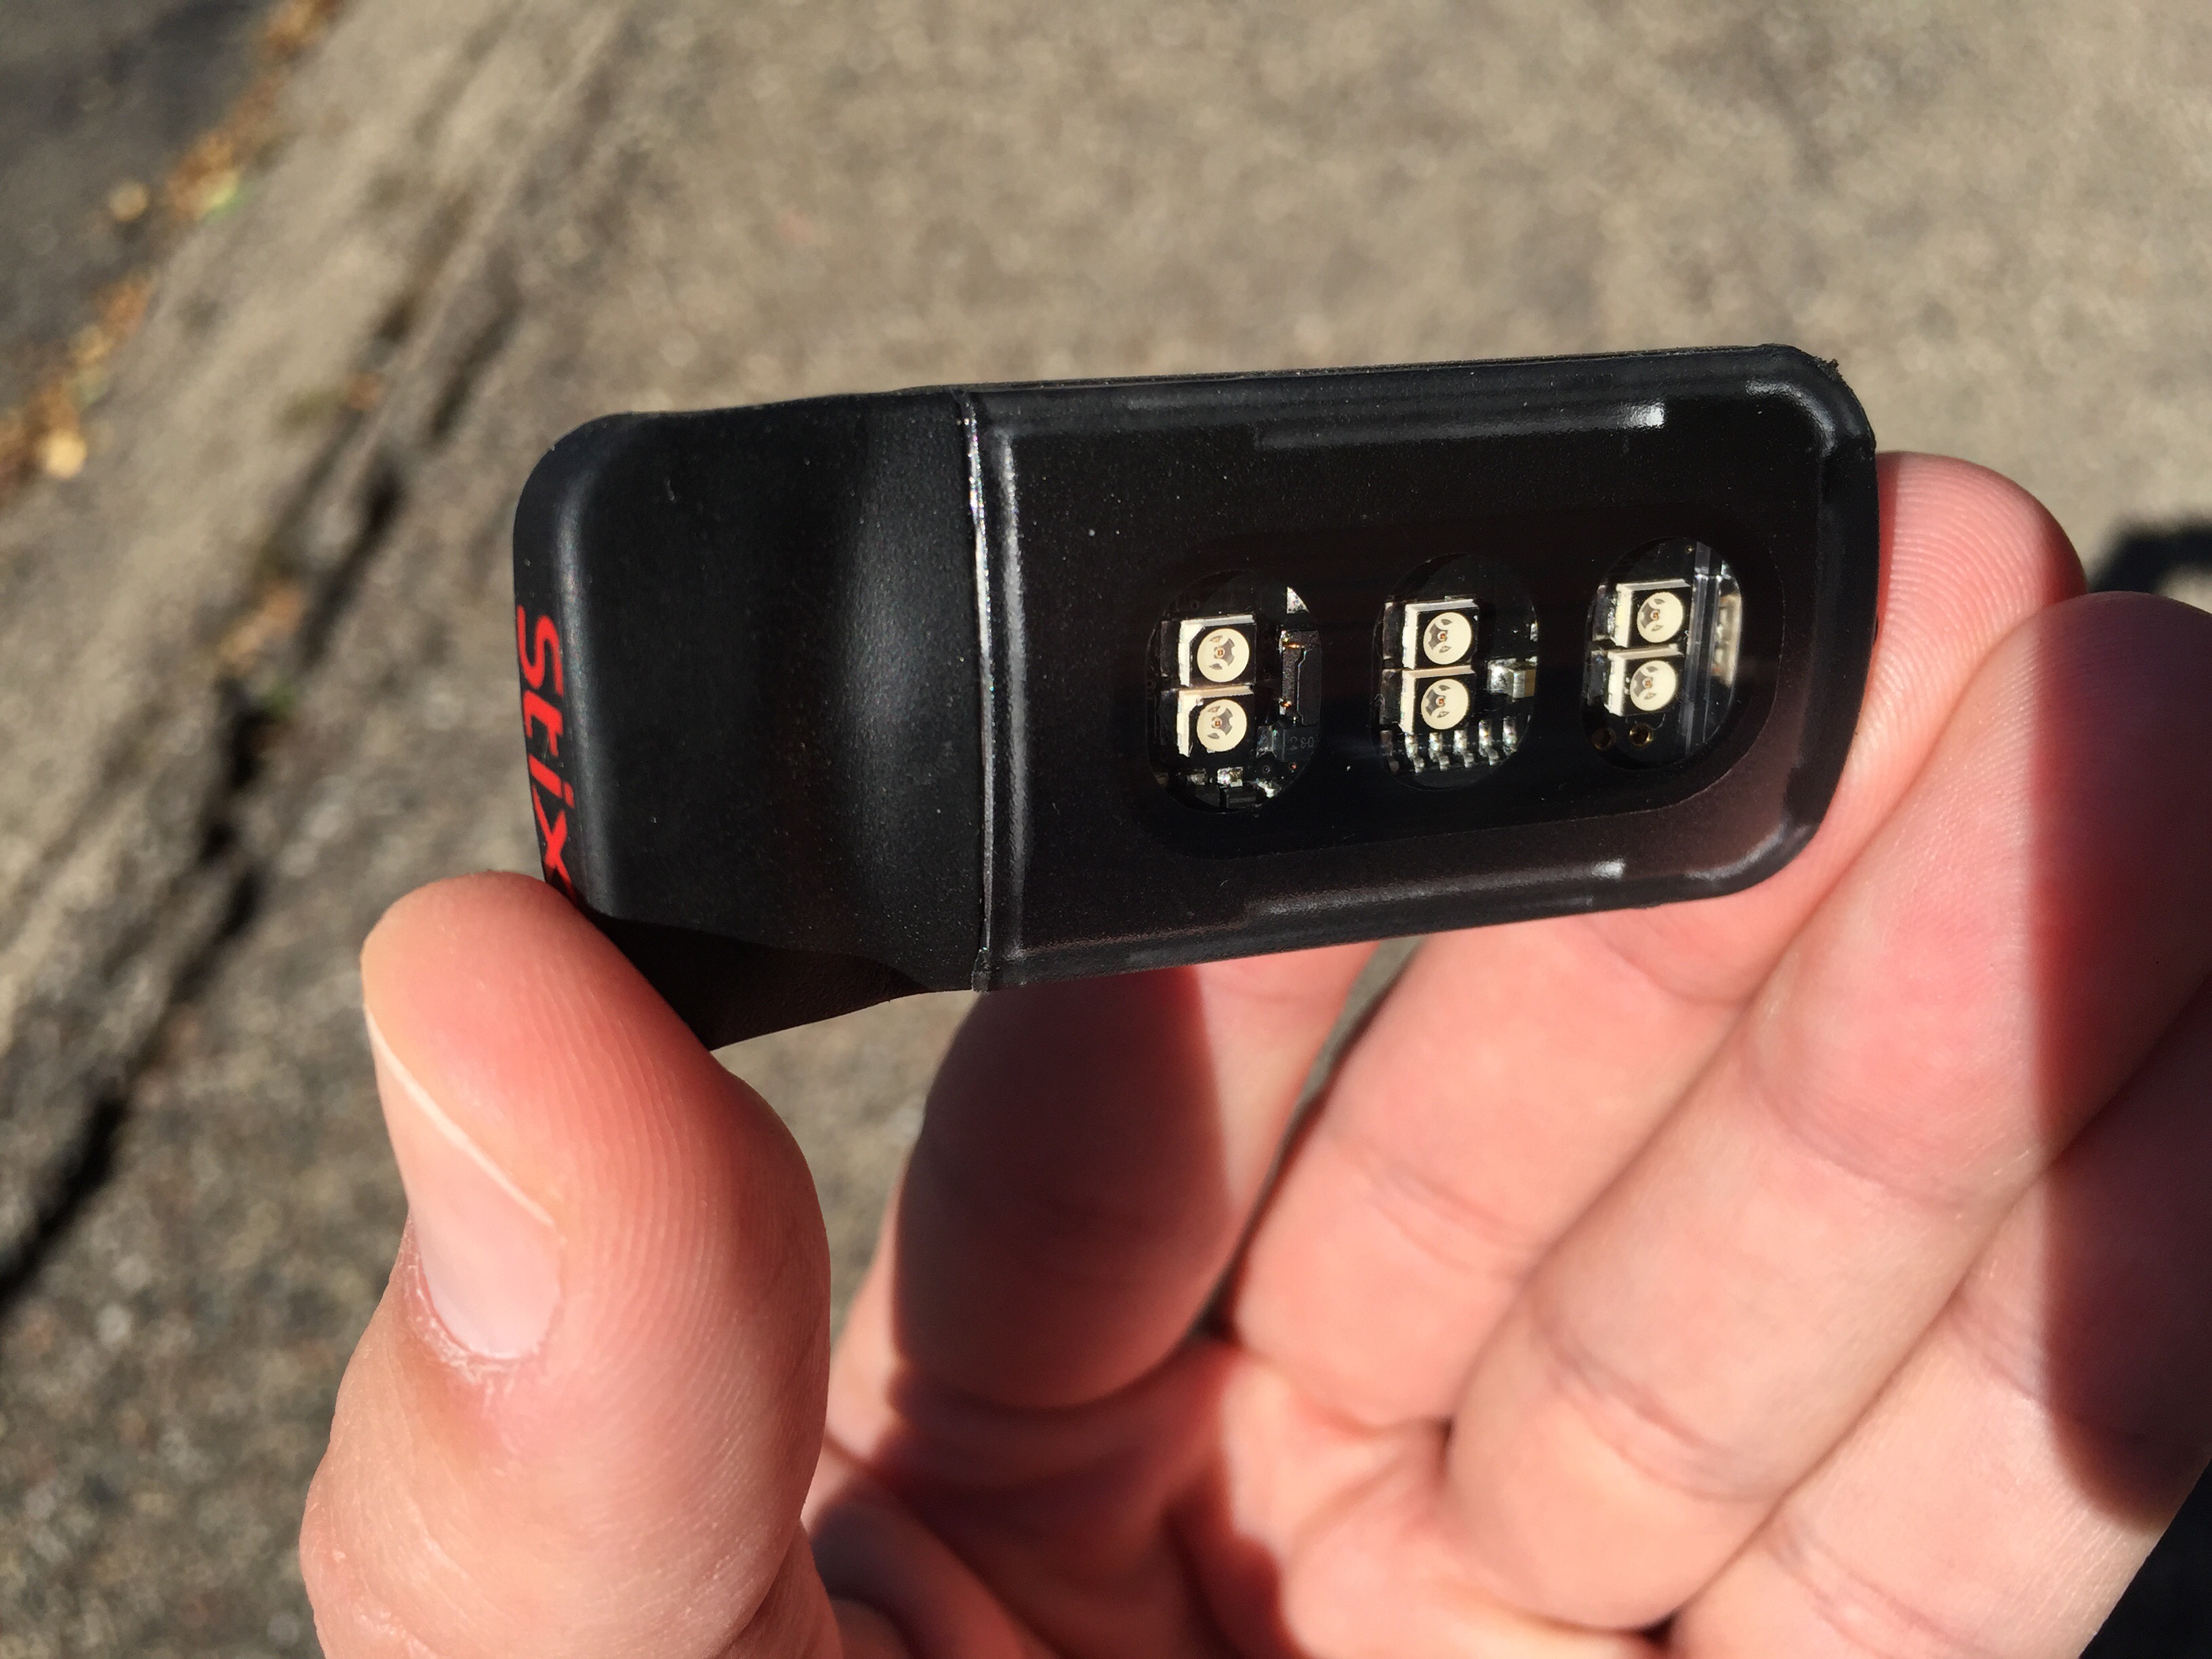
The sales rep at my local bike shop recommended a Specialized Stix light. I’m hesitant to buy anything from “The Big S” but the size and specs were good and they had several mounting options. The model I got is the Stix Comp Tail Light. The only difference that I could tell between it and the Stix Sport Tail Light is the Stix Comp has 3 LEDs instead of 2 and a larger battery for longer runtime. Leave it to Specialized to label them with nonsense marketing names like sport and competition. On sale you can get the Stix Comp Tail Light for around $30.
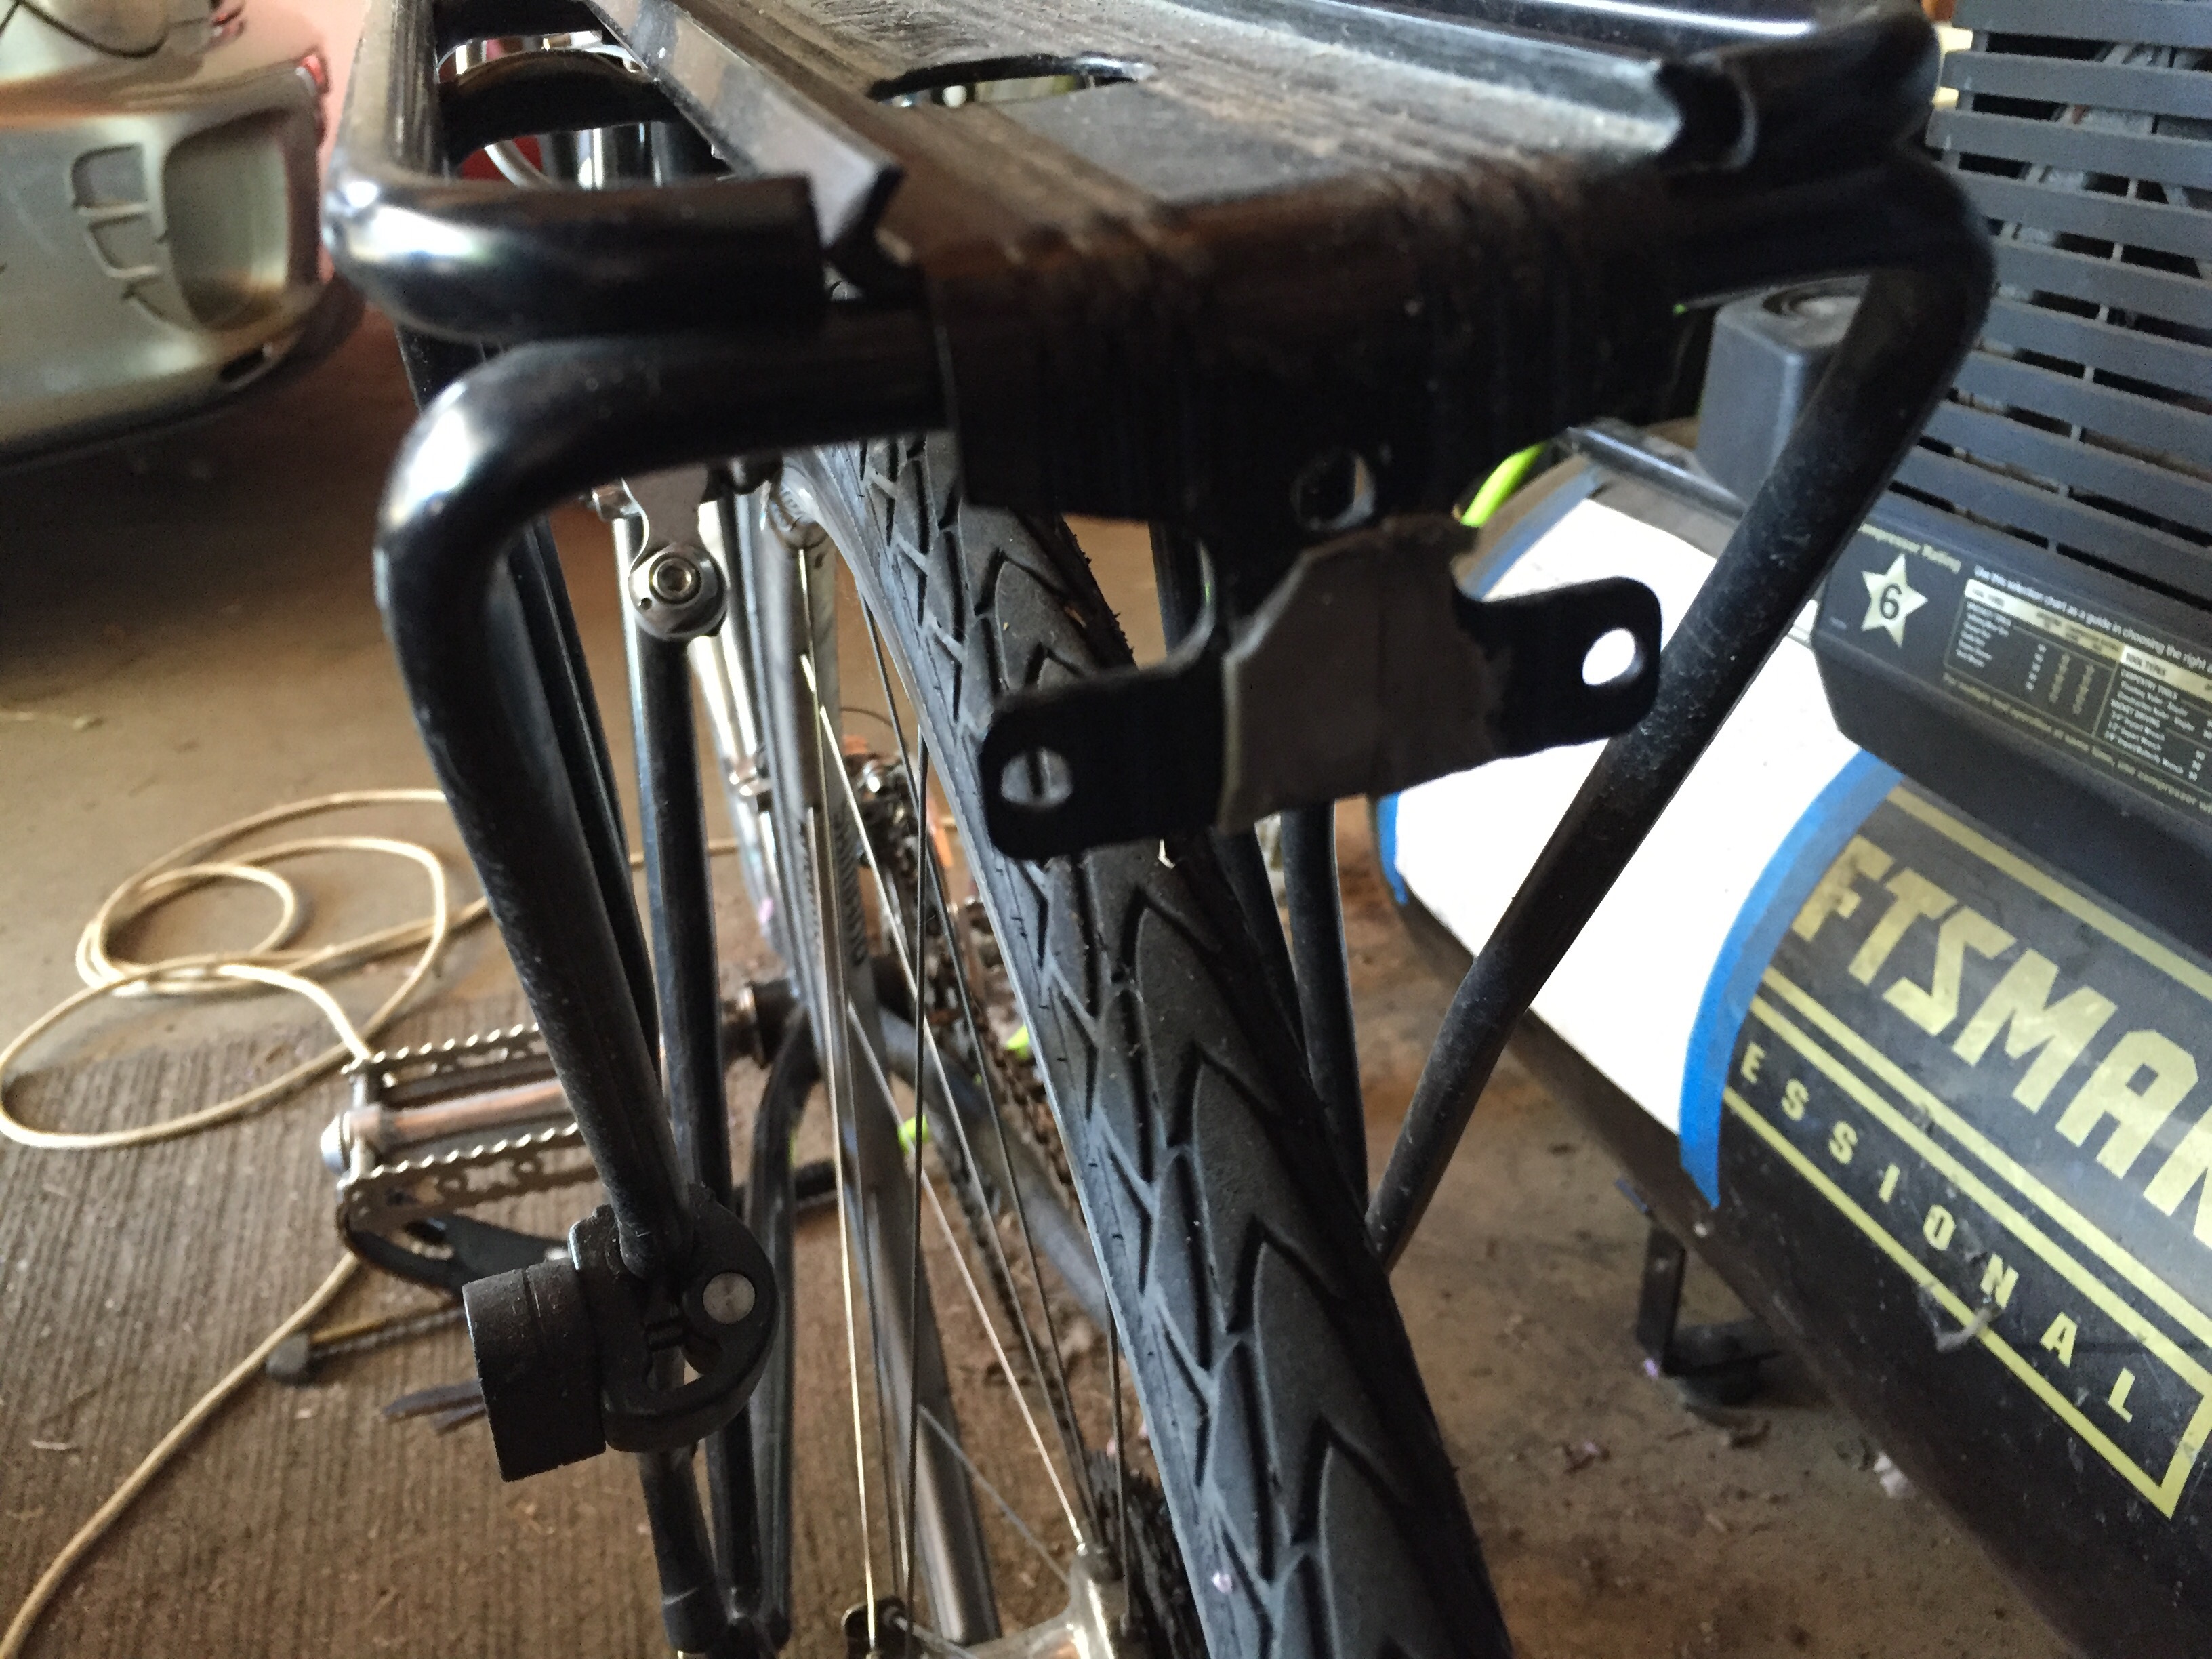
I doubted the rack-mount option would work on my Topeak racks, but I took a chance and bought it anyway since I recalled my rack has a couple of mounting holes:
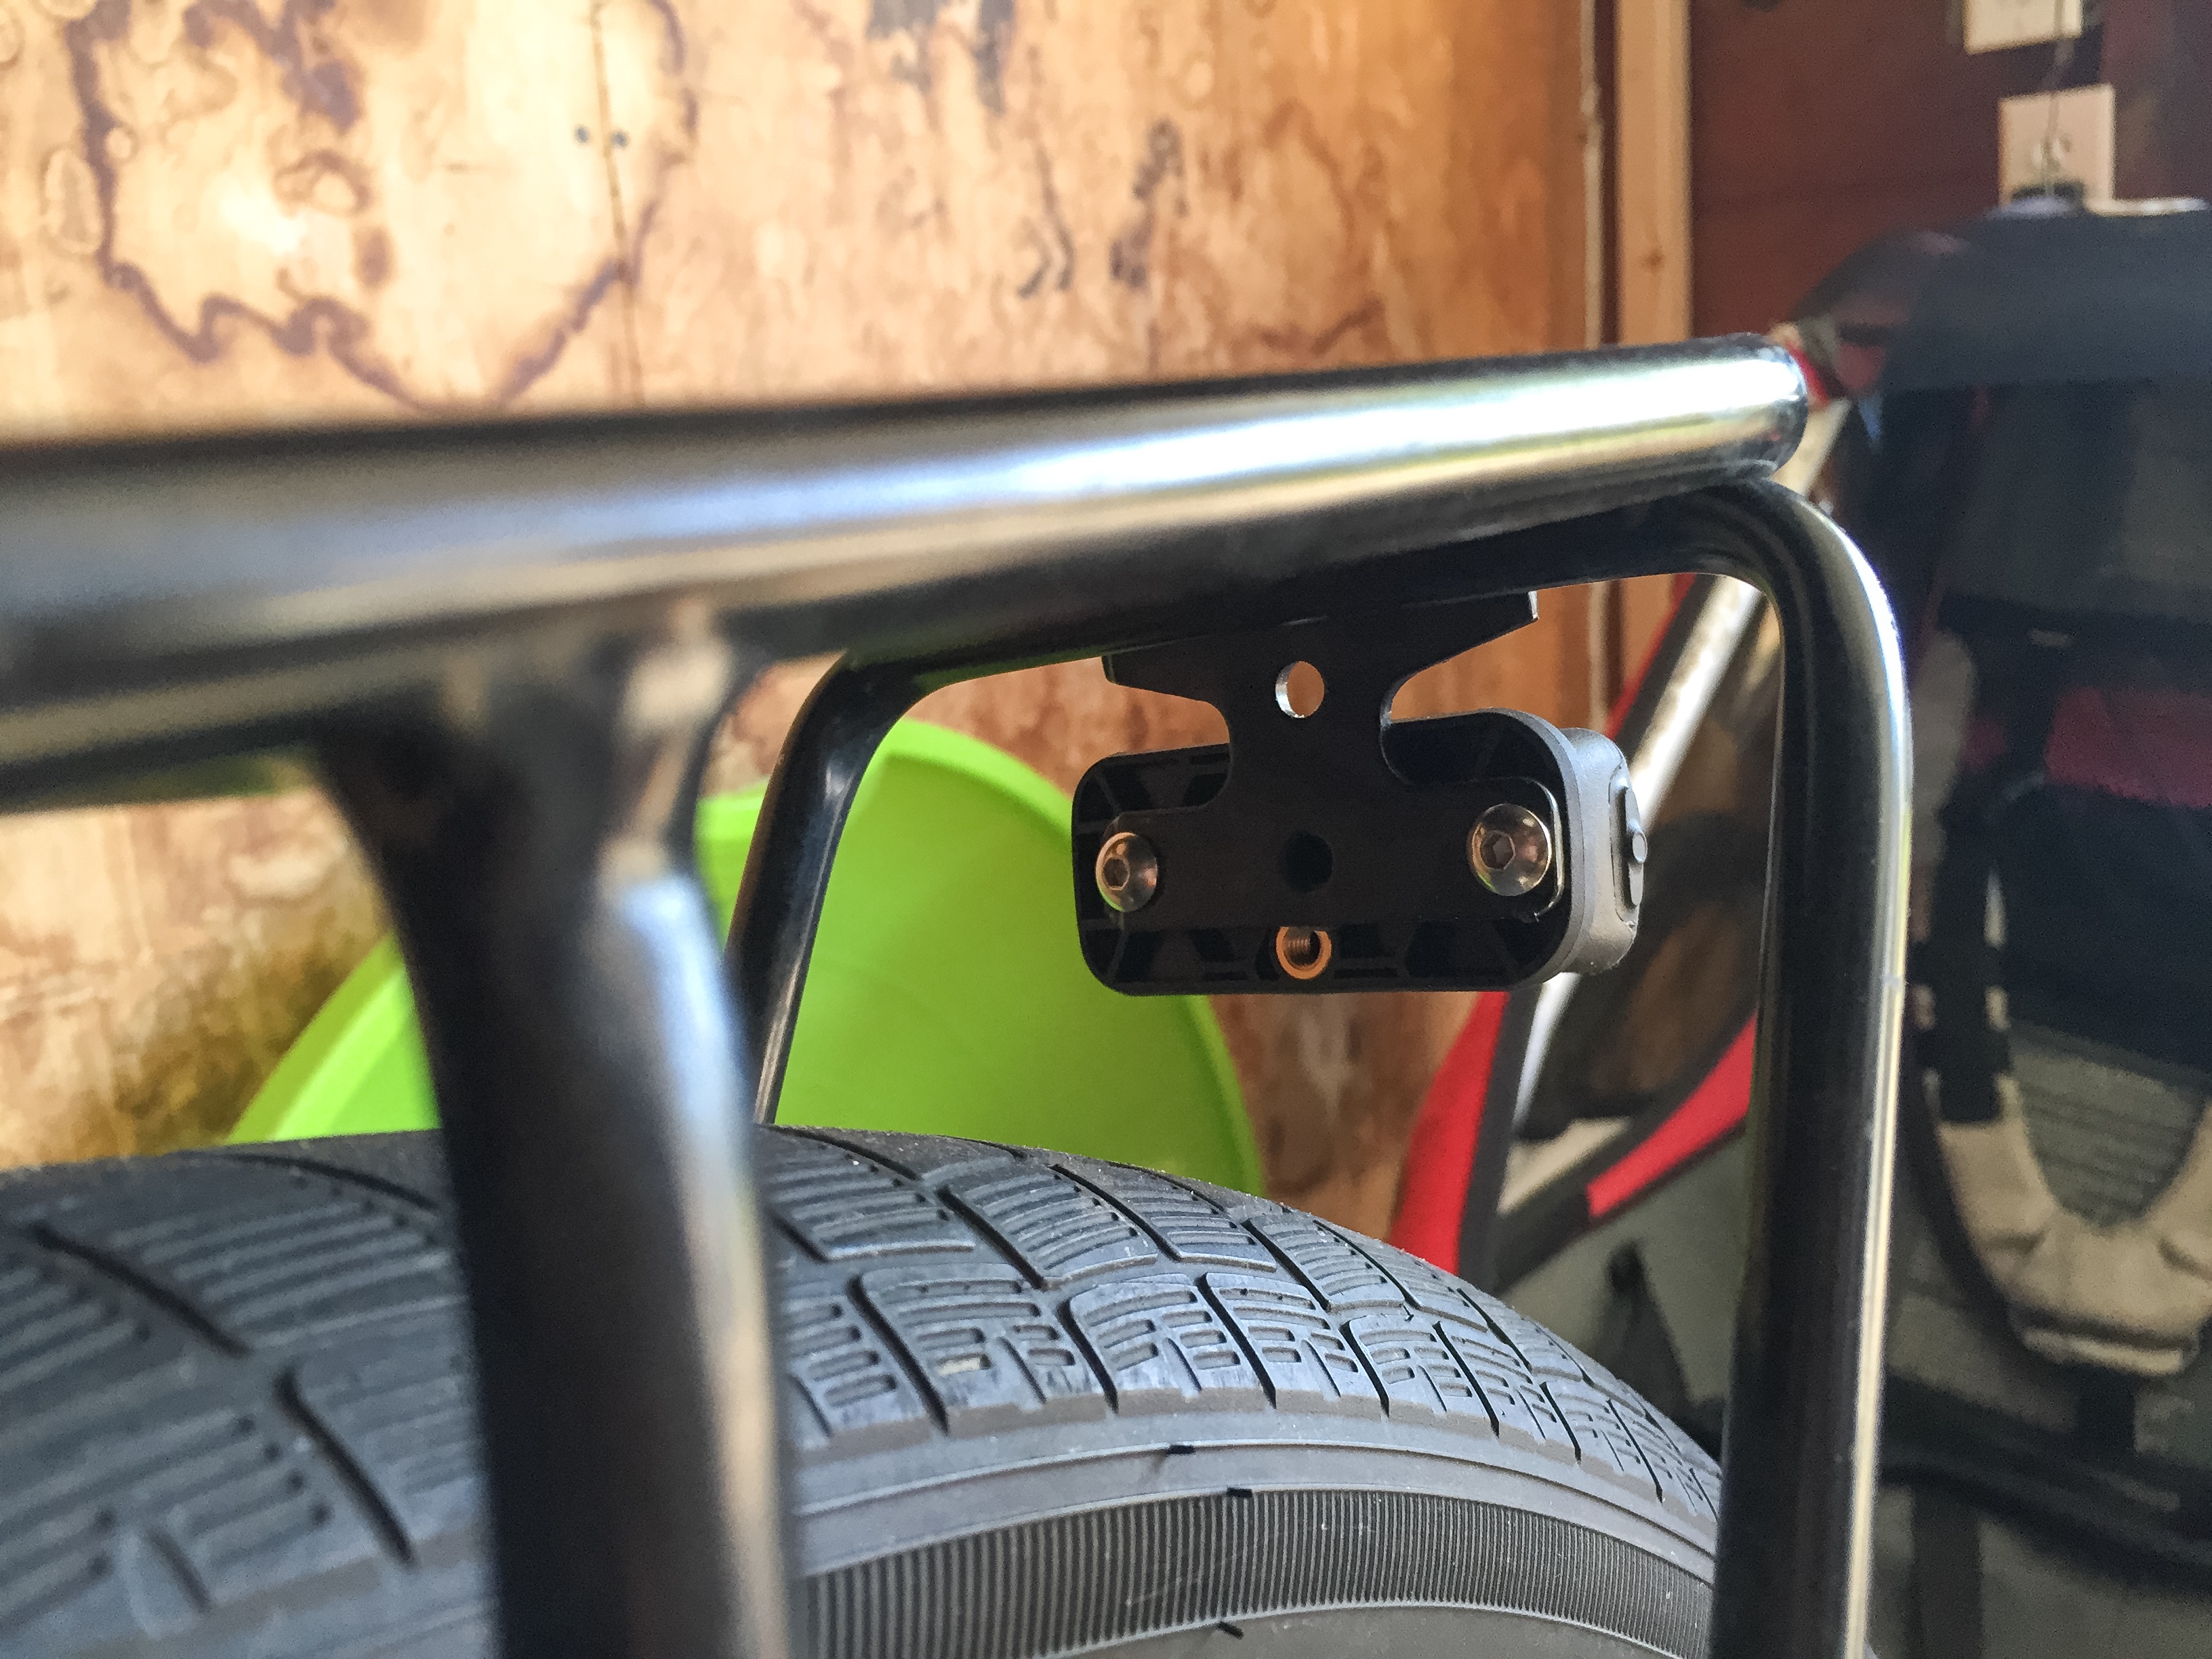
I figured I’d have to drill a new hole to get the spacing right, but the Stix Reflector Mount turned out to be a direct bolt-on fit.
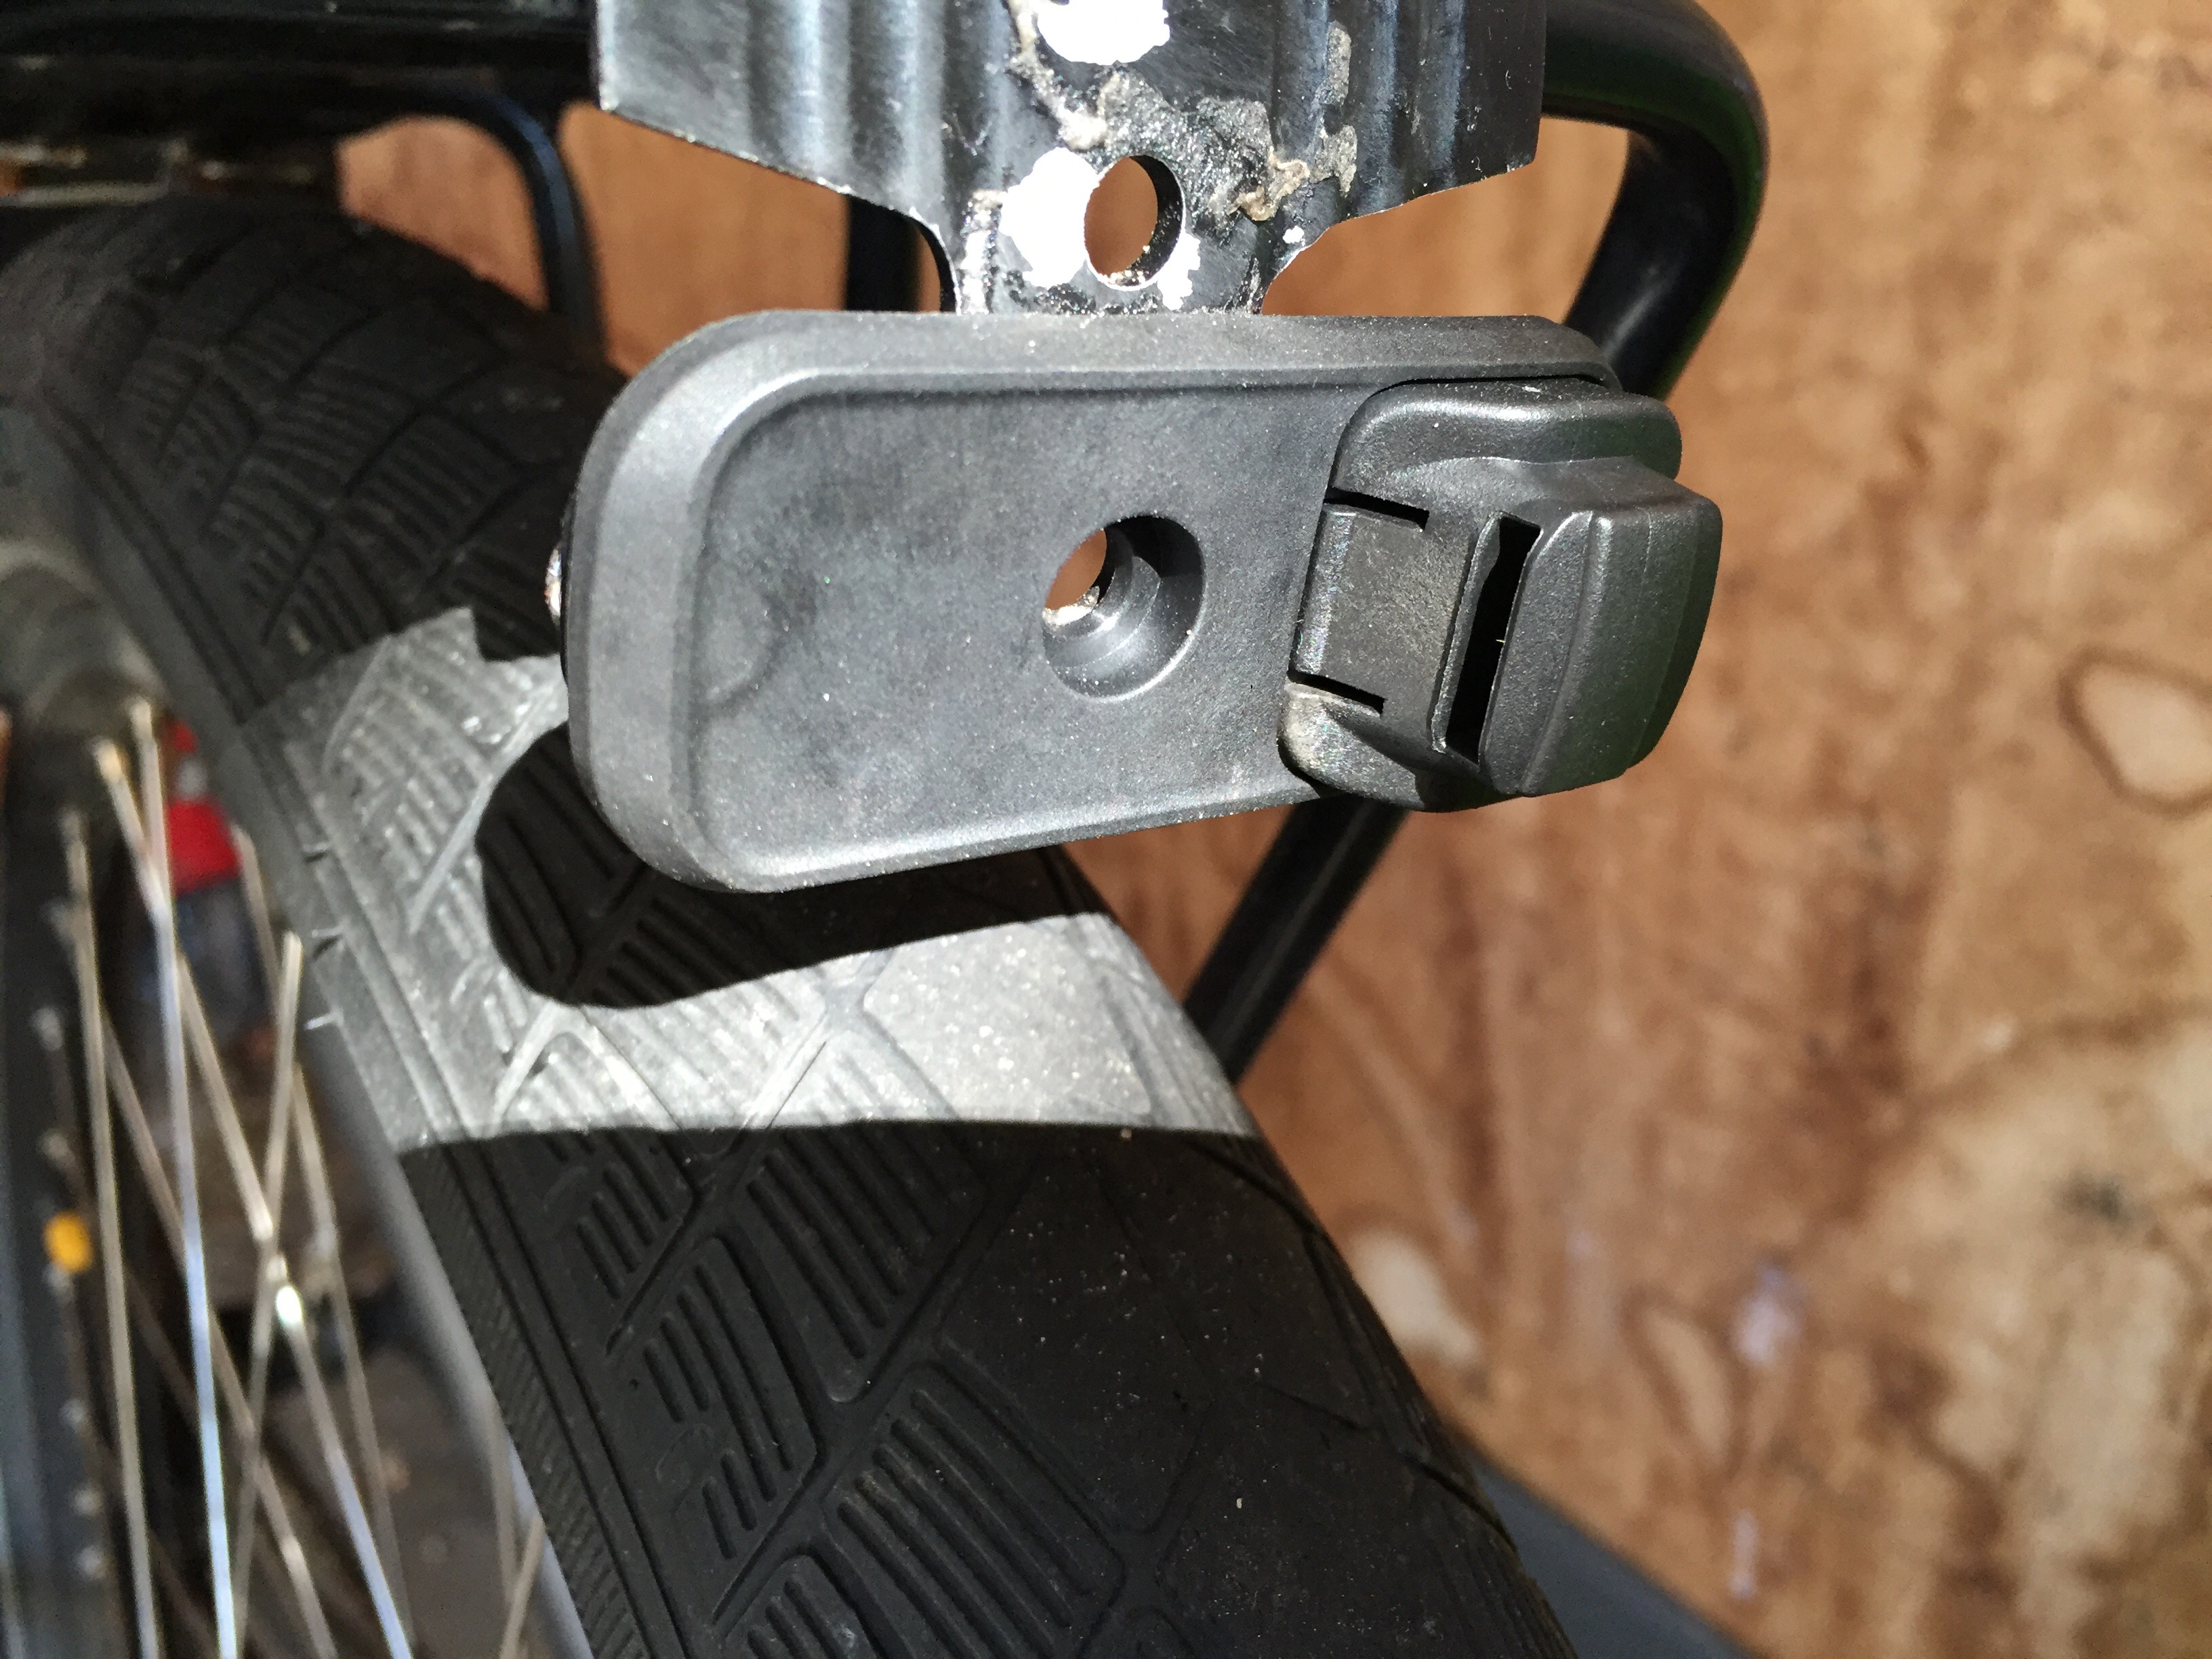
The Stix lights are rechargeable and charge via USB. They conveniently attach to the mount using the USB plug and it’s secured by a rubber hood.
Here’s an animation of how you take install/remove it from the mount:
Also, it has a useful feature where it indicates the charge whenever you shut it off. As you can see in this video, when you do a long press on the button, it shuts down. But before it shuts off, the LEDs will light at half-brightness indicating the charge level. The video shows two LEDs solid with the third blinking, so it’s approximately 83% charged.
This light seems like a great companion to my lithium-ion powered front light. I look forward to putting it through the paces over the winter.
Now that I got my ham license and some FPV equipment, I needed a way to set it up so that it’s usable at the flying field. Also, don’t let the title fool you – most of the money ($75) was spent on the FPV system itself, (including camera!). Other parts I was able to borrow or steal…
I started with the two-monitor portable DVD system that my kids use to watch movies on road trips. The 1st monitor is the “brain” that has the DVD player. The 2nd monitor simply accepts power and an A/V signal from the 1st. I stole this monitor for use with my ground station. I tested it by powering it on through the cigarette lighter jack and then hooking it up to the FPV receiver. With the FPV transmitter off I saw static instead of the dreaded “blue screen” – which is good!
I finally jumped into FPV by purchasing my first kit, a Quanum Tx/Rx/Camera package I got for around $60 from HobbyKing while it was on sale.
With it’s 600mW transmit power, it should be more than enough for some field flying, even with trees in the way. But before I fire it up, I needed to get legal. The FCC has a rule called Part 15 about “unlicensed equipment” which states what sort of emissions a device can have to be operated without a radio license. It’s rather complex and the only FCC Part 15 certified FPV systems I’ve seen are 20-25mW. So it was time for me to ante up and get my amateur radio license so I can be a legal, card-carrying operator.
While this isn’t about anything R/C, it’s somewhat related… I recently converted a lead-acid battery powered mower to lithium-ion batteries. Anyone that is in R/C and has a lawn to mow should follow this course.
My Assault 100 helicopter came with a transmitter module that allows you to use it with any transmitter. This module is also used with HobbyKing’s Q-BOT Micro quad and FBL100 helicopter. It’s actually just a rebranded HiSky HT8 module which is used for manyHiSkyhelicopters. Rather than have to charge this module separately and hang it off of my Turnigy 9x, I decided to build a module specifically for my 9x which would power it up and keep it safely in place.