Jules enjoys riding Marlo’s scooter as well, but I told him he can only ride it until he turns 6. At that point, I’ll turn him loose on an old-school Variflex Strada scooter I’ve had in the shed for some time.
Continue reading →
When it comes to skateboards, Variflex is the last name you want to hear. It is the brand of skateboard you’d get at Target in the 1980s. In skateboard speak, Variflex is for posers.
A “real” 80s scooter made by Dyno or Mongoose would cost a pretty penny due to their vintage value. Side note: you can now buy Mongoose bikes at Target – they’re closer to Variflex in quality compared to their 80s offerings.
The Variflex Strada scooters can be had from garage sales or craigslist for $20 or even less since they sold so many. I got one for free.
The brakes are the absolute worst part of this scooter. With a decent brake upgrade, it will be suitable to ride.
New Rear V-Brake
I purchased a Mini (BMX) V-brake kit that came with the brake, a brake lever, and a cable.
V-Brake Posts
I just needed to get it all fixed up to the scooter. Since the old brake was a center-pull style brake, I needed to add the brake posts that v-brakes mount up to. For those, I hit up Erik at Peacock Groove.
The posts need to be welded to the frame. I had removed all of the paint from the frame to paint it a completely different color, but I could have just removed a small bit of paint around the welding area.
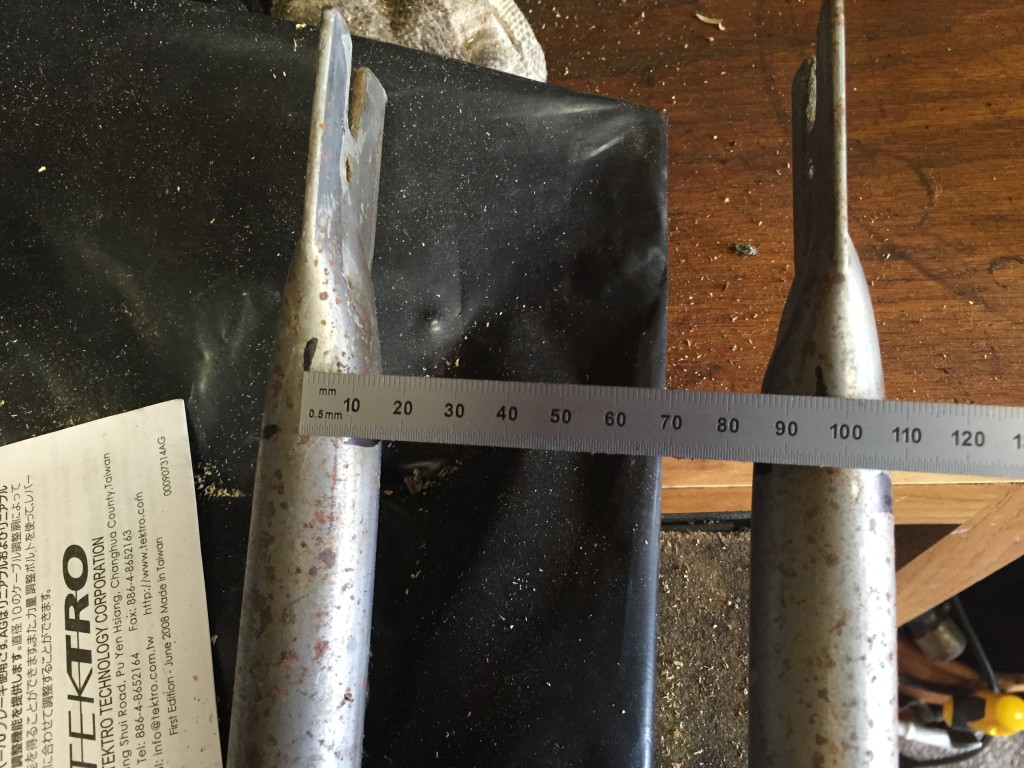
To figure out the spacing, I mounted up the rear wheel/tire assembly. I loosely fastened the posts & brakes (with brake pads), and positioned them generally where I thought they should be to make good contact with the wheel rim.
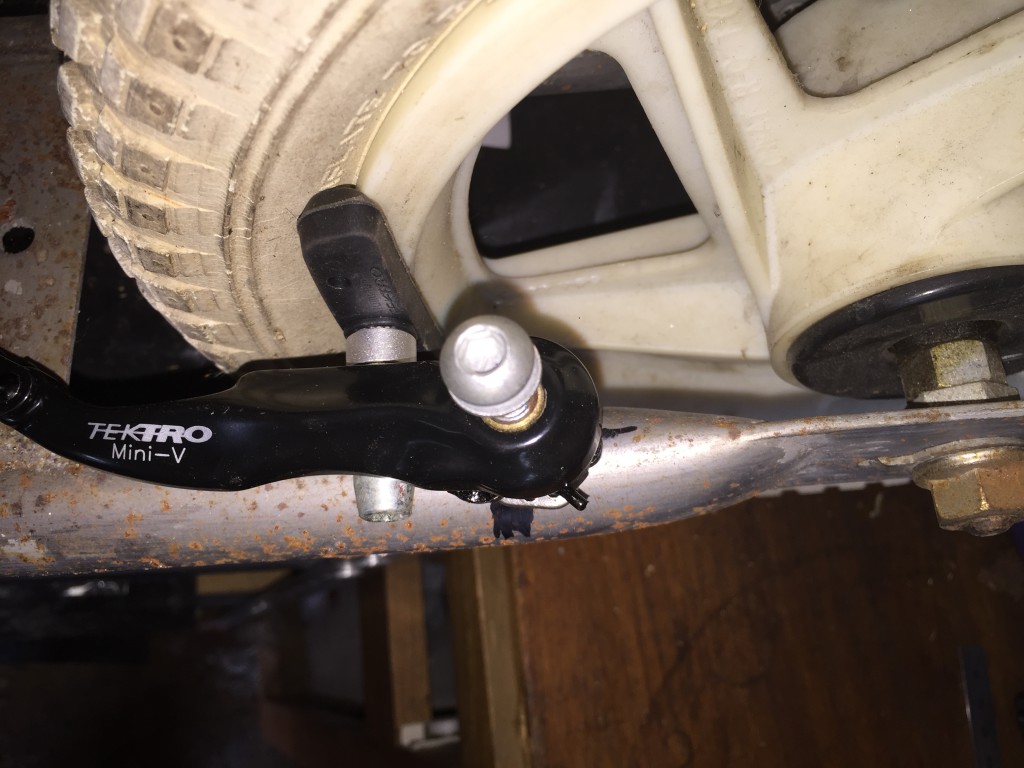
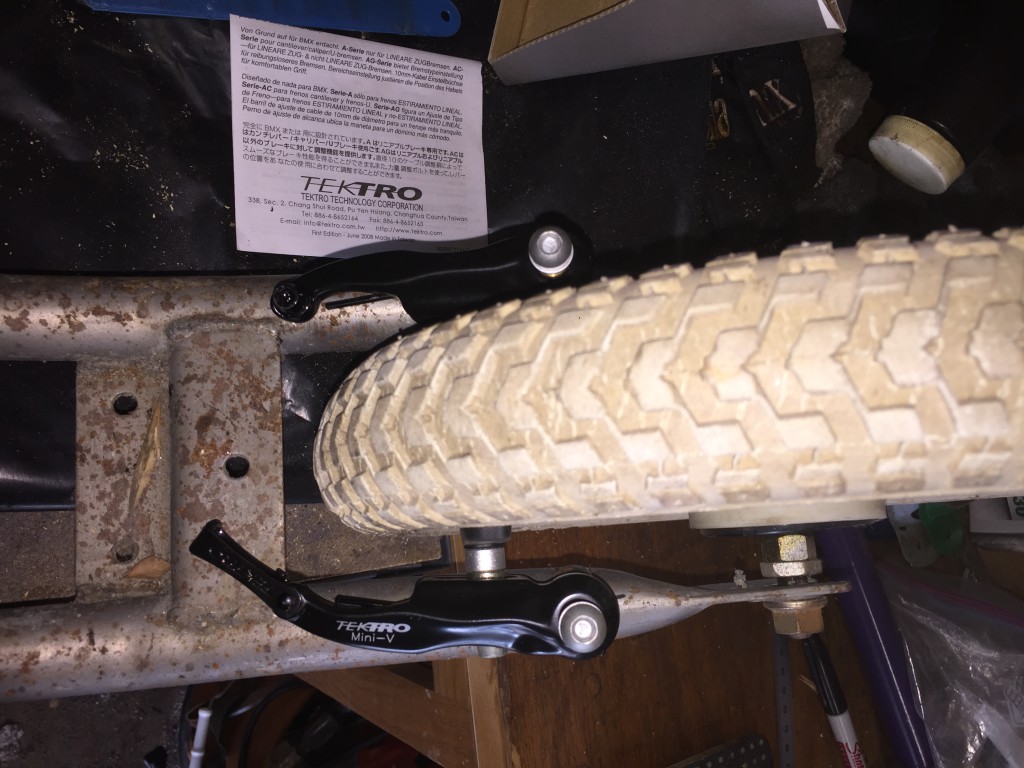
I marked the frame with a marker, and then measured the width of the post placement, center-to-center.
V-Brake Post Welding Jig
To hold the posts in place while welding them to the frame, I built a jig. It is made out of a couple pieces of flat aluminum from the hardware store:
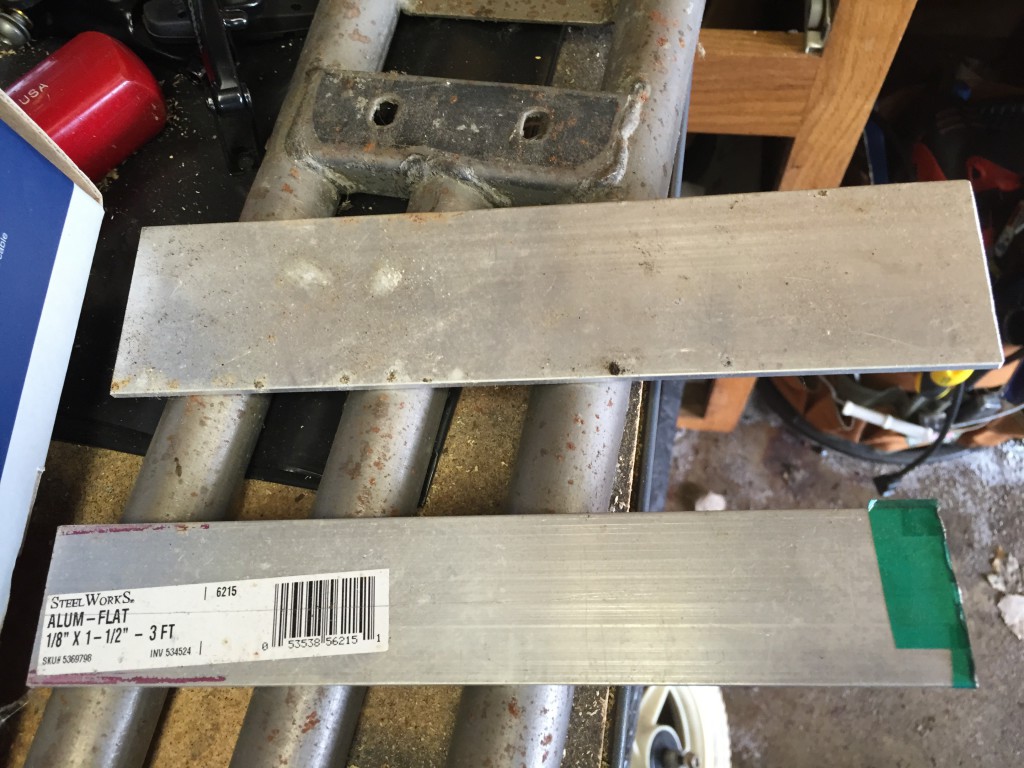
I drilled 3 holes in the top aluminum piece. One for each brake post, using my previous measurement to space them out correctly. And one for a fastening bolt. On the bottom piece, I drilled only one hole in the center for the fastening bolt. I fastened the brake posts to the top aluminum piece using the hardware included in the brake kit, and then used a long bolt and nut to hold it all in place:
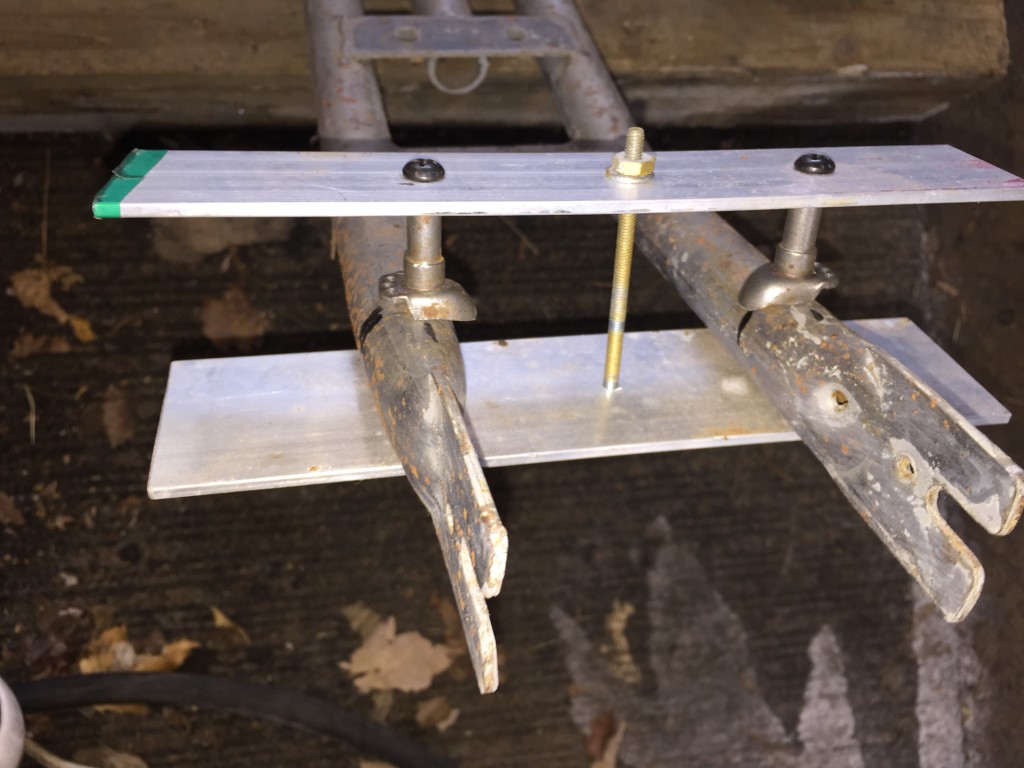
Brake Boss Fitament
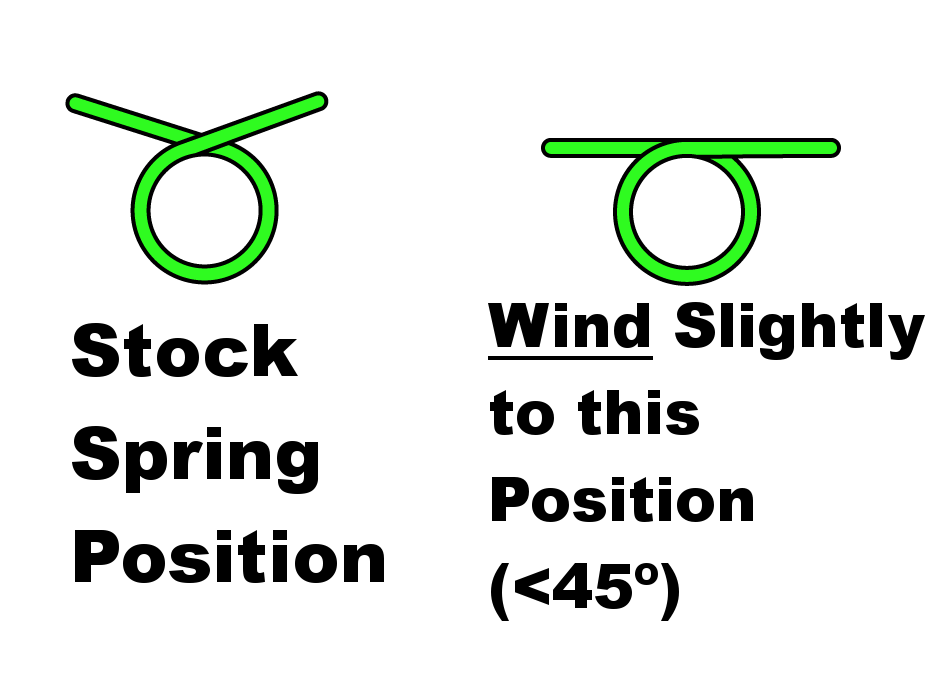
LEARN FROM MY MISTAKE – the posts shown in the photo above are backwards. The holes for the brake spring should be on the inside, towards the wheel. 😎
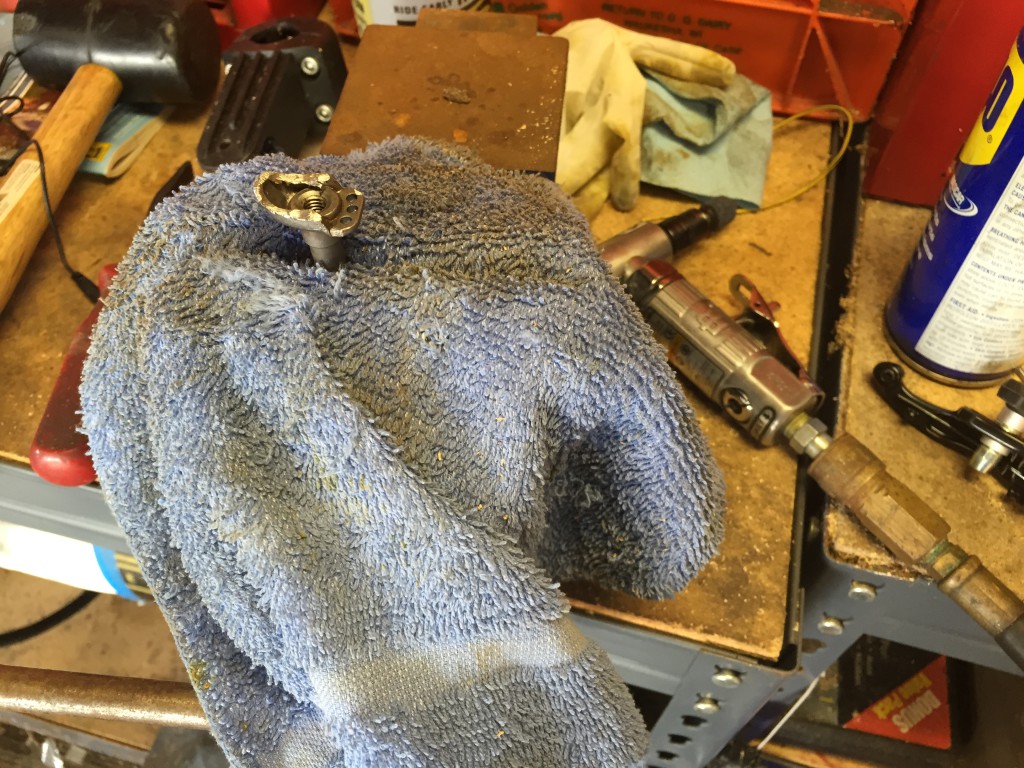
Once I had things lined up, I needed to contour the brake post base to sit nicely against the frame tubing. I put it in a vise with some cloth to keep it from being marred – masking tape would probably work as well. Then I used a die grinder to shape it – a dremel would probably work here as well.
I am not a good welder, in fact I’m probably the world’s worst. I acquired a welder from a friend for a song and I probably only weld something once a year. Accomplished welders probably welded something every day for a year to get where they’re at. I’m about 360 welds short of that.
Anyway, the posts are on and I don’t think they’re going anywhere, so I finished painting the frame and fastened everything up.

A note on paint
I had planned on doing a 3-coat process to paint: primer, base coat, and clear coat. The issue came when I applied the clear coat – the base coat began to crack and peel as if I were spraying on paint thinner. This may have been because I was using a gloss base color that possibly wasn’t meant to have a clear over it.

I just wanted to do it cheaply with some durability. Whatever caused the issue, you’ve been warned 😎

Happy Scootering!

