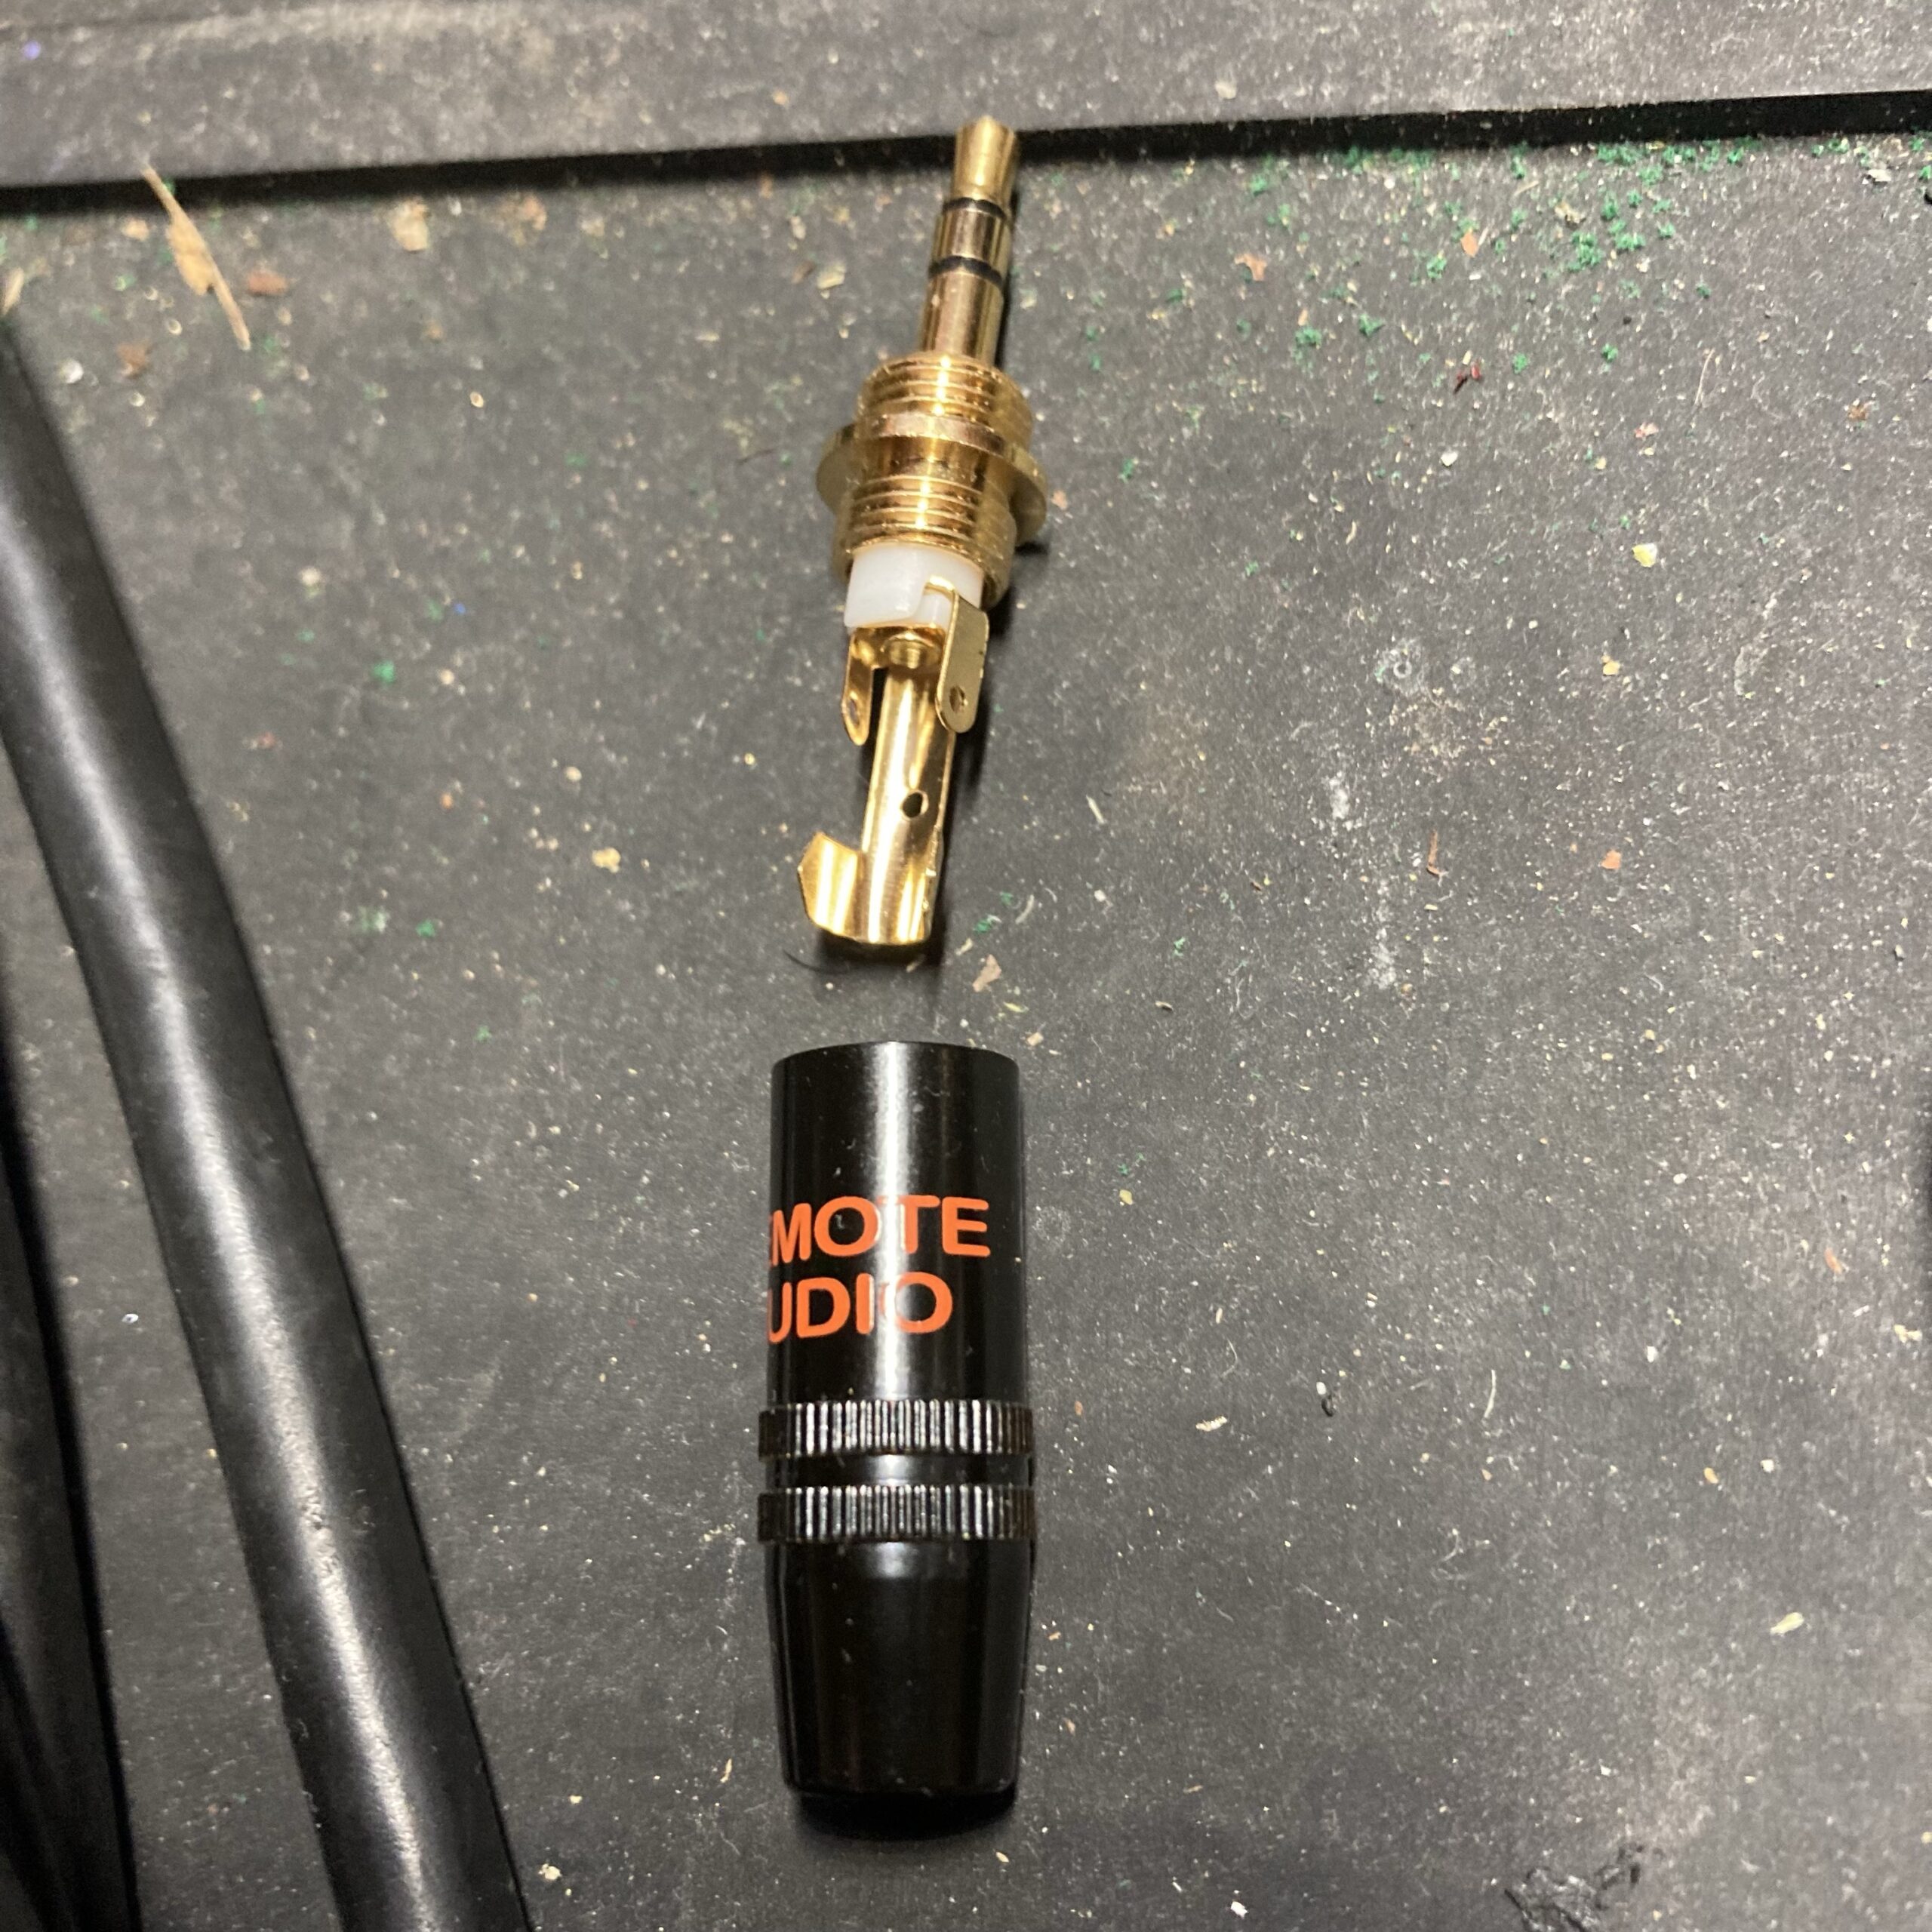
If you have a pair of tried-and-true Sony MDR-V6 headphones (or V600, 7506, etc.) and you find yourself needing a new jack/plug, this is the one you want:
It is made by Sony and fits the threaded 1/8″ to 1/4″ TRS adapter.

This is a great find. The only disappointing thing was the size of the box it was delivered in from B & H Photo:
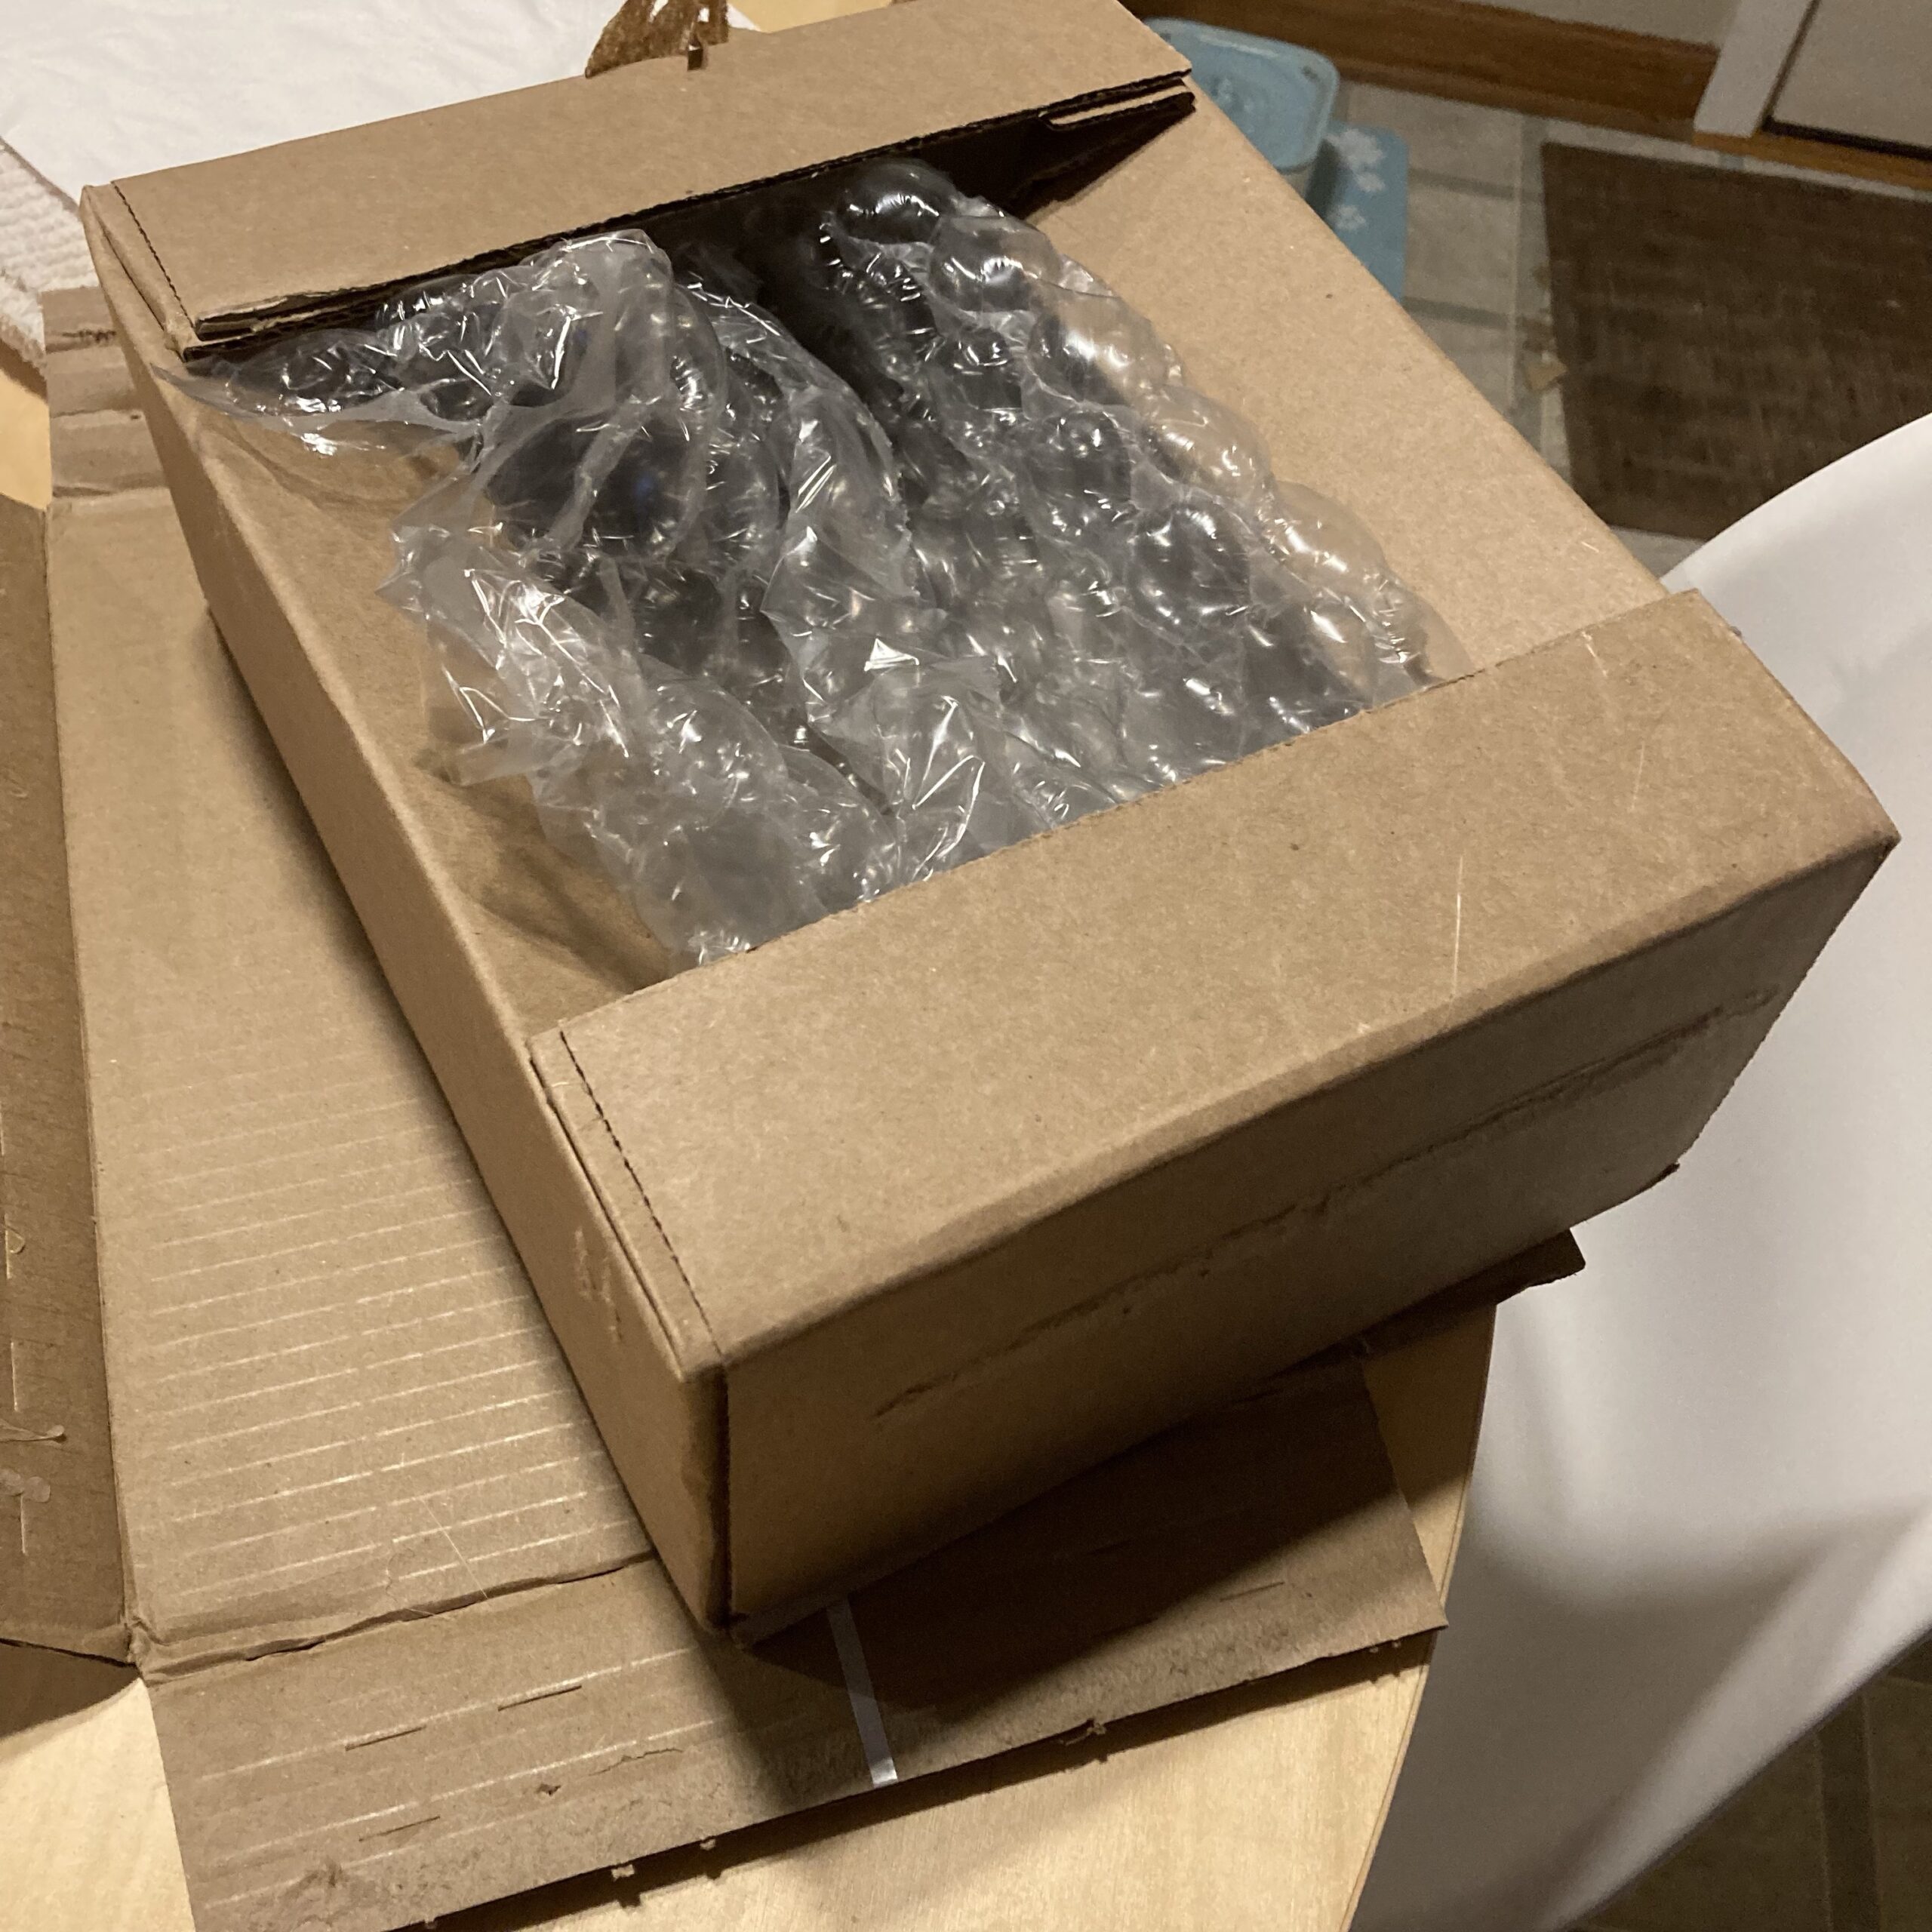
Couldn’t it have been sent in a bubble mailer? 😕
Disassembly & Prep
If you’re looking to gently take off your original jack, it (dis)assembles the same way as the replacement.
My old jack was bent, so there was no point in saving it. I cut the wire but made sure to not cut the strain relief sleeve. Alas I realized you must disassemble the old jack to get the strain relief sleeve out anyway.
Once it’s free, drop the sleeve into the new replacement casing.
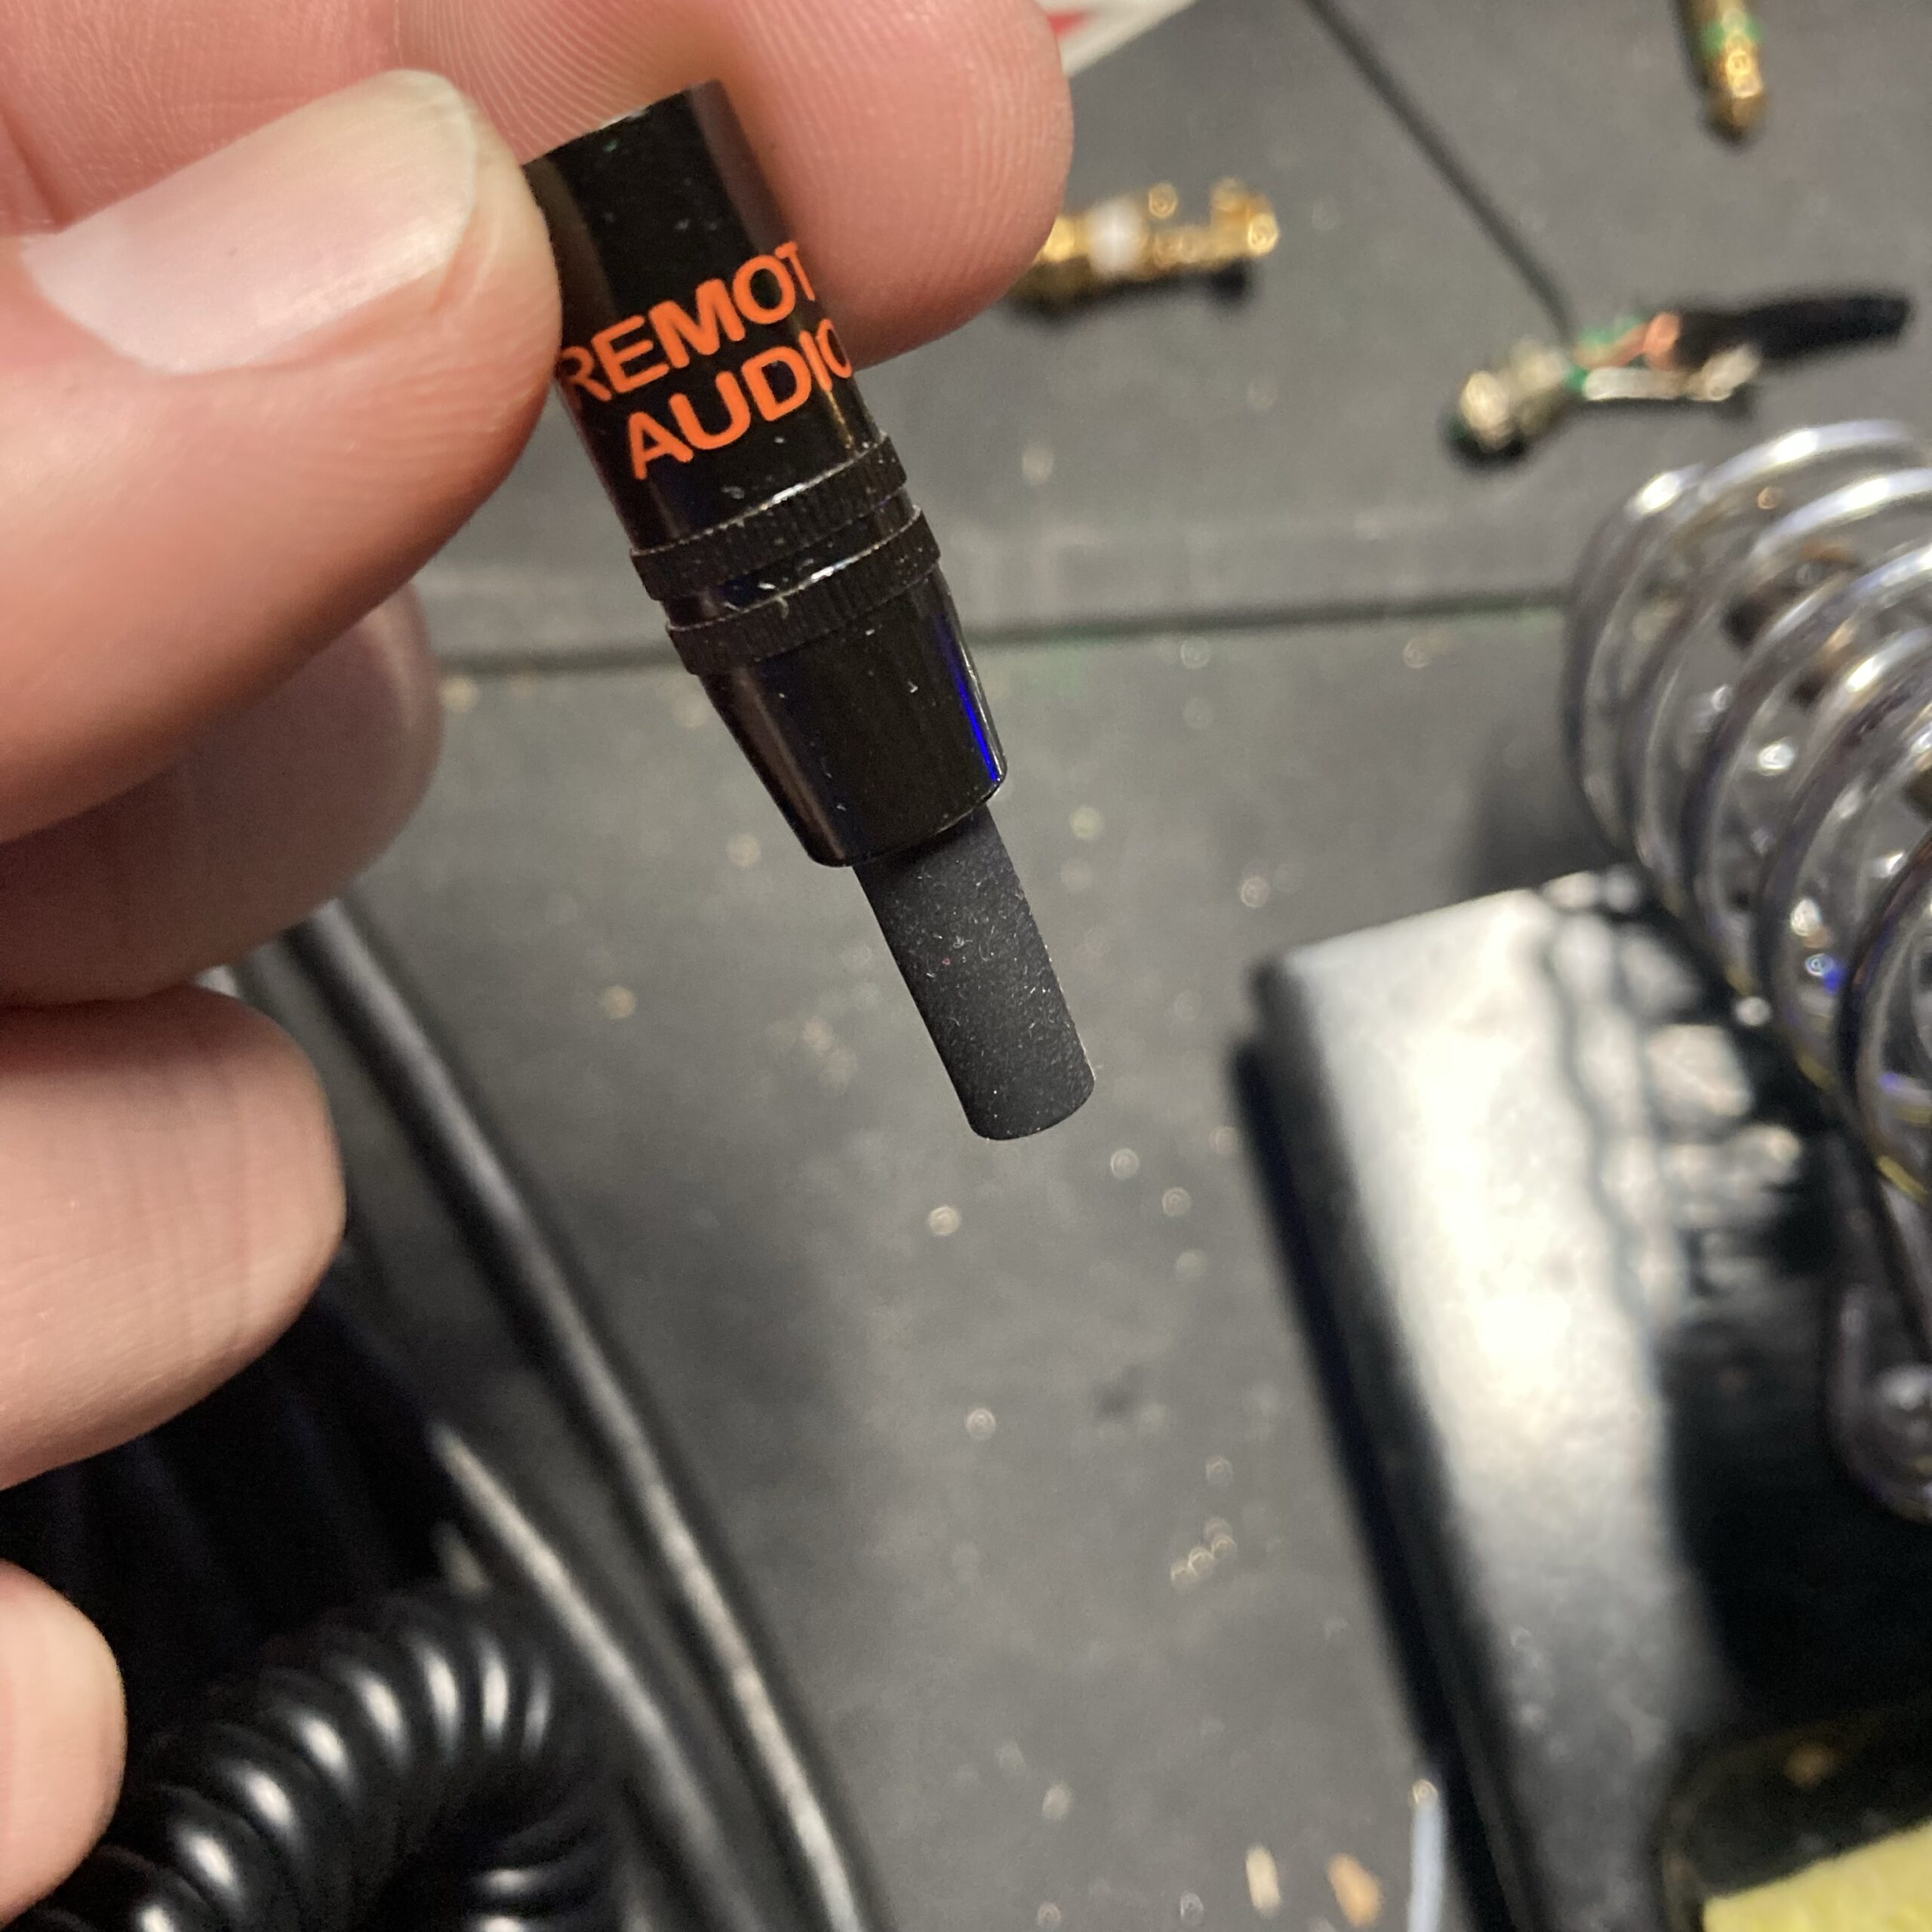
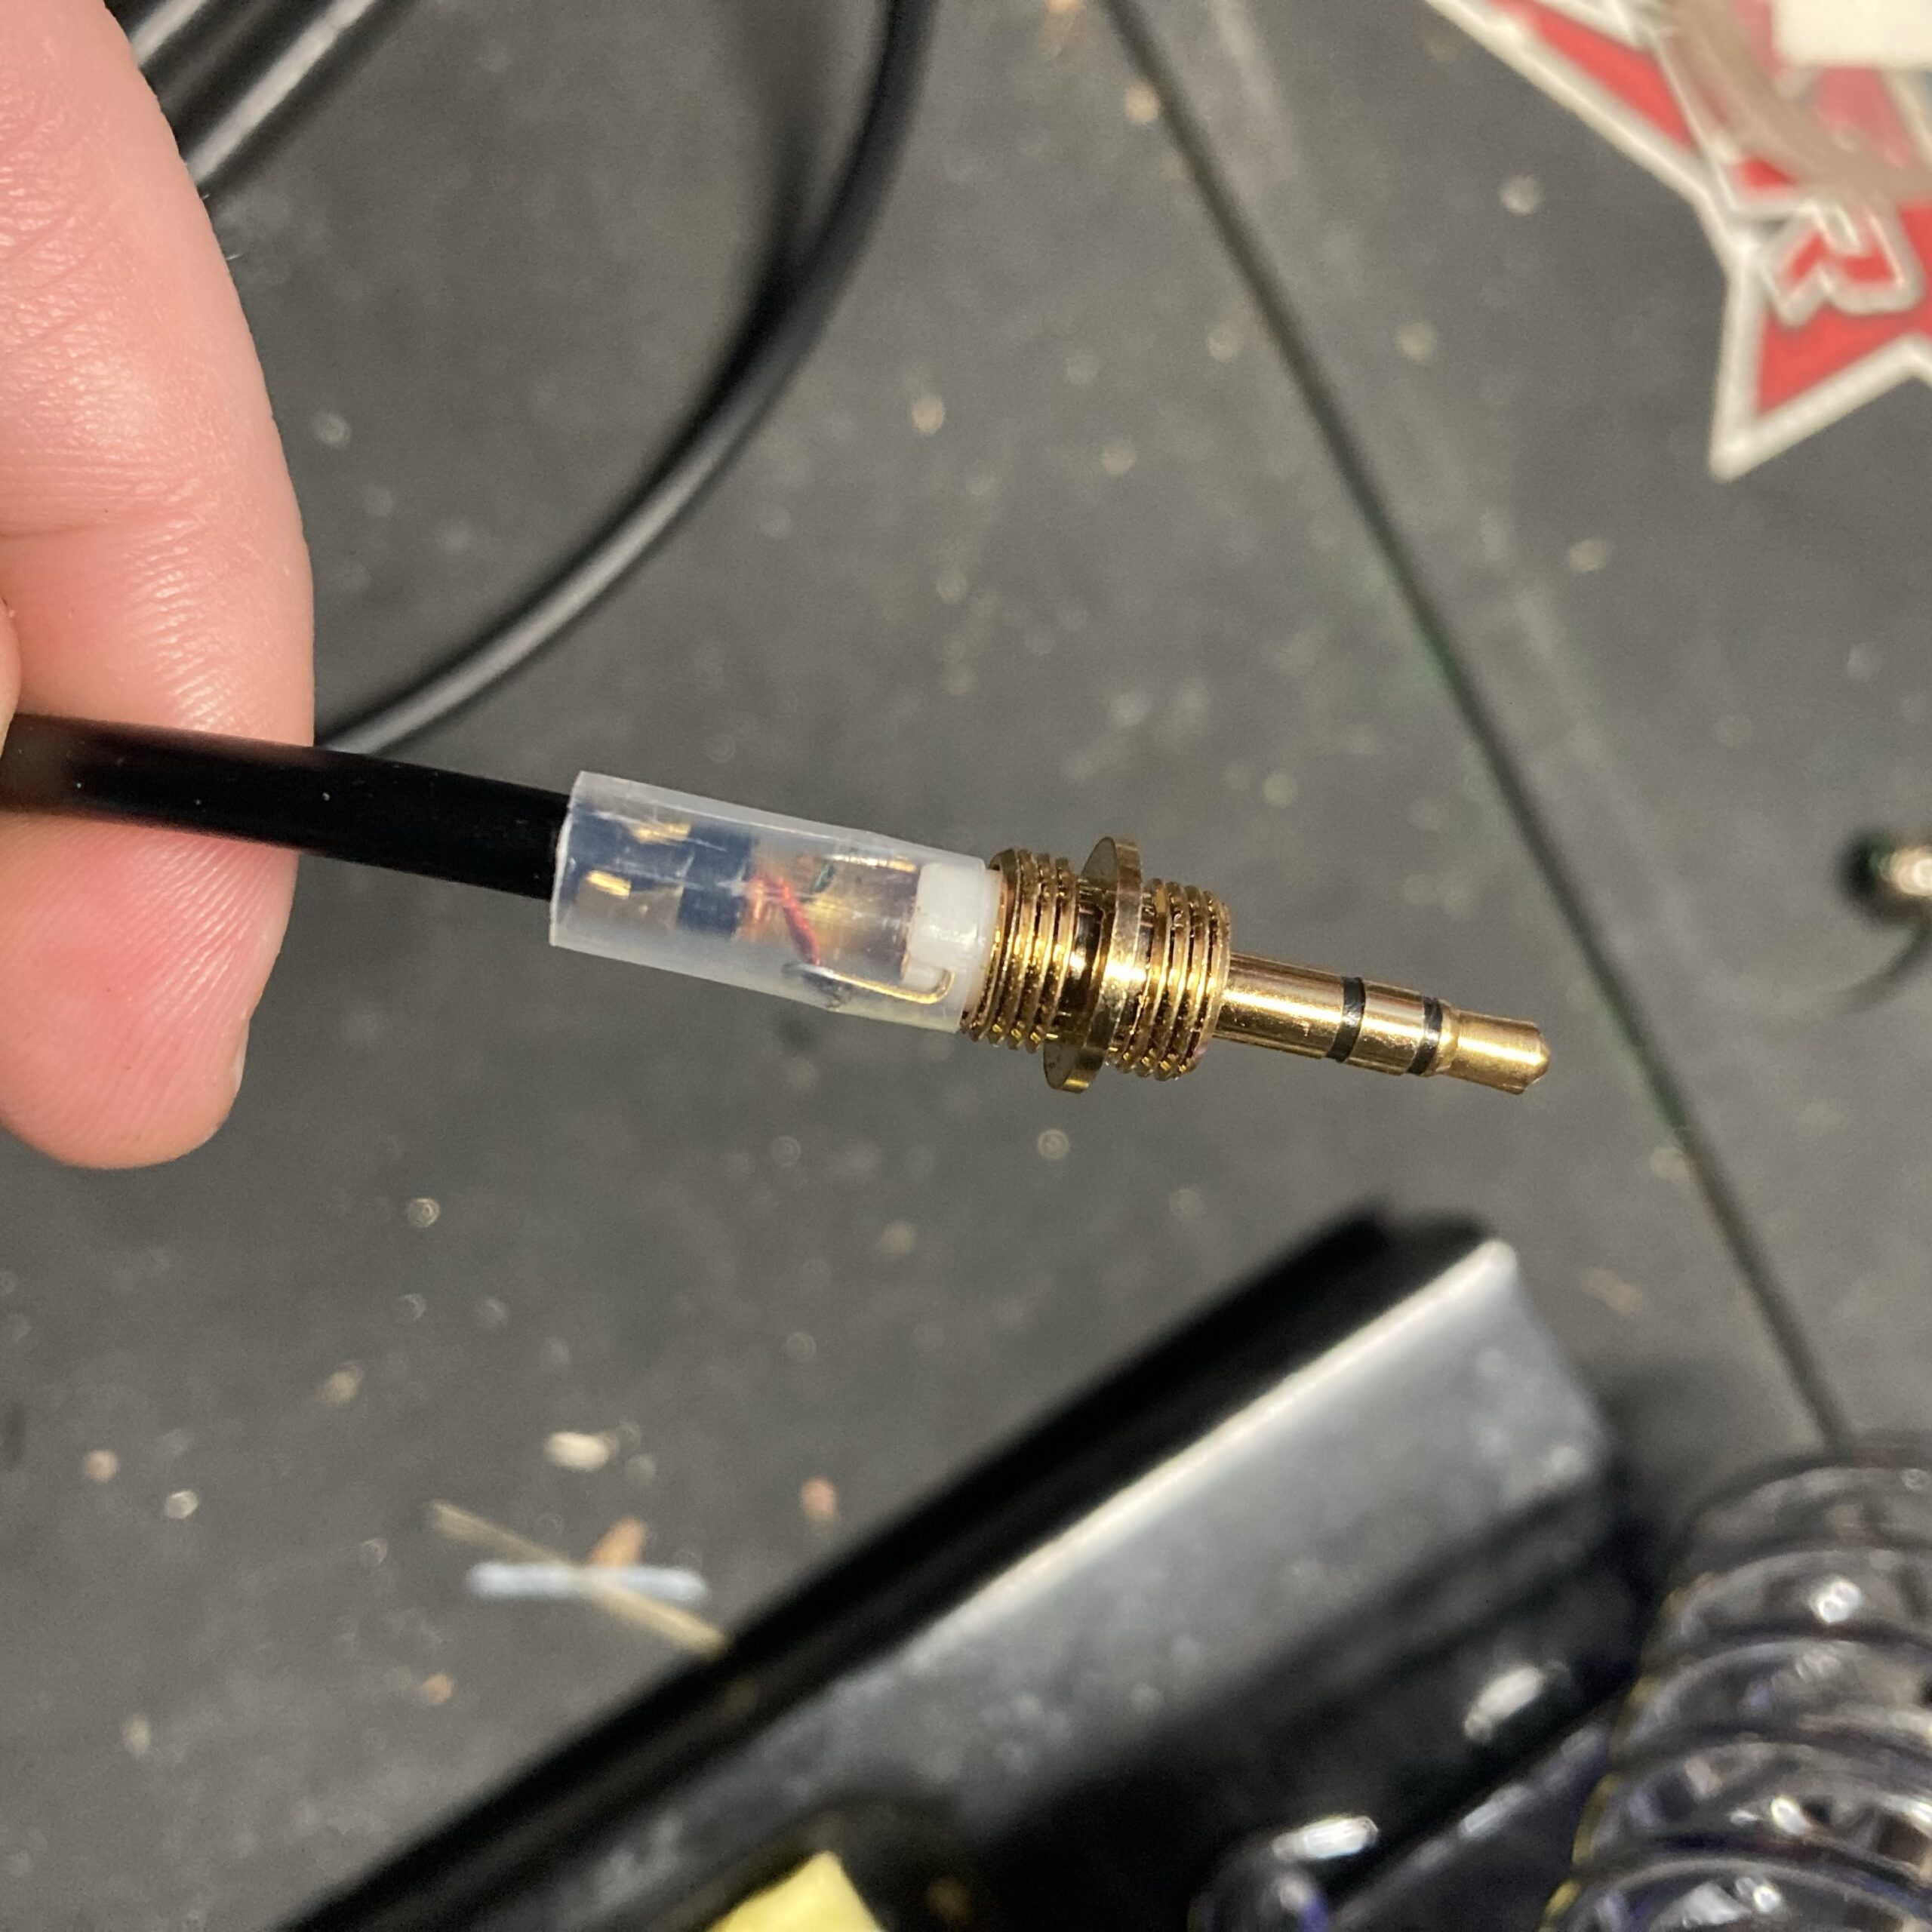
Put the sleeve and casing on the wire, followed by the included clear insulation sleeve.
It’s imperative you put these on before soldering, because you can’t put them on after soldering 😬

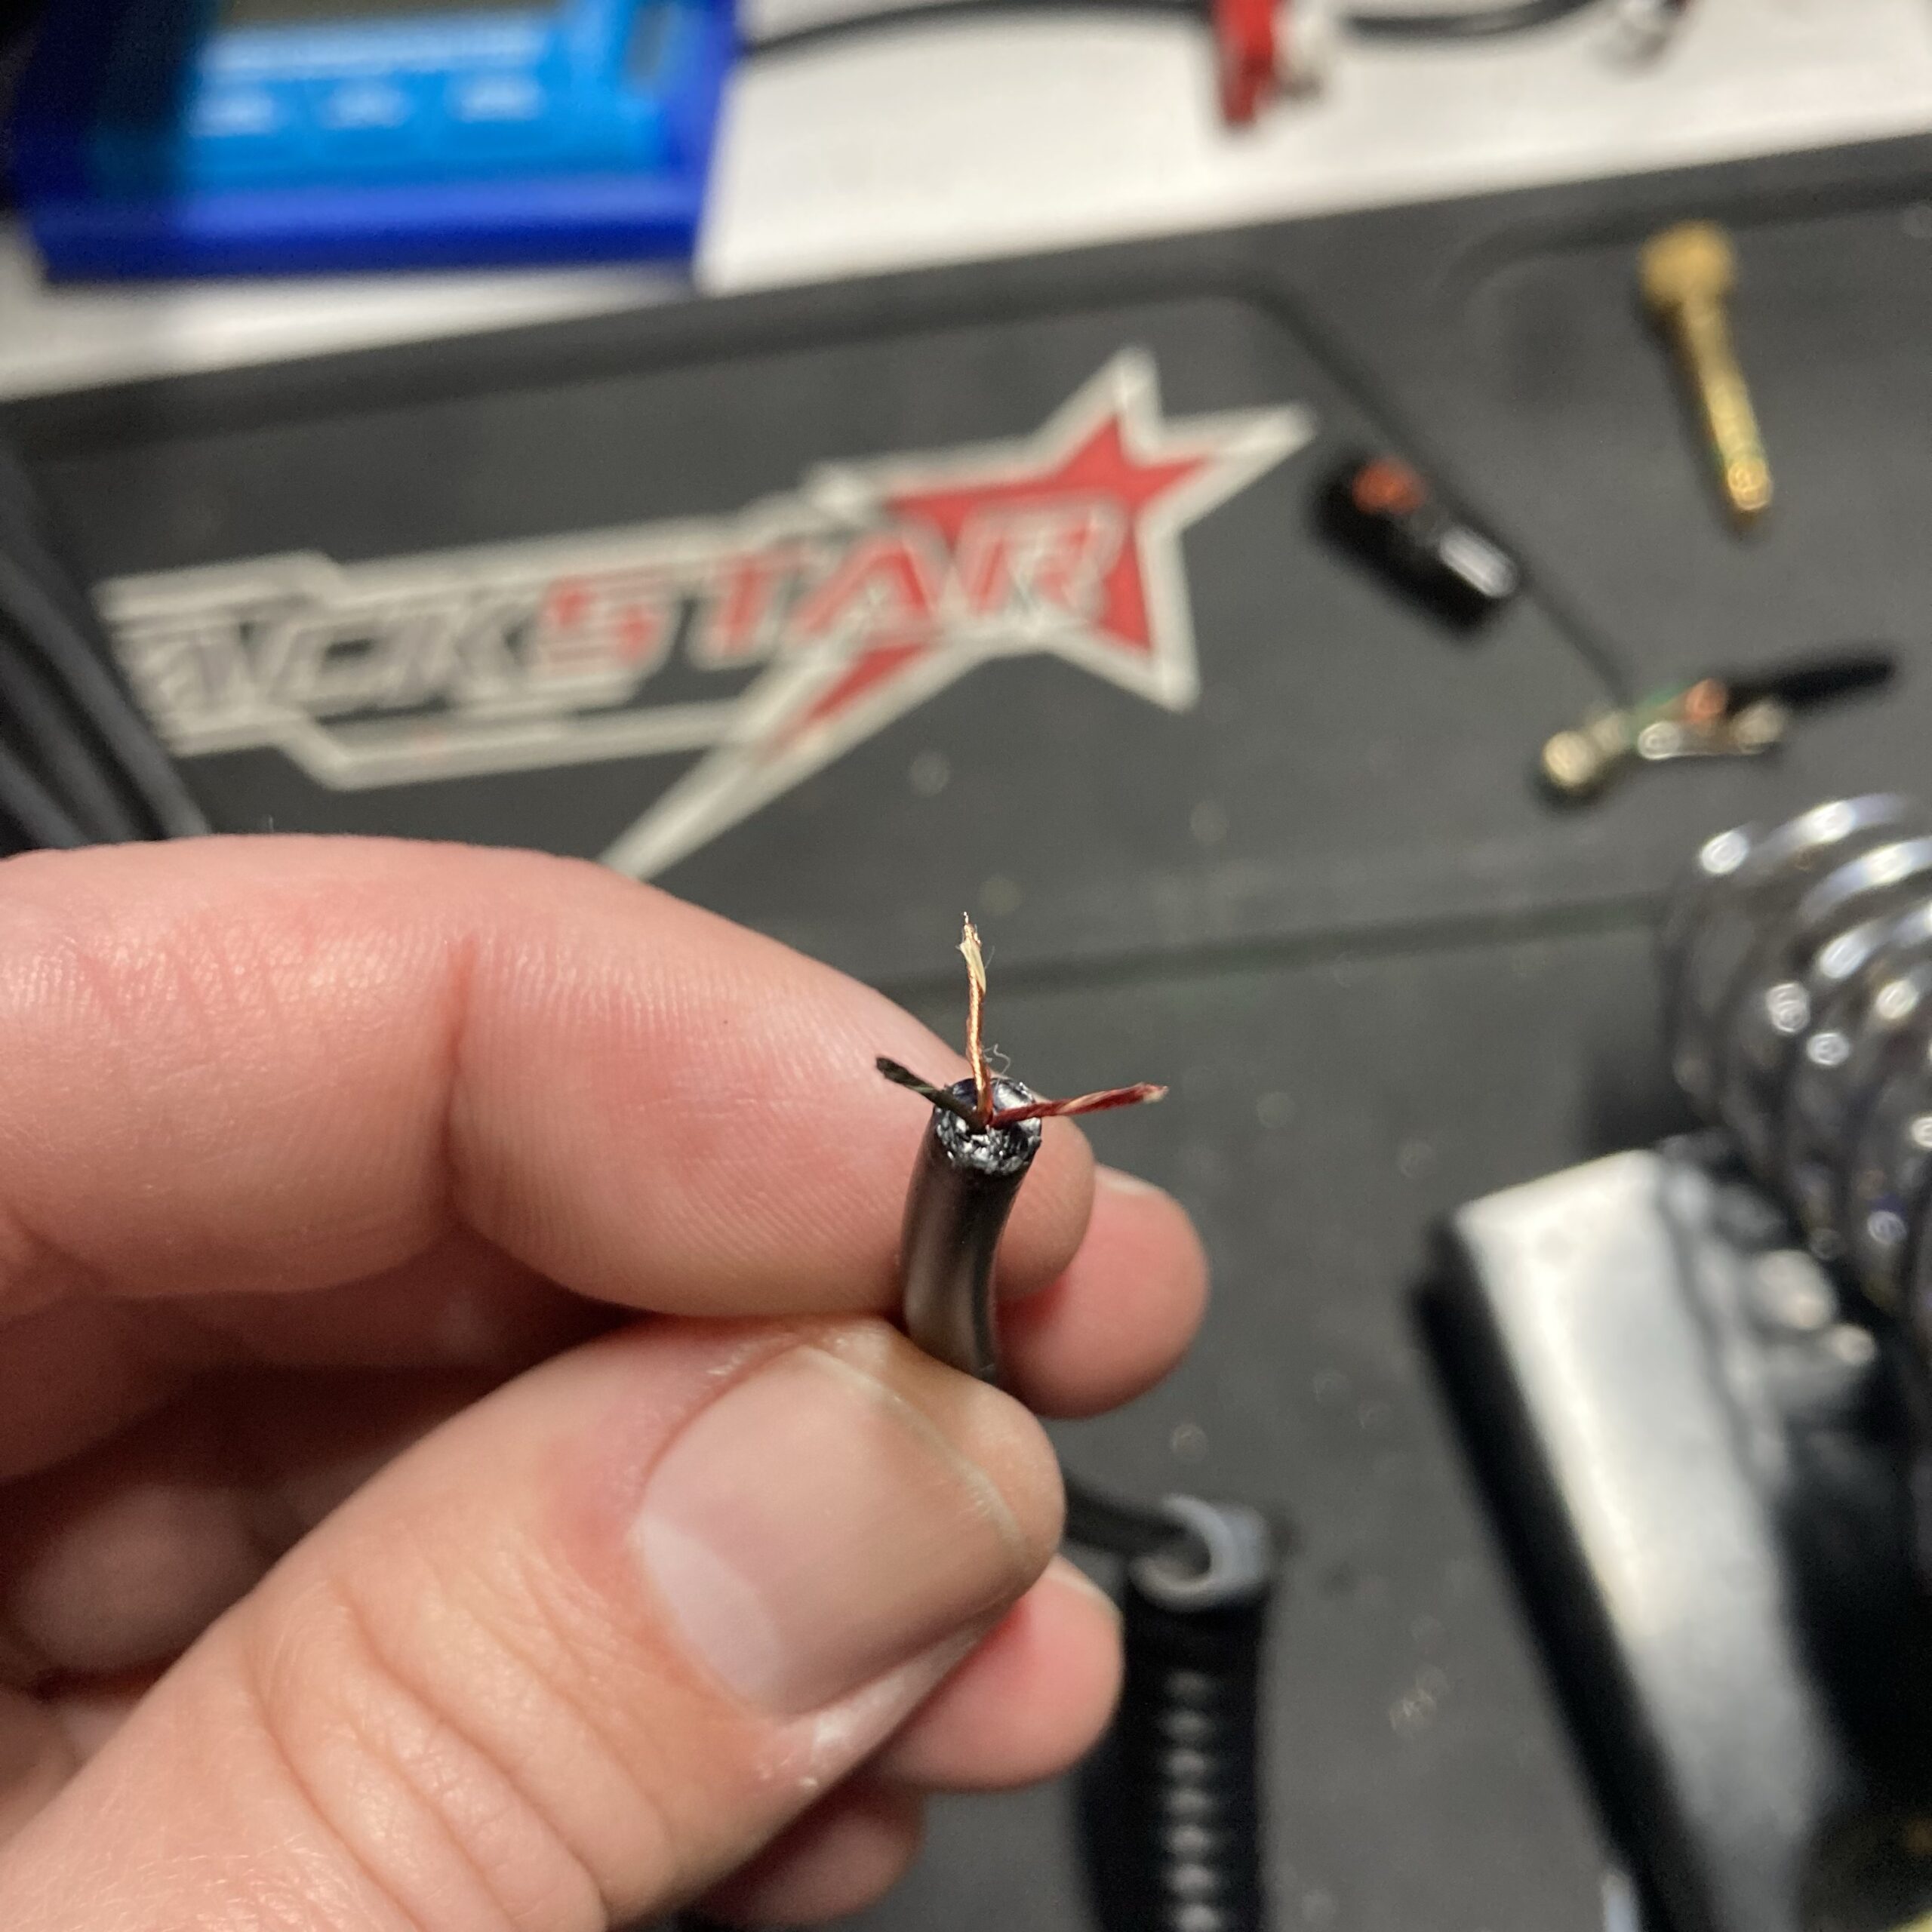
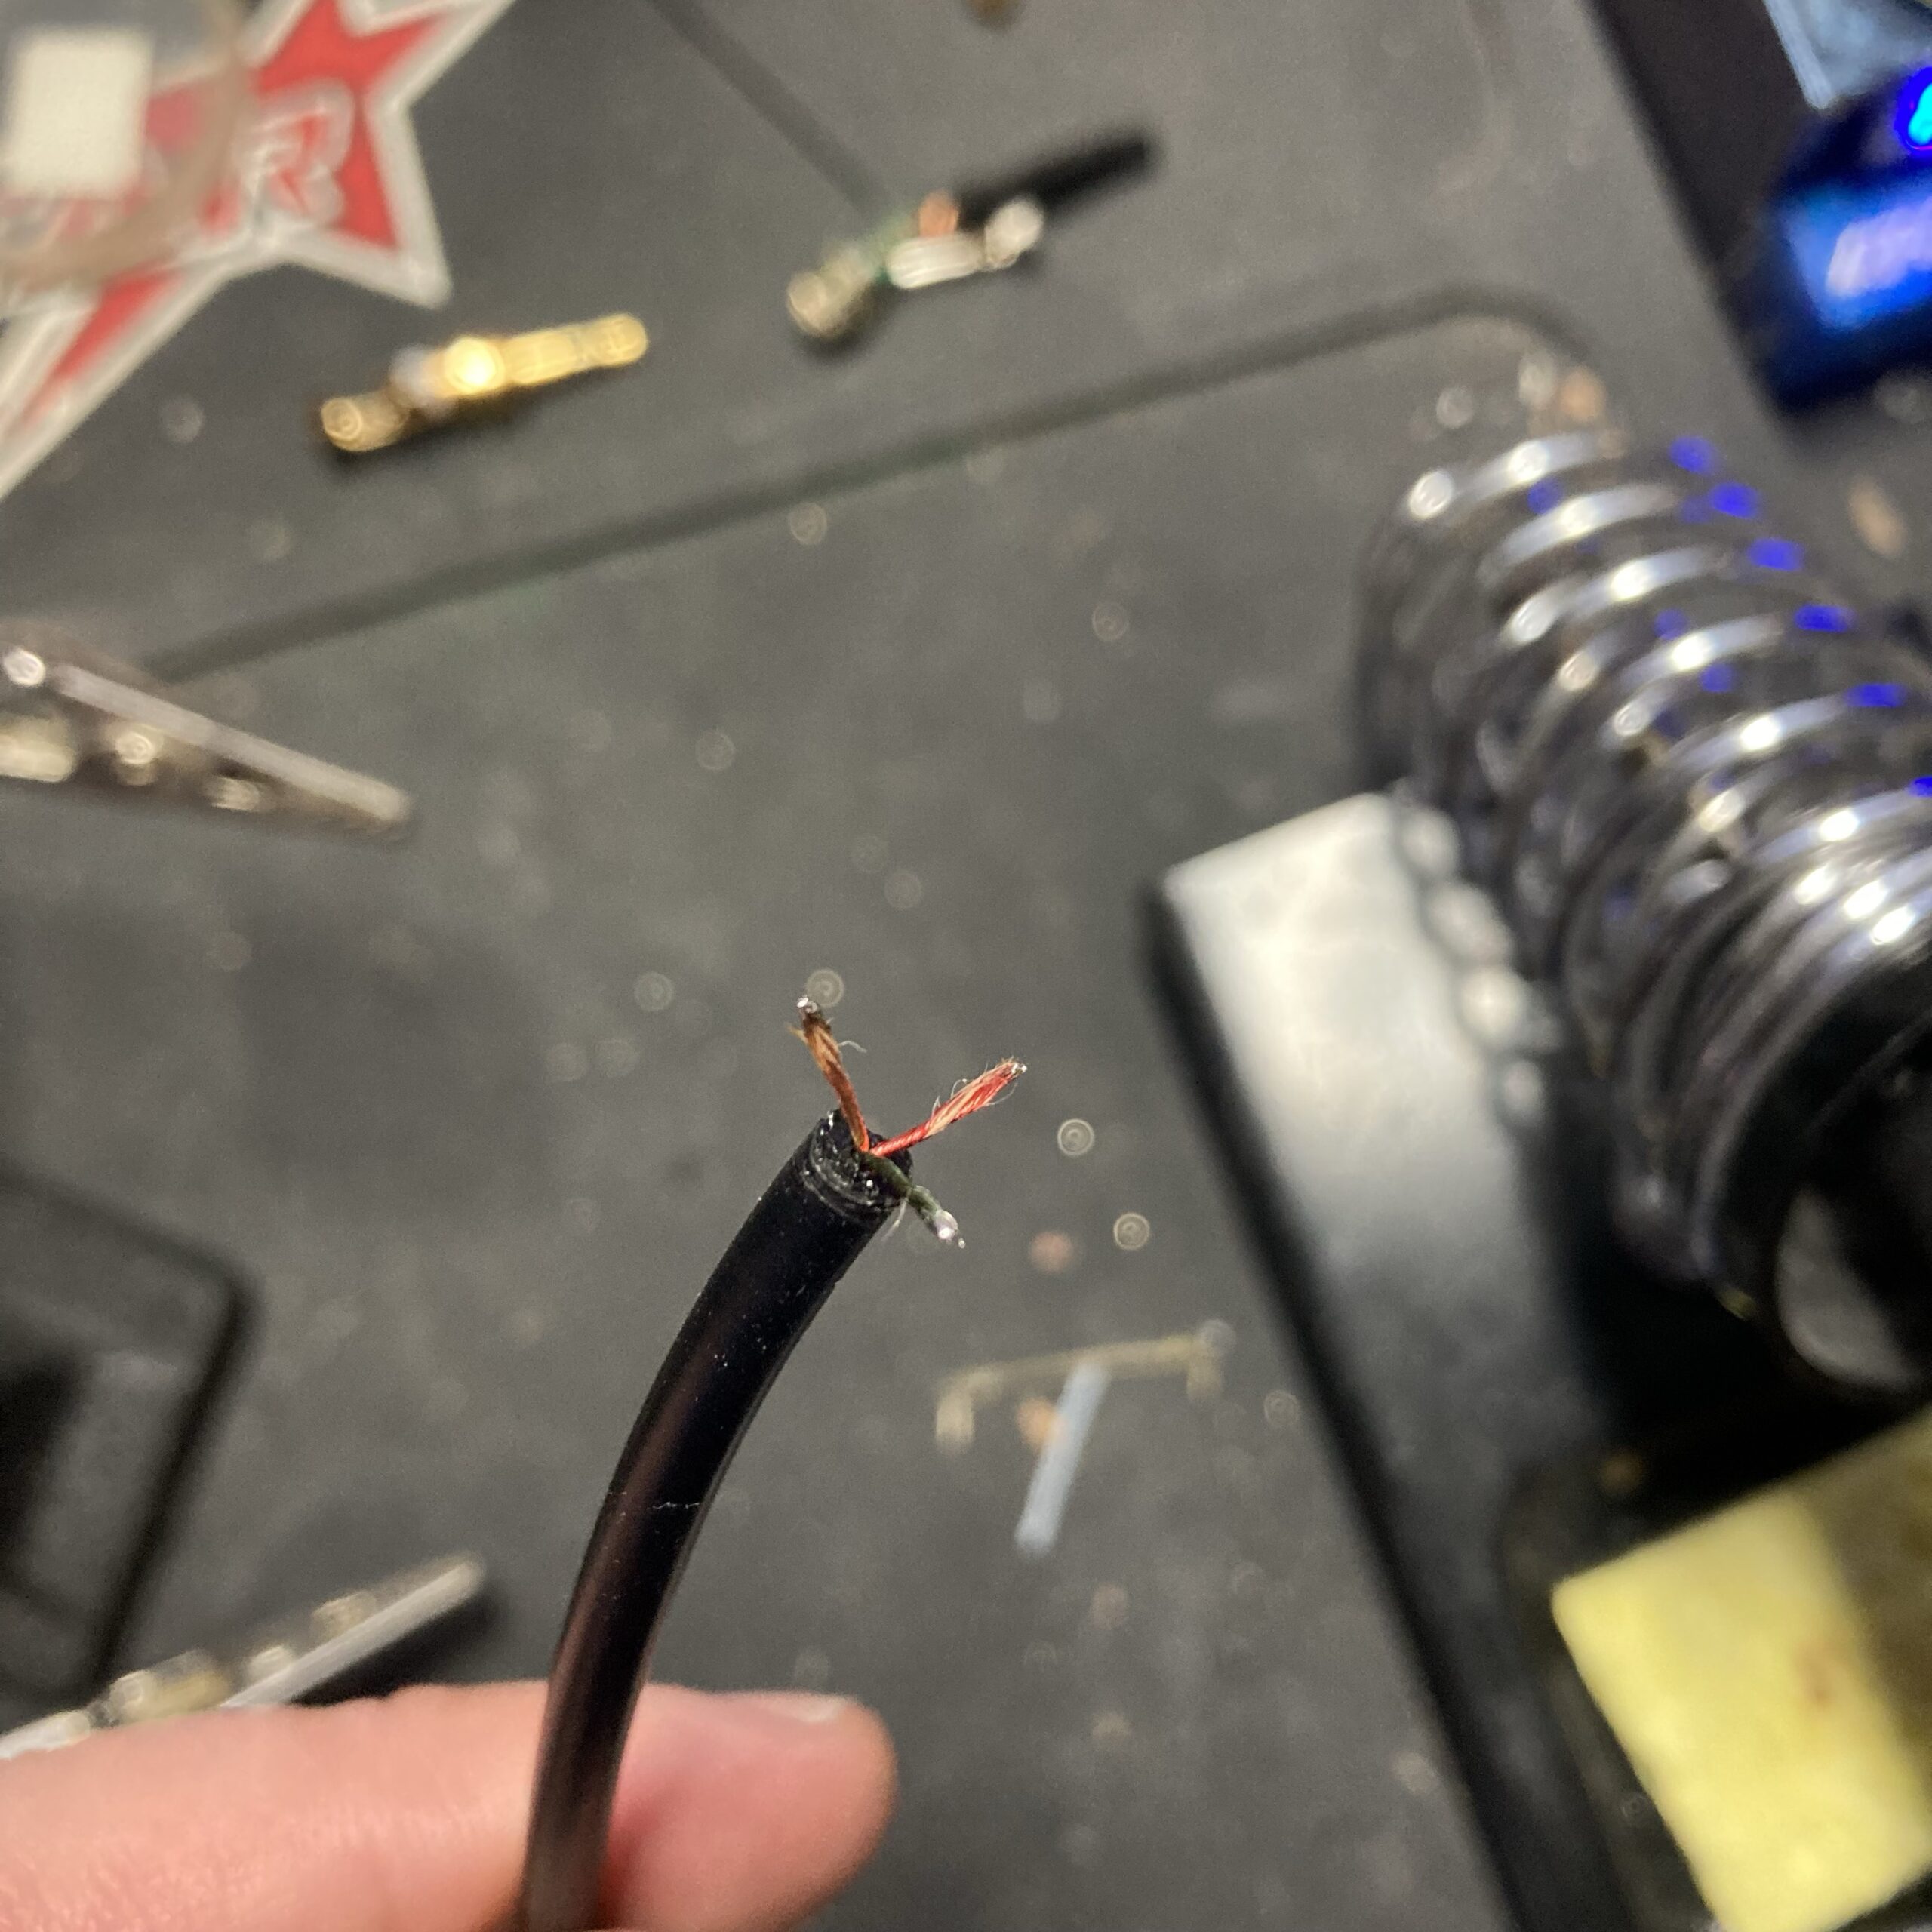
Carefully strip the outer cable sheath. It’s very flexible and rubbery. Inside the three wires don’t have traditional insulation. They have a braided insulation that is similar to the wire itself. Separate them and wet your fingers to keep the twists tight.
Soldering
To keep everything together, pre-tin the wires.
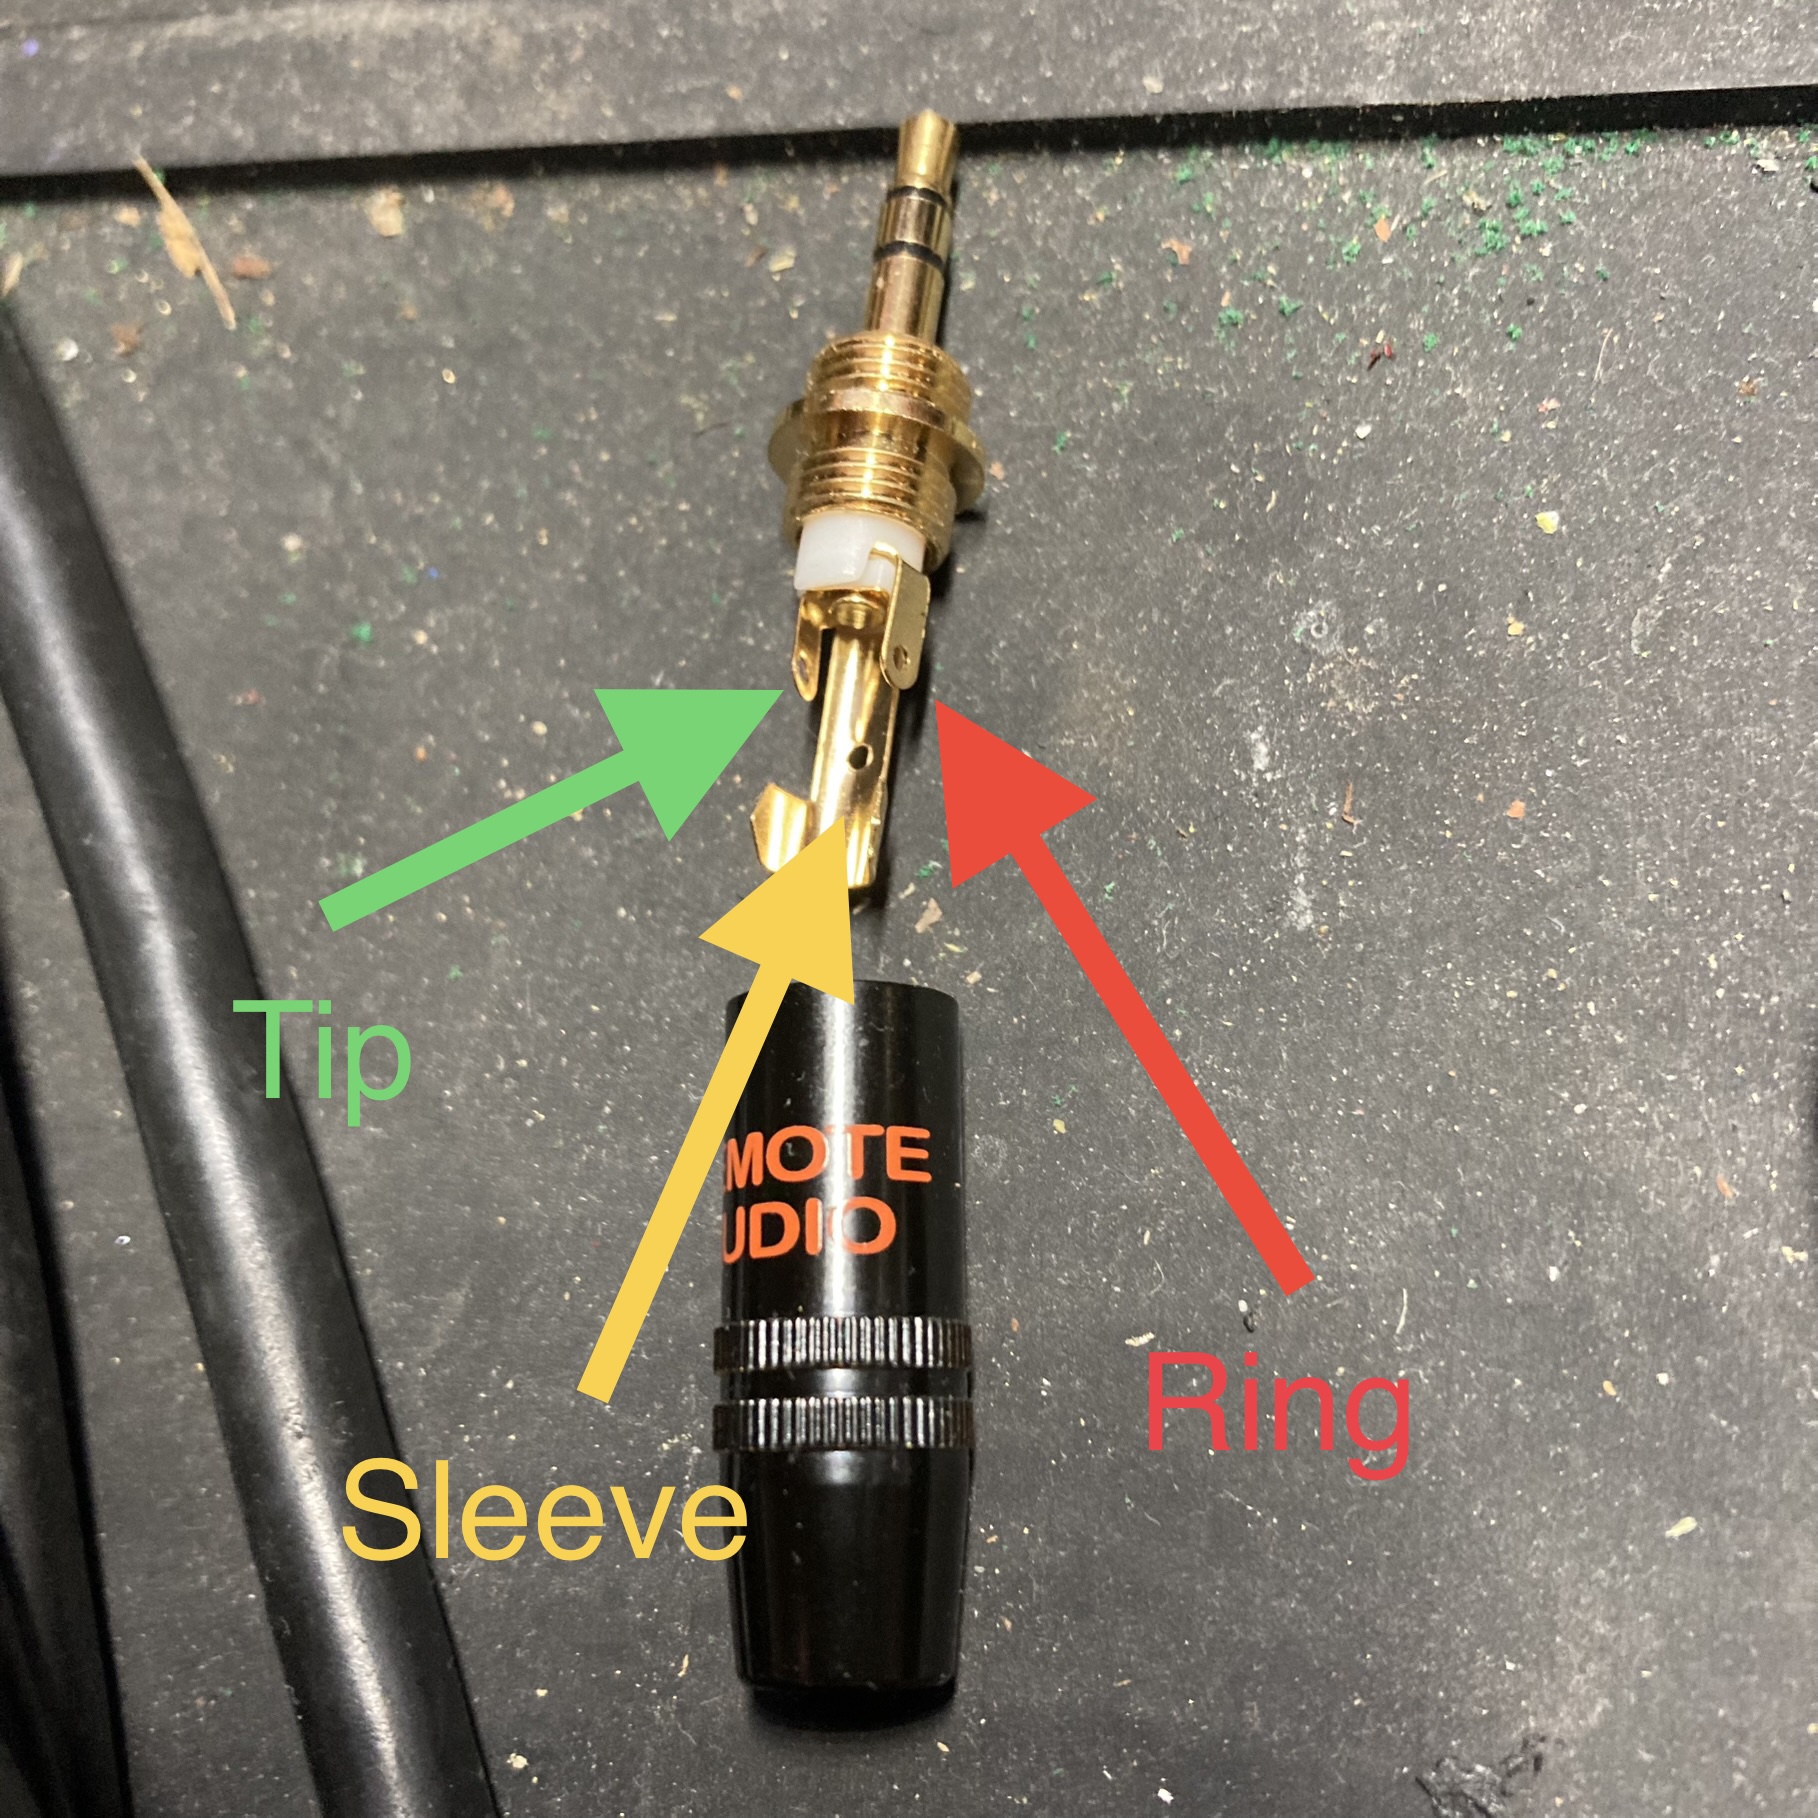
Here’s the layout of the jack. I double checked with a multimeter before soldering.
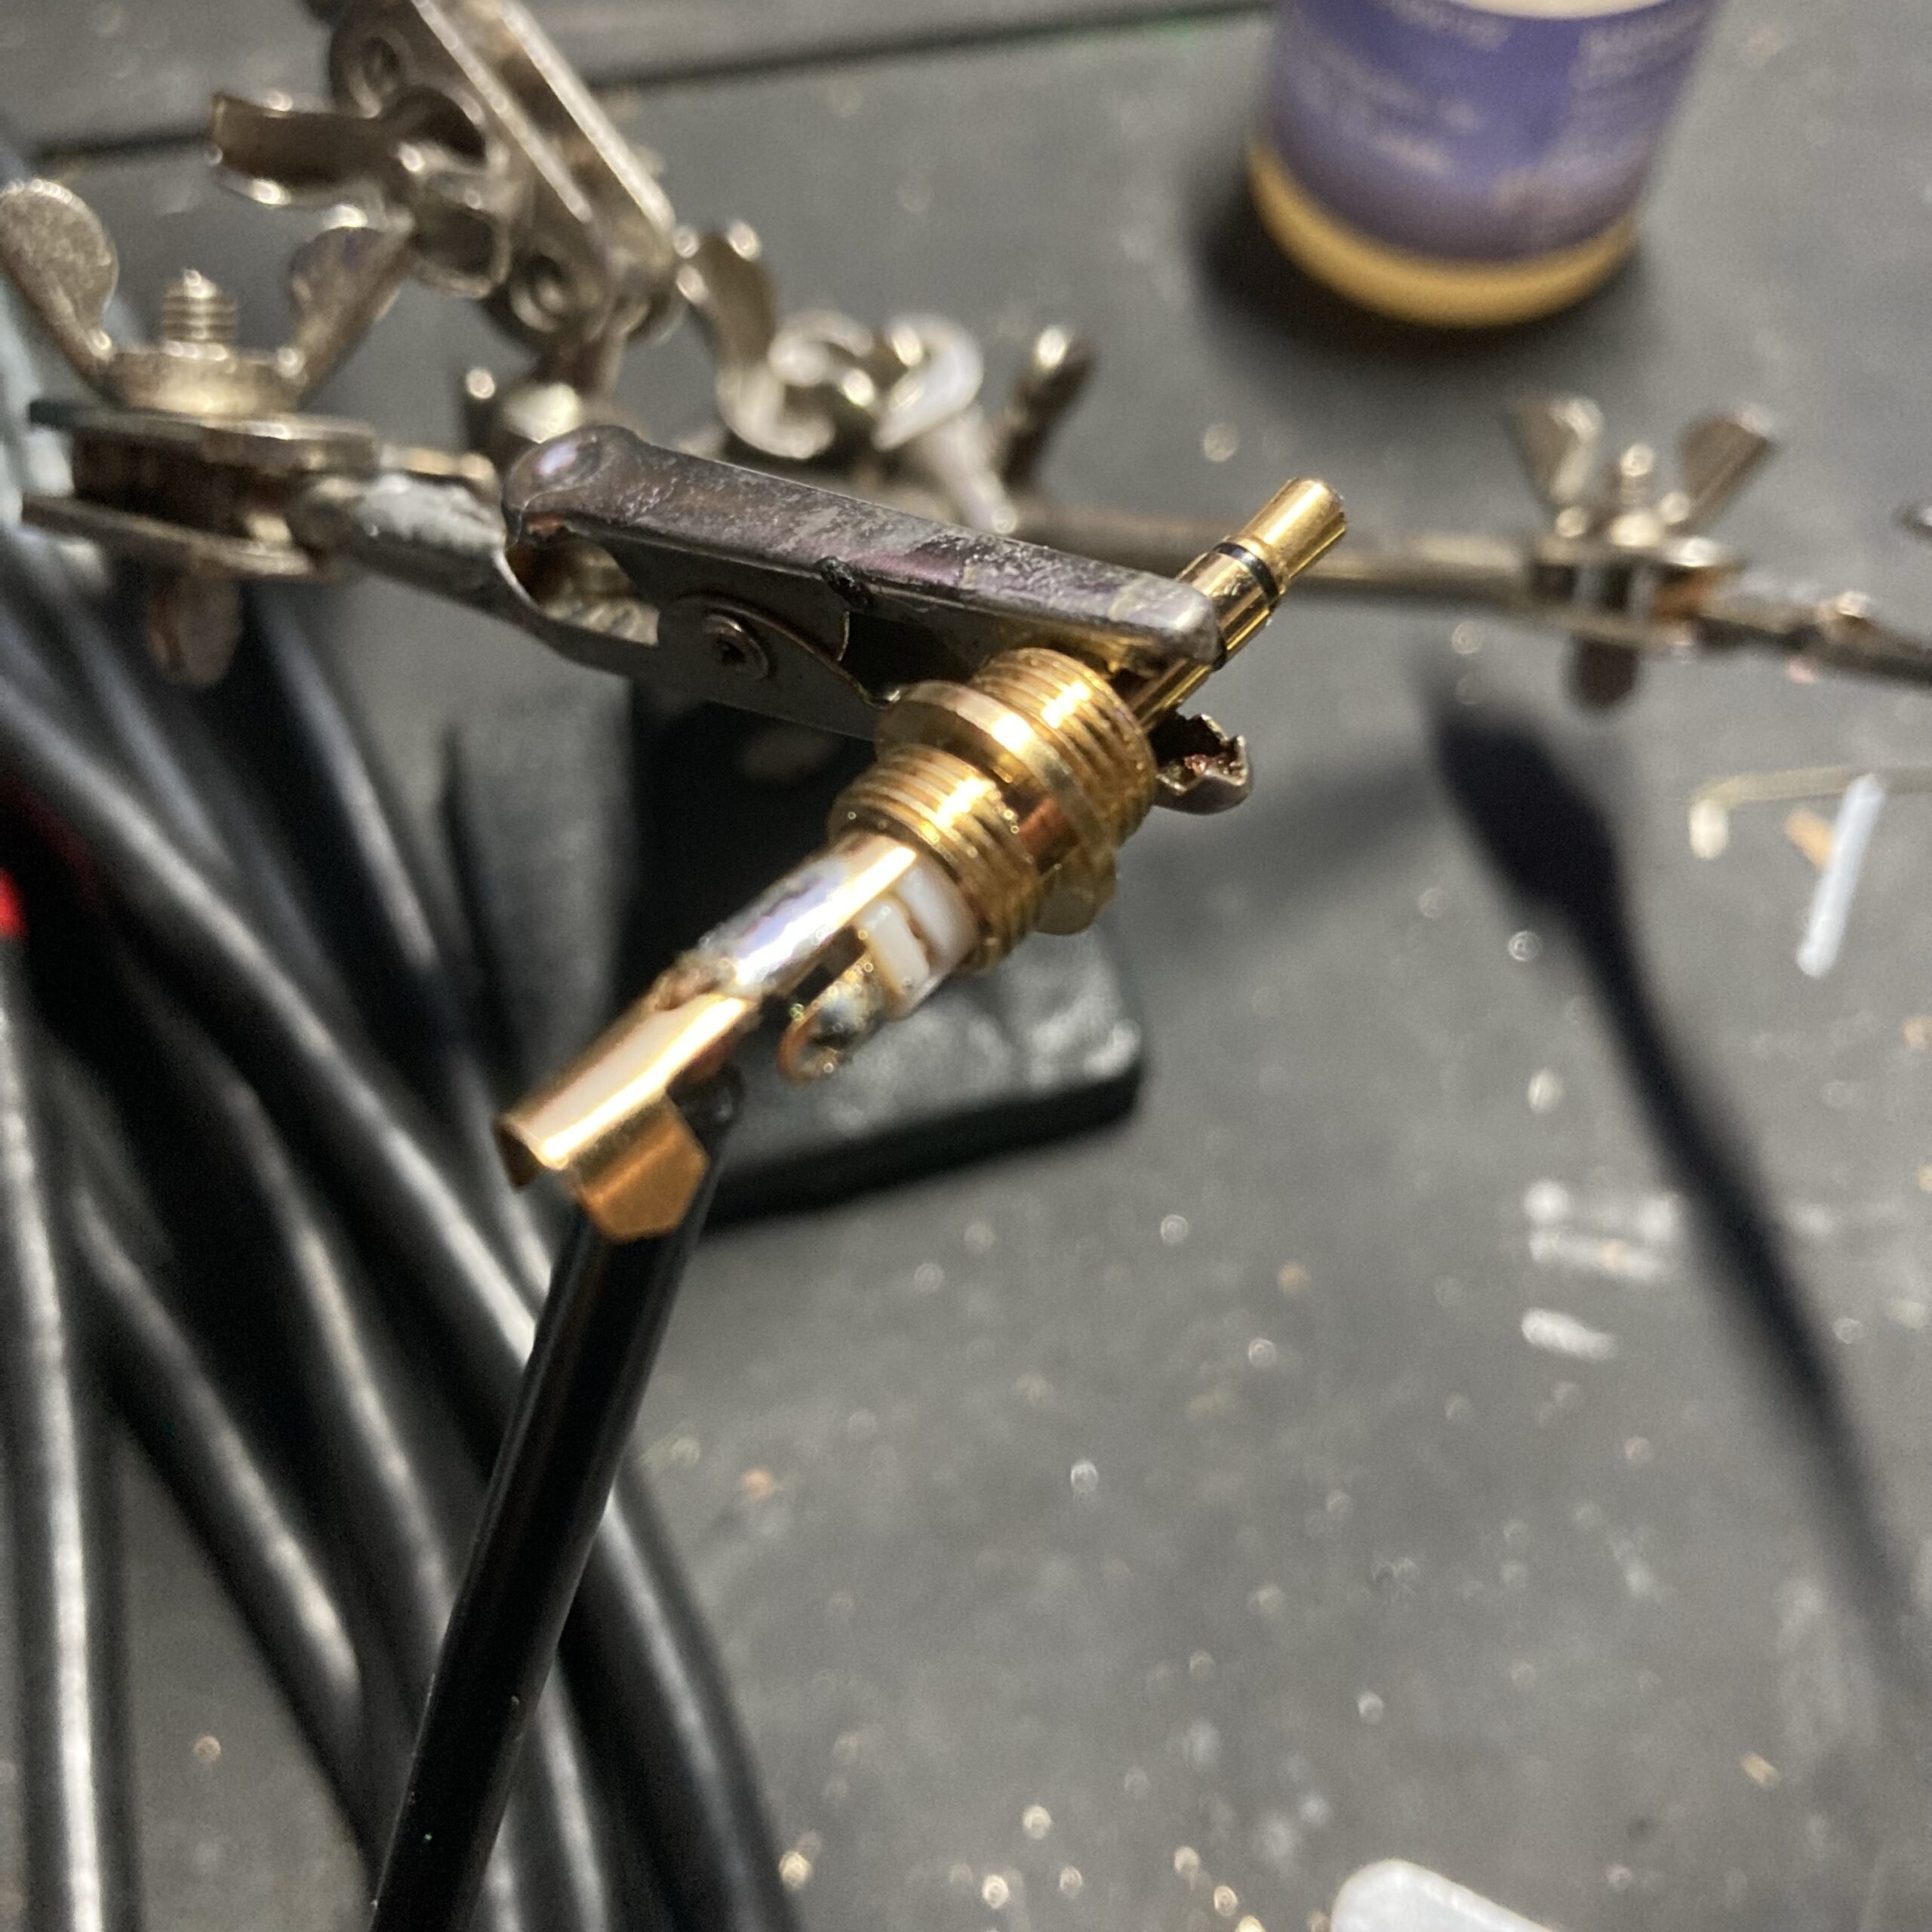
I started by soldering the sleeve wire. Then I used a tweezers to thread the other wires through the holes.
Test & Final Assembly
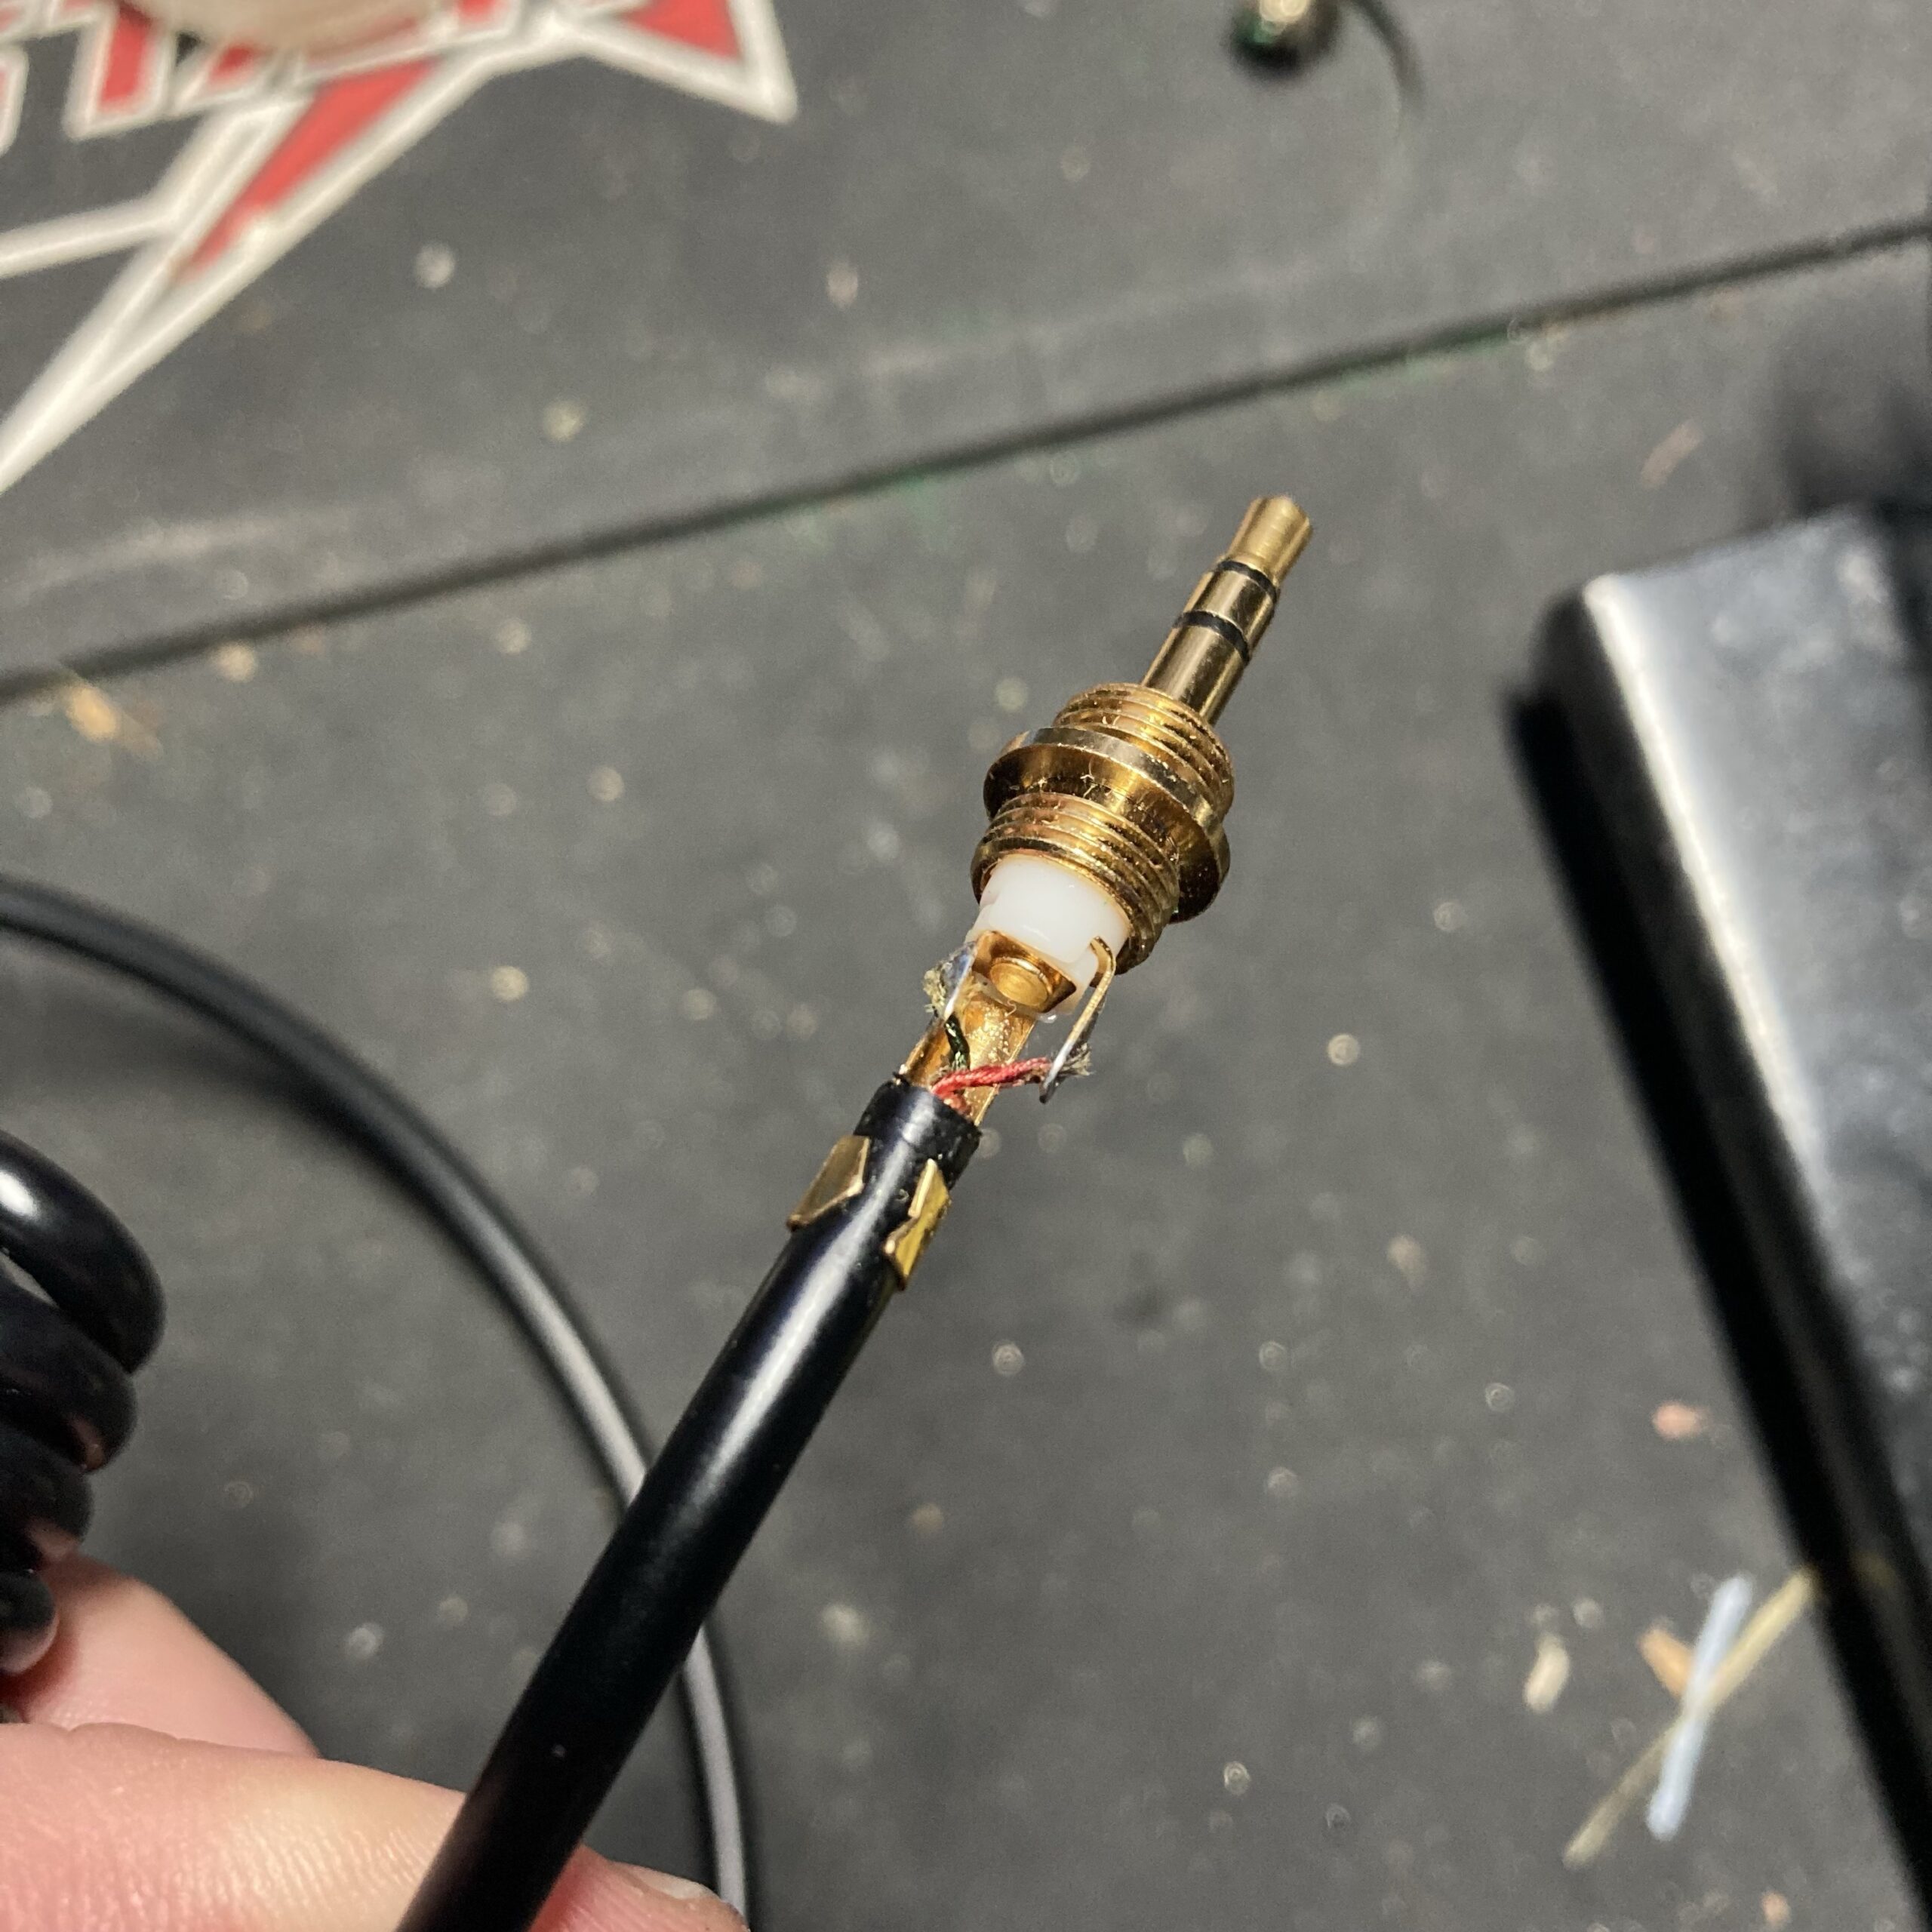
With all wires soldered, but before crimping, test it out. I carefully plugged the headphones into a computer and verified sound in both ears and double checked correct left-right balance.
With everything confirmed working, we can now button it all up. First crimp the jack to the cable sheath with a needle nose pliers.
Then slip the insulation sleeve over the jack.
Screw on the outer casing and enjoy!

Leave a Reply