My company helped me purchase a new Dell 7390 XPS 13 Developer Edition. The biggest hurdle I had when setting it up was getting my external monitor to work correctly. It’s a standard HD monitor (1920×1080), and the laptop screen is 4K (3840×2160) – known as a “HiDPI” monitor because while it’s run at 3840×2160 it’s scaled 200% so actual humans can read the fonts.
This presented a problem because the scaling was affecting the external monitor – it was appearing as if the resolution was half of HD – 960×540. Hello 1990s!
X Scaling Problems
So I turned off the external monitor, but some applications still weren’t scaling right on the 4K (200% scaled) laptop screen. I began to experiment with individual application scaling factors like QT_DEVICE_PIXEL_RATIO=1 for QT applications such as VLC and Zoom, and --force-device-scale-factor=2 for Spotify.
It was fine for a week but I really missed my 2nd monitor, so I invested some time getting to know xrandr, trying to get things working. While doing so, I bumped into other issues using xrandr like:
xrandr: screen cannot be larger than 8192x8192
Then I found some chatter about Wayland and its ability to handle scaling automagically.
Wayland: Scaling the Easy Way
First, WTF is Wayland? It’s a next-generation X server that replaces Xorg. It was apparently included as default with Ubuntu 17.10 (which I skipped because I was on LTS). Then because it was deemed to not be ready for LTS prime-time, it was installed on 18.04 but Xorg became the default again.
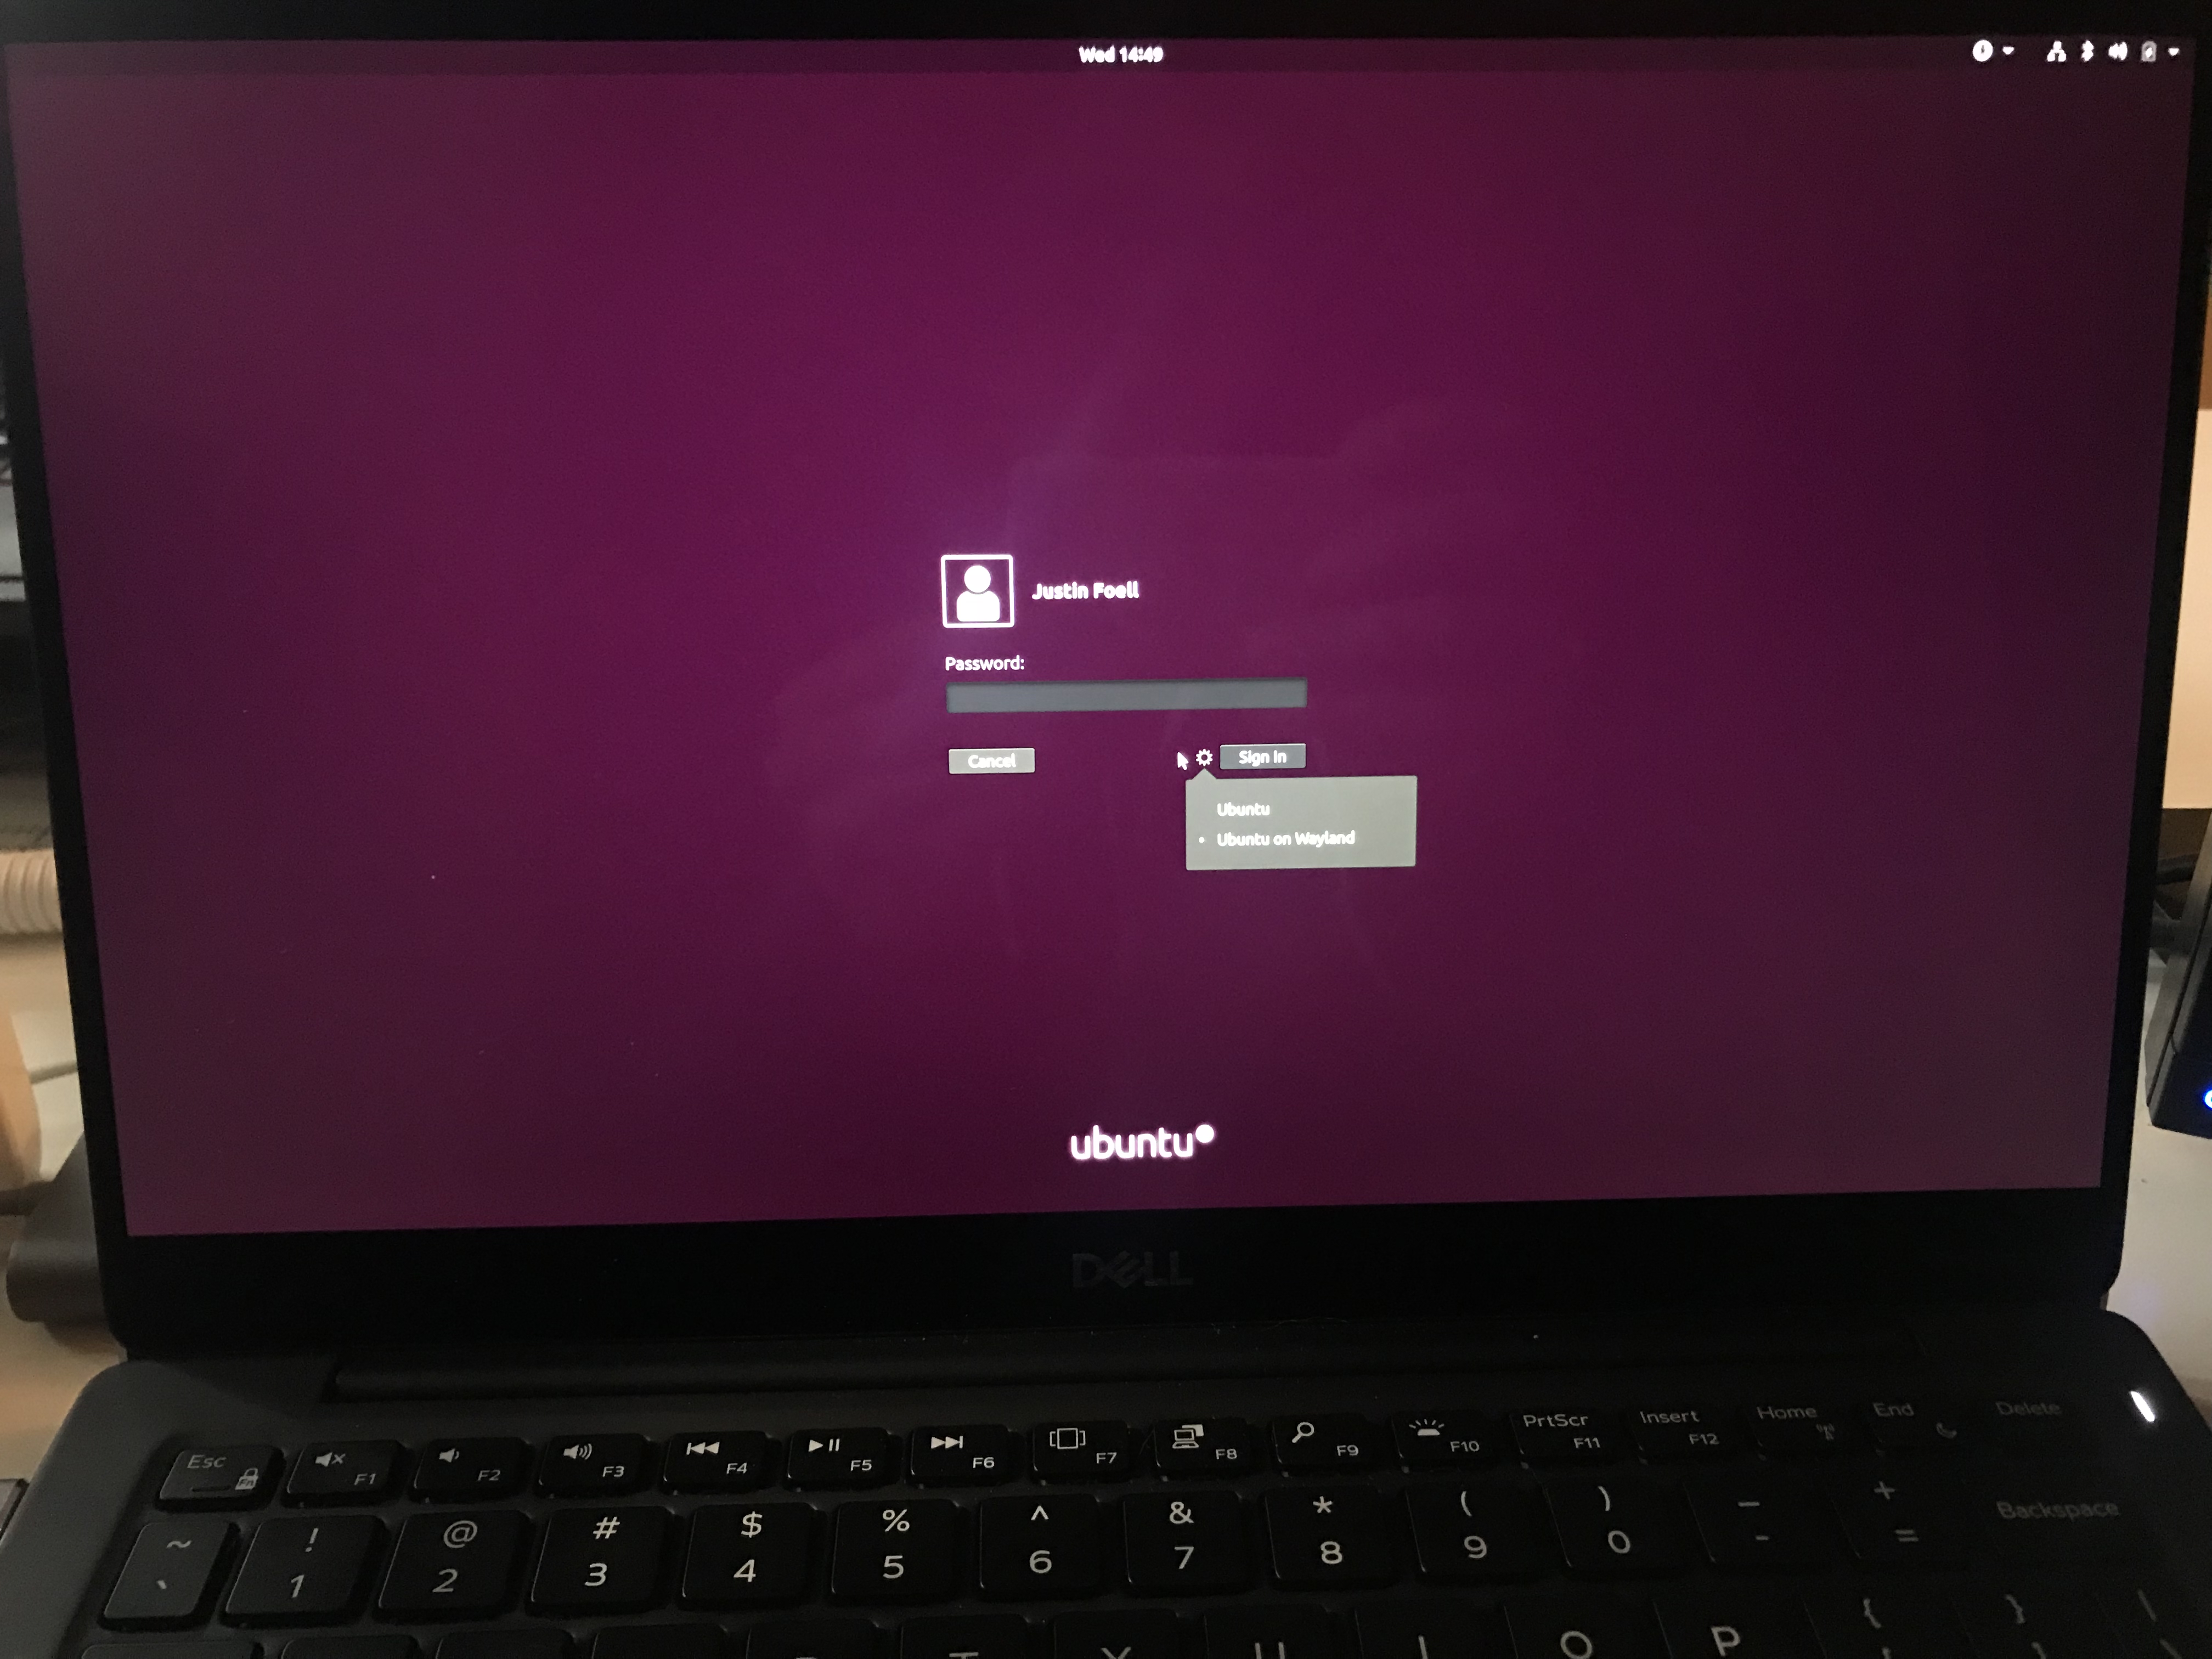
So how do you switch? Easy, before you log in, just click the gear icon and select “Ubuntu on Wayland.”
After logging in, enable gnome’s “experimental” per-monitor scaling, by runing this command in a terminal:
gsettings set org.gnome.mutter experimental-features "['scale-monitor-framebuffer']"
Here’s the conversation on reddit I found regarding these settings:
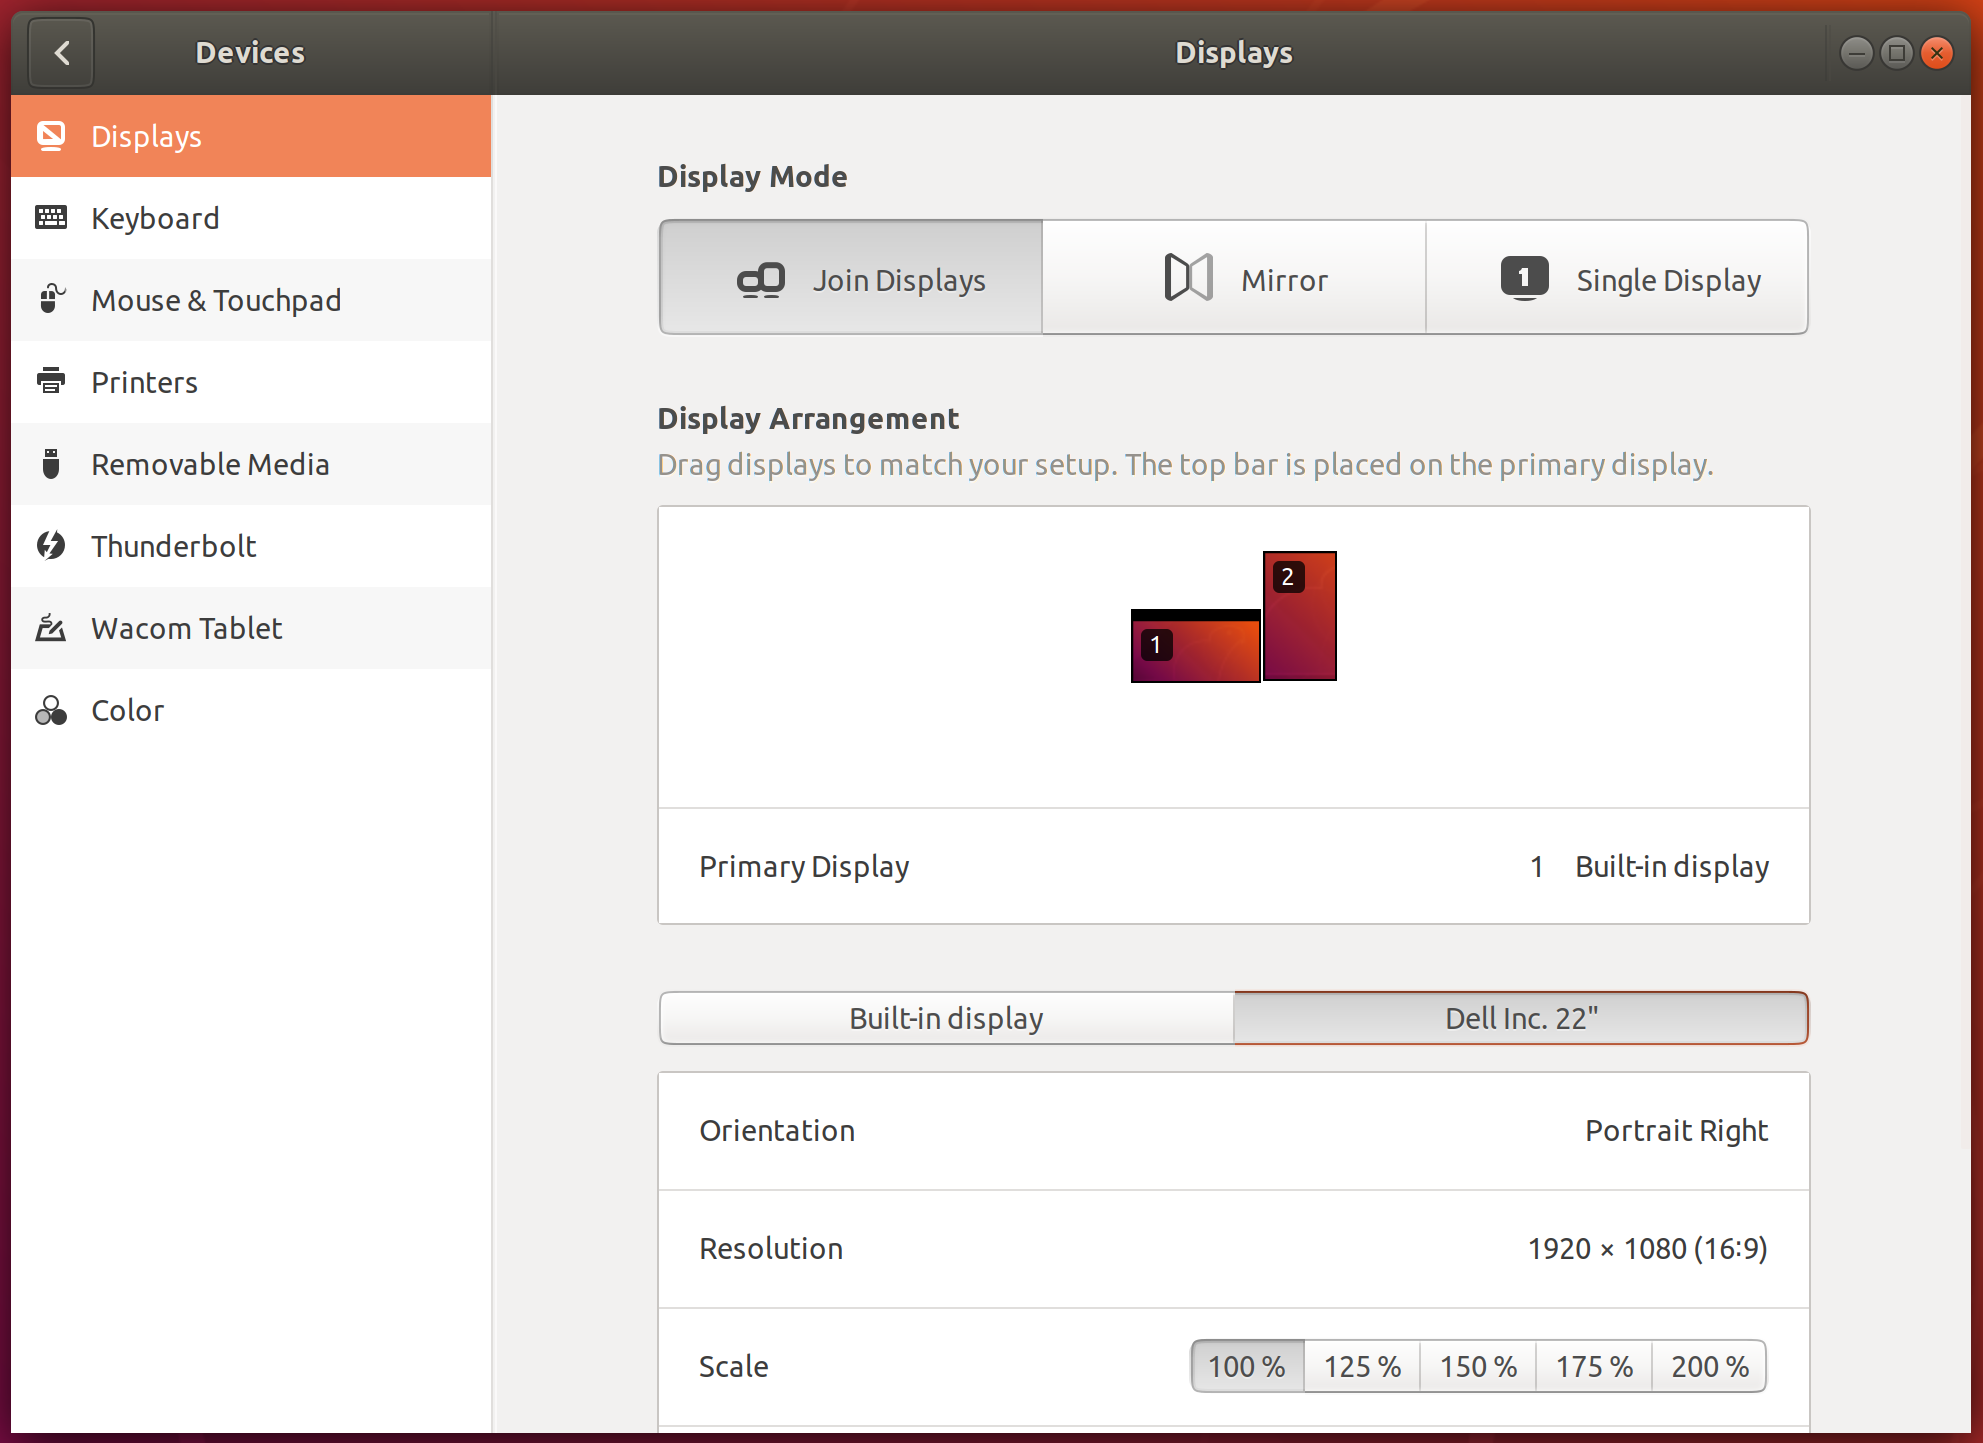
After logging out and logging back in (or rebooting), you should be able to select the scaling of your external monitor through the normal Settings -> Devices -> Displays configuration. Now the scaling for the external monitor will actually work:
With Wayland you can get rid of the per-application scaling settings because it handles them automatically. I’m relieved to have found a simple solution to this problem, hopefully it helps you too!
Leave a Reply