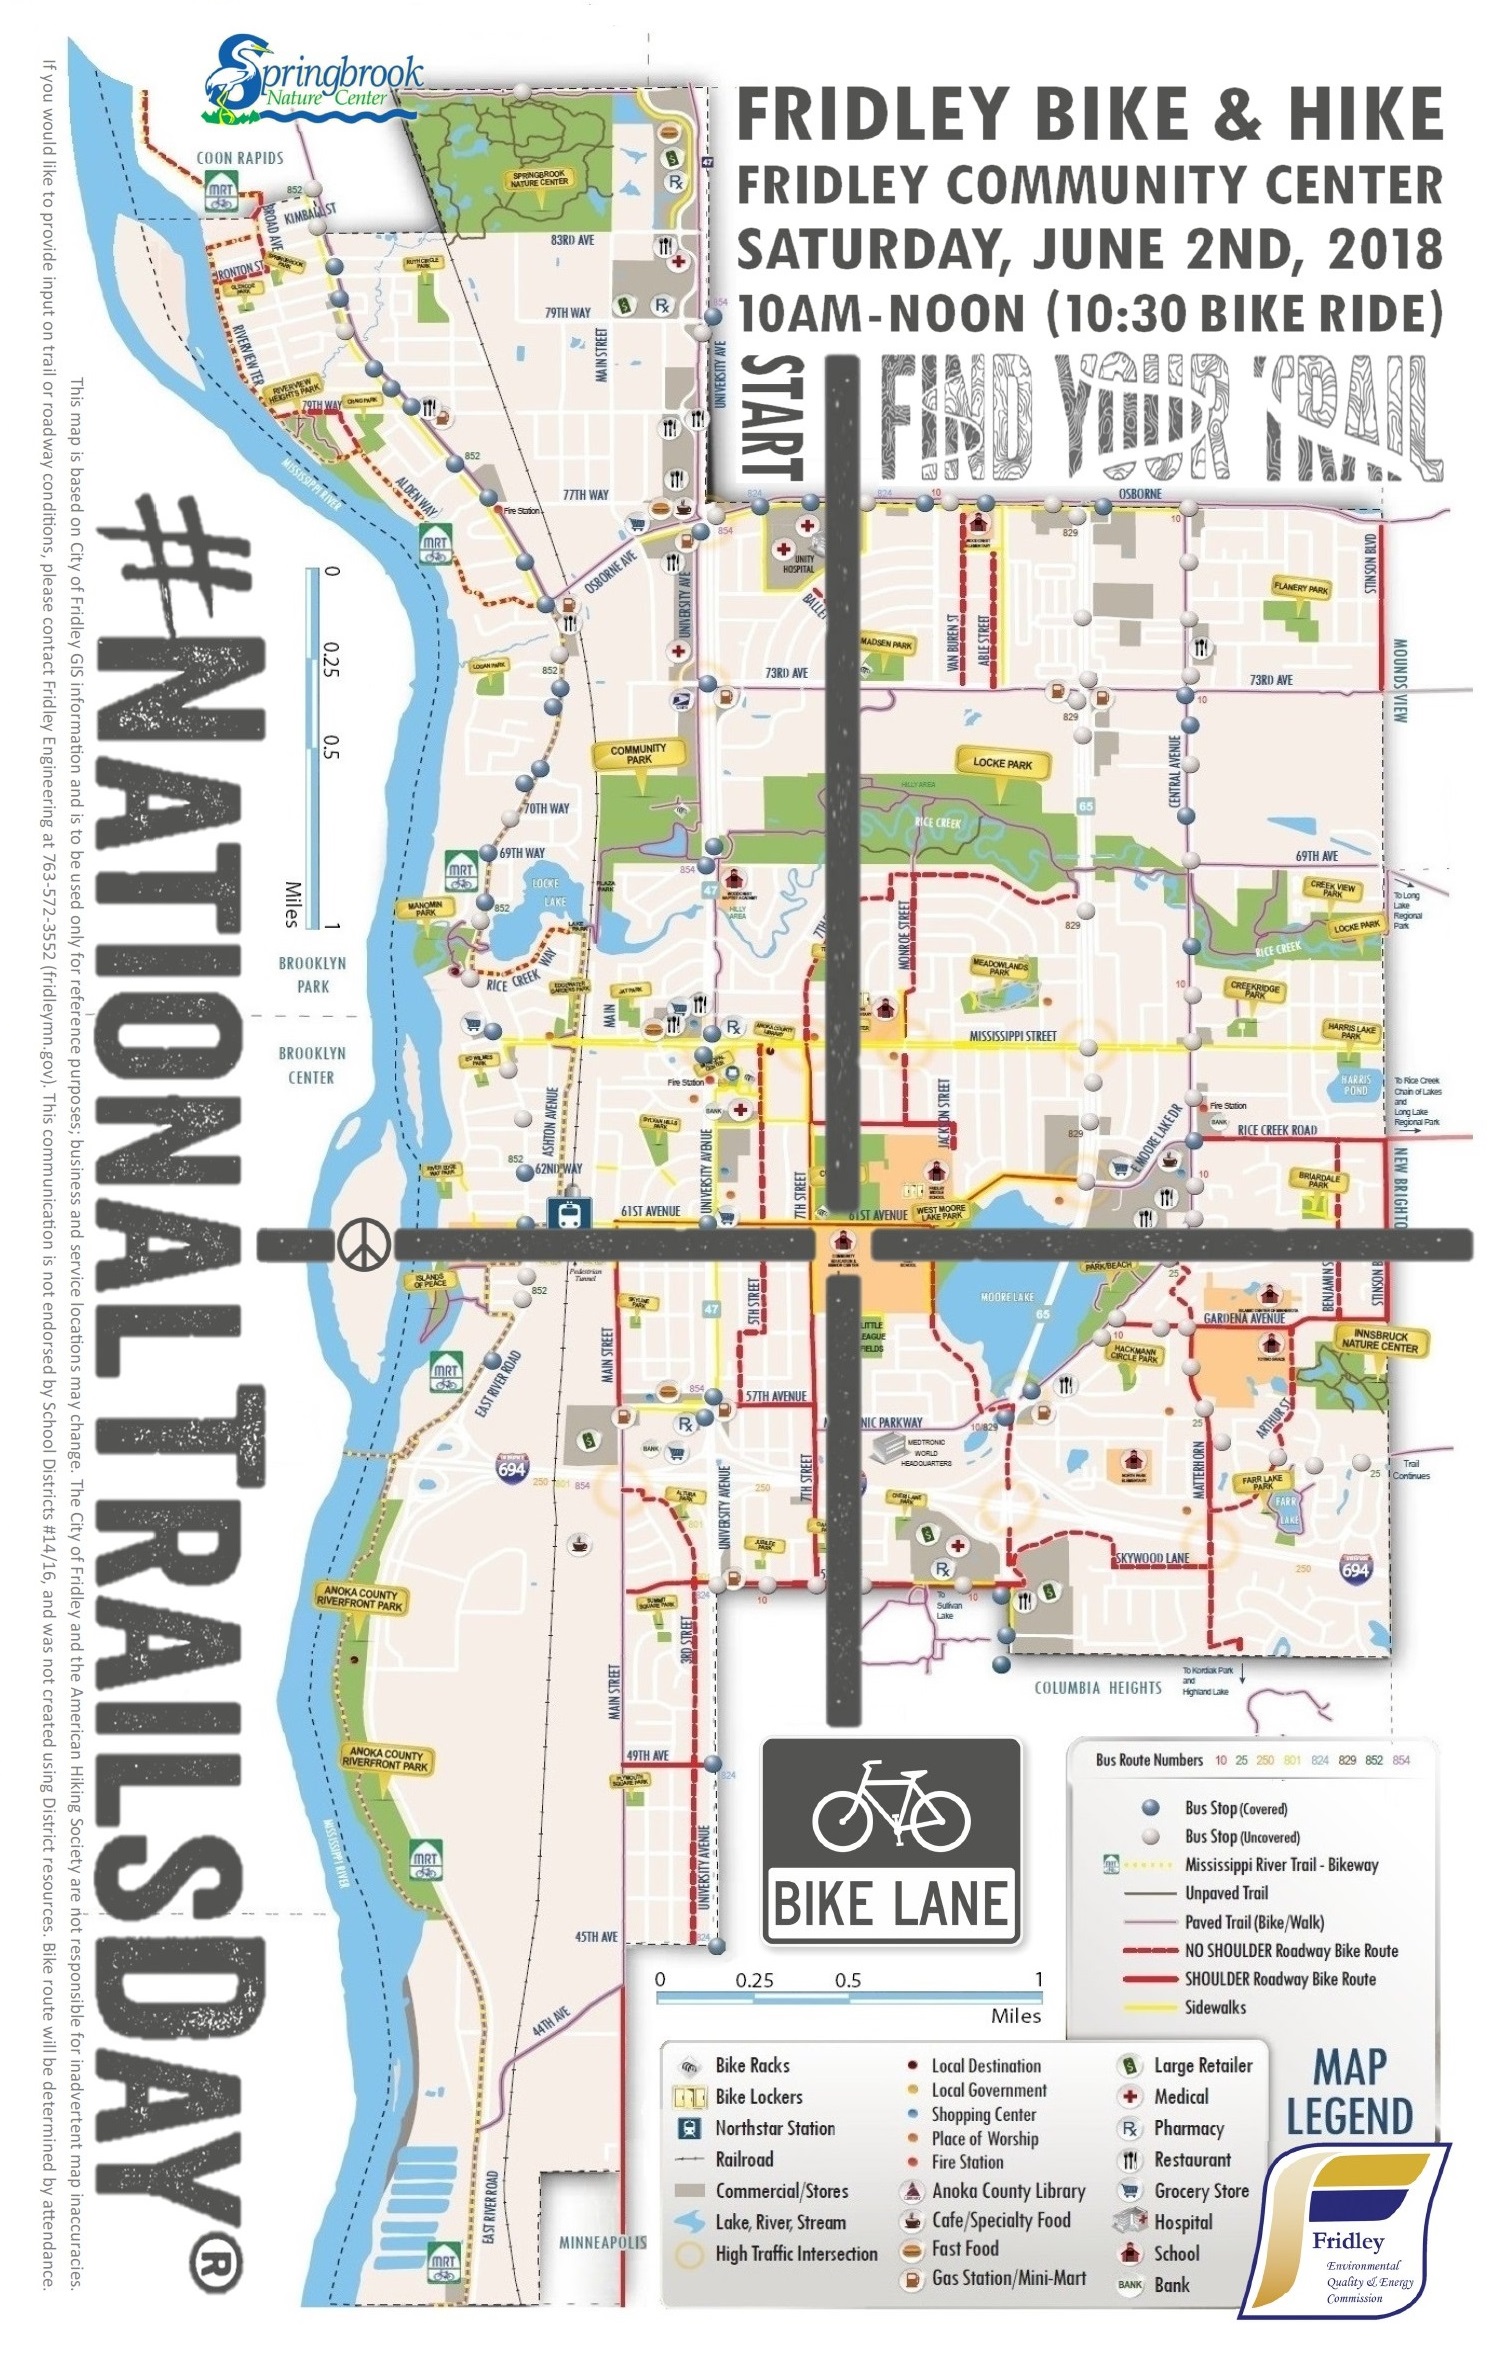
Saturday June 2nd, 2018 is National Trails Day – the original date for our bike tour, but there’s 100% chance of rain, so we’re postponing until June 16th.
As a belated part of that nationwide festivity, Fridley is putting on its 6th annual bike tour! Check out our past events, it’s a family friendly ride as always.
Help spread the word by sharing our event on Facebook. We’ve got a couple of route options, so we’ll decide what we’ll do day of. Here’s a preview:
Option A
WP Strava ERROR 403 Forbidden - See full error by adding
define( 'WPSTRAVA_DEBUG', true );
to wp-config.php
Option B
This is if people feel like riding further:
WP Strava ERROR 403 Forbidden - See full error by adding
define( 'WPSTRAVA_DEBUG', true );
to wp-config.php
Both feature Fridley’s scenic trails via the Rice Creek Trail (option A) or the Mississippi River Trail (option B). Both have serene moments where you’ll be wondering how the heck you’re only 9 miles from the center of downtown Minneapolis. Wildlife spotting is almost guaranteed – fun is mandatory 🙂
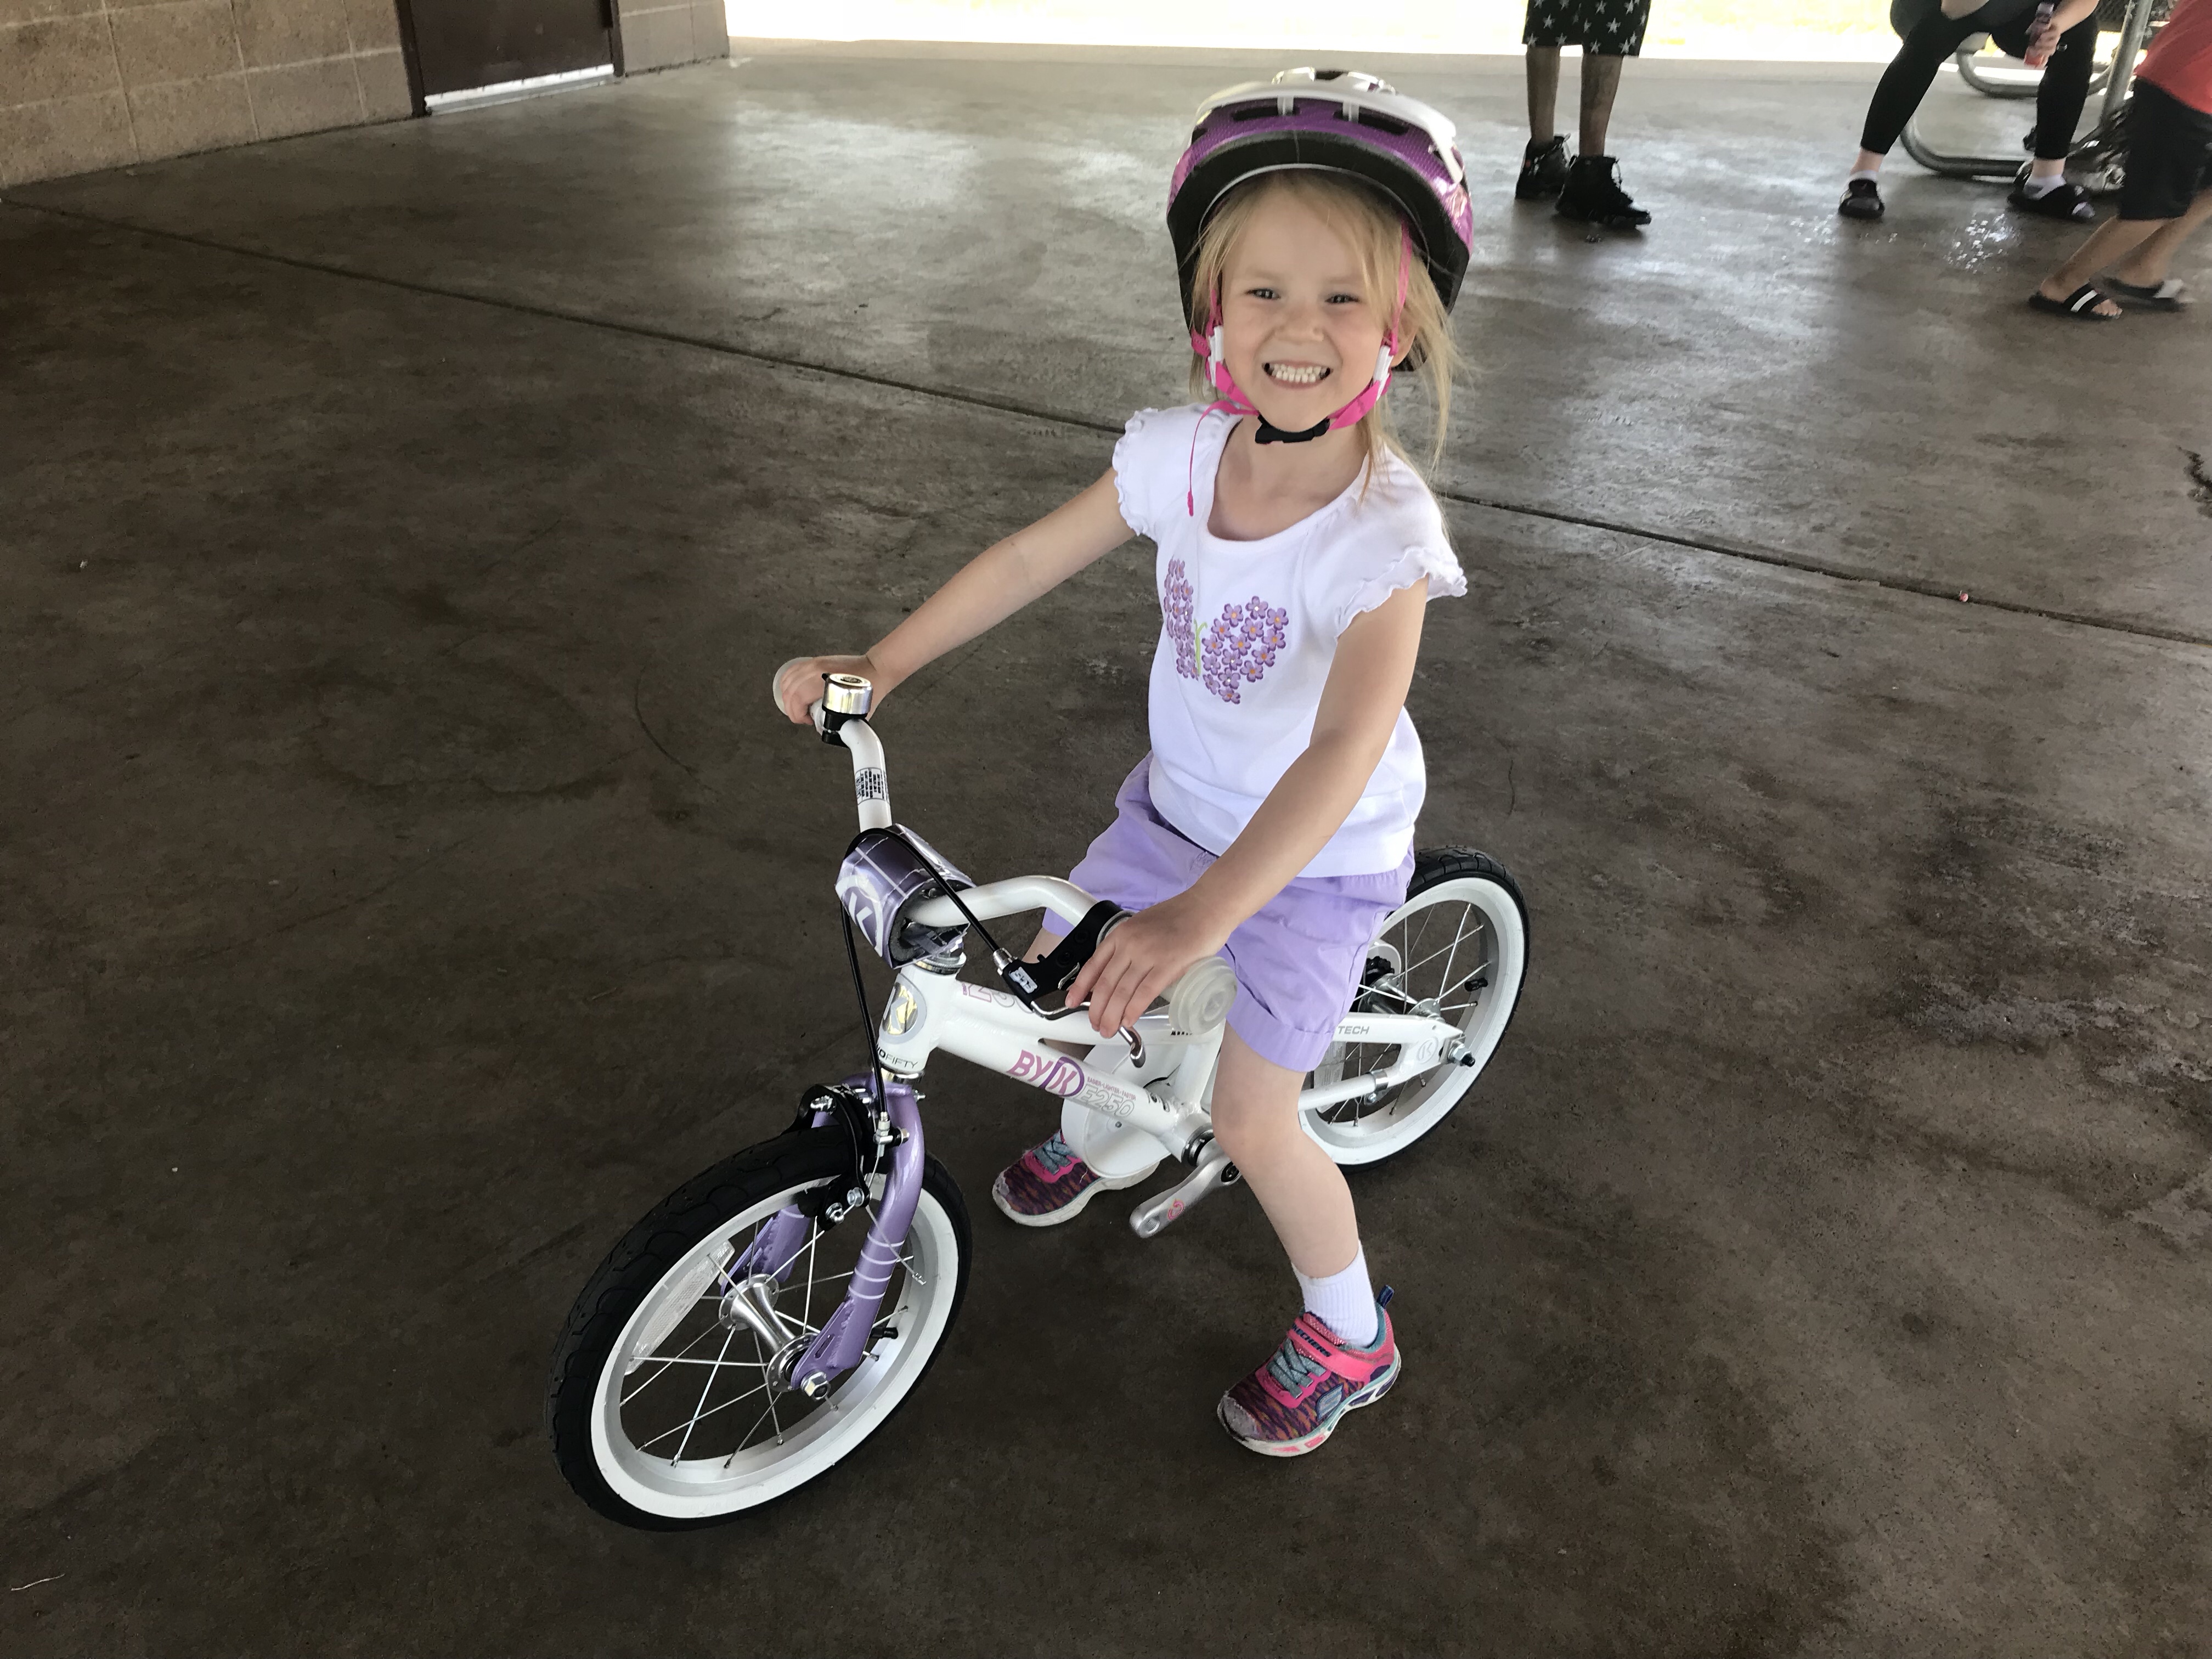
Today is my daughter’s 5th birthday and we got her a new bike. TL;DR? We settled on a ByK E-250. Want to know why? Read on…
As always, I did a bunch of research. One article I came across and revisited several times was Why You Should Never Buy a 12″ Bike! (with a few exceptions). Like everyone should be, I was skeptical of such a bold claim. Some might even call it clickbait. But I kept coming back to that article because of some valid points.
Kids that don’t yet ride on two wheels should be learning to balance no matter what their age. It’s the single hardest thing to learn on a bike. Why muddle it up with pedals, gears, brakes, and bells?
Marlo got a Strider for her 4th birthday last year. Despite her constant nagging that it didn’t have pedals, she finally warmed up to it. At first she cursed the “wobbly bike” but would still give it the occasional college try because she saw her brother riding on two wheels.
5 months later and she had balancing down-pat. No training wheels, no parent running awkwardly behind hunched over. Just turn ’em loose with no pedals.
If your young/small child is just learning, go straight for the Strider. My daughter is small. At 5 years old she’s still only 30 pounds. But she could always lift and move the Strider with ease. Now with balance mastered, it’s time for pedals.
Pedal Bikes
The other main point that article makes is that most 12″ bikes are heavy. I’m talking more than half the weight of your child heavy. Could you imagine trying to ride (let alone learn to ride) on a bike that weighs 100 pounds?
14″ wheels. It’s just a little bigger than her Strider and she can grow with it.
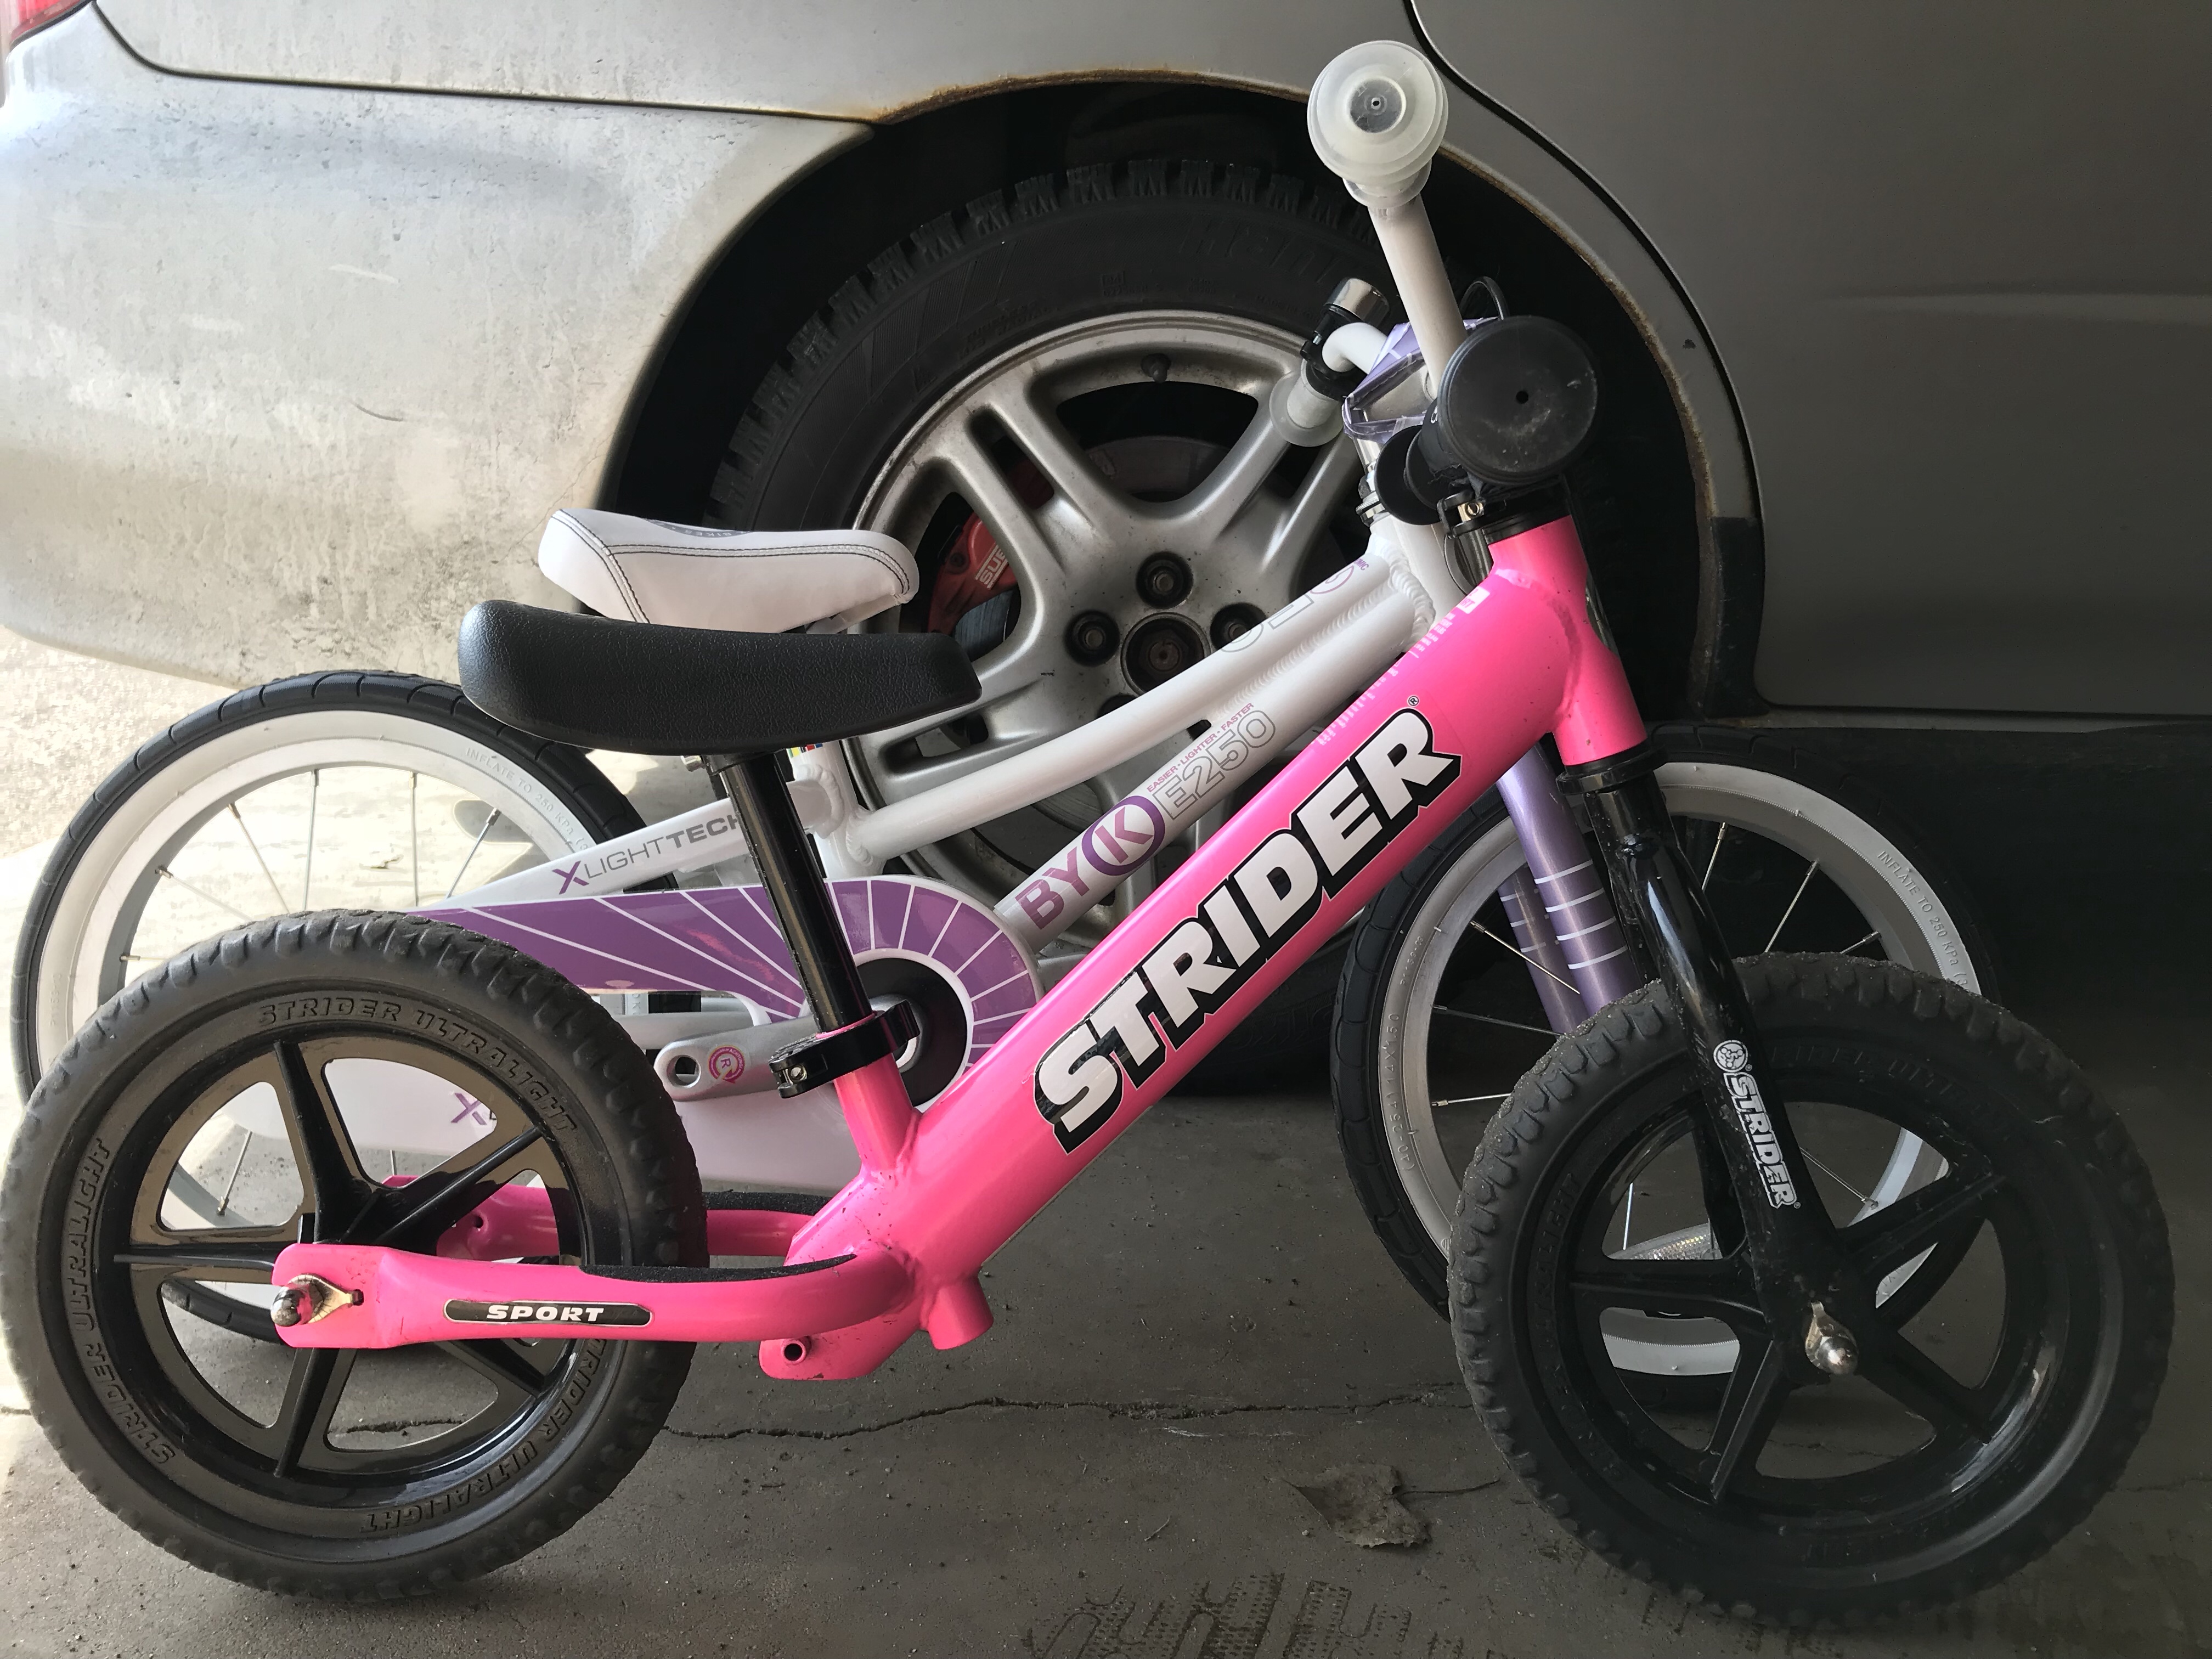
The seat height can be slammed to 15″ – great for shorter kids and amazing considering the 14″ wheels size.
Here’s a comparison shot of the seat height compared to the current seat height of her Strider:
Is it light? Yes – all the bikes recommended from that article are light. Also the crank arms are nicely shaped to stay out of the way when the pedals are removed. I recommend this to any parent with an older child that hasn’t yet learned to balance. Just leave the pedals off until they’re ready.
And about the push handle and training wheels that are included…
Do not, I repeat, do not install or use them. You’re doing yourself and your child a disservice. Take the damn pedals and training wheels off and let them learn to balance on their own! These items are included to placate parents who remember their first terrifying day with the training wheels off. Their parent hunched over with a backache. Forget about it. Those two things are still sitting in the box brand new.
Review Complaints
OK, so why is this thing only 3 stars? It comes down to 2 things:
1. Delivered with a flat tire.
I get it. This is a bummer. Do yourself a favor and order some 14″ tubes right when you buy this bike. This is an odd size so there’s even a chance that your local bike shop won’t carry it unless you special order it.
2. Bad / No Instructions
Also a legitimate complaint. The bike comes with a manual that seemingly covers every type of bike that ByK makes. So you have to figure out, is this a single-speed or a mountain bike because there’s no specific section for the E-250. Yes it’s lame. I was able to quickly work through it because I’ve put together a couple of bikes myself. This bike is rather unique and it could use a model specific manual.
Hopefully ByK figures this out, but it shouldn’t stop you from putting this bike at the top of the list. Take my daughter’s word for it.
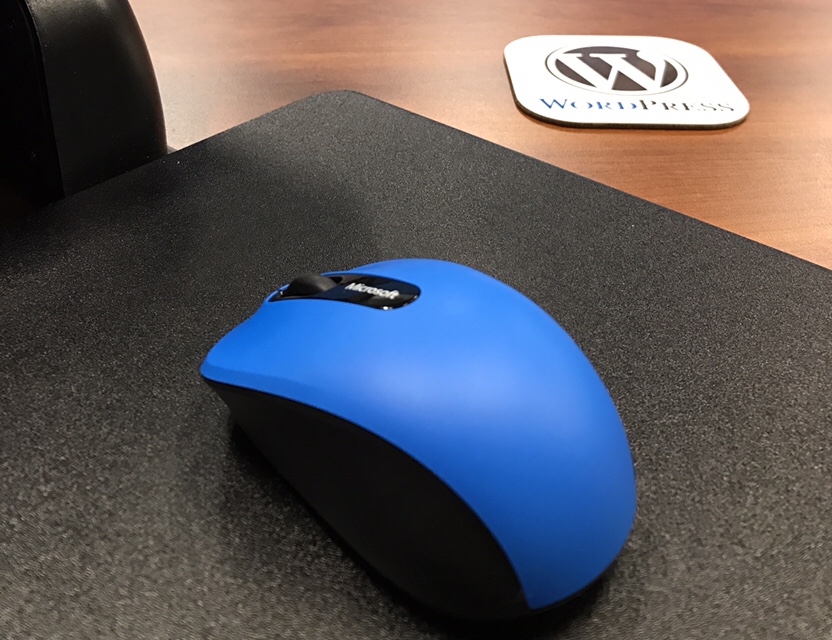
I like this Microsoft “Mobile Mouse” 3600. It connects to my laptop via bluetooth so there’s no need to add a dongle.
It works with Linux but it’s a bit finicky. In this post I’m addressing Ubuntu 16.04 LTS. This might seem like moot point because 18.04 LTS is literally right around the corner. However, there a chance it’s meticulous connection procedure will still need to be followed. So here’s how to consistently get it to connect to your computer.
I’ve highlighted all the commands you’ll need to type in bold. The other text is the output you’ll be seeing. The device ID will be different for your 3600 mouse, and it will be different every time you try to pair it. Just be careful to copy and paste off of your screen and not mine 😉
Put your mouse into pairing mode by holding the bottom button down for more than 5 seconds. Then launch the bluetooth control tool from the terminal, and start a scan. Note the ID of BluetoothMouse3600, you’ll use it for the commands pair, trust, and connect.
Sweet we’re connected! But your mouse probably won’t (yet) work. We need to disconnect first (I’ll explain why in a bit).
[BluetoothMouse3600]# disconnect EF:E5:F1:8D:EA:24
Attempting to disconnect from EF:E5:F1:8D:EA:24
Successful disconnected
[CHG] Device EF:E5:F1:8D:EA:24 Connected: no
Why am I doing this again?!?
I’m not exactly sure why this needs to be done twice, but somewhere along the way I believe I saw some bluetooth debugging information show that the first device is for BLE (bluetooth low energy) and the second is the actual HID (human interface device). Comment if you can confirm or deny, but for now, let’s keep truckin’…
Put the mouse into pairing mode again. Then pair/trust/connect again . You may notice the number in the 4th section of the device ID is one number higher than it was when we first paired.
If you find it not reconnecting on occasion, turning the mouse off/on with a quick press of the bottom button sometimes does the trick. Otherwise, remove both of the bluetooth devices that are paired and start from the top. I’ve done this several times and this is the only consistent way I’ve been able to get it working again.
I ordered an iA6 receiver for a flying wing I picked up at the local R/C swap meet. It took 30 days to get here from China. How have I not learned not to order stuff during the Chinese New Year? Once I got it, there were a few tricks and troubles I went through, so here’s the rundown.
I specifically purchased the Turnigy iA6 (same as FS-iA6) instead of the iA6B for a few reasons. It has leads coming off of the top instead of the end, so it’s effectively shorter when servo connectors a plugged in. Perfect for the Techone Mini-Popwing which has a small receiver cut-out. It also has a rudimentary telemetry system built in, and the first version (non-B) can be hacked very easily to provide battery voltage telemetry to the transmitter.
The telemetry hack is well covered in the RCGroups link above, so I won’t go into it, but will outline a couple other issues I encountered.
I did this mod to my TC6.1 because it’s a dedicated VTA racer. To be honest, 99% of the people out there racing VTA are using 190mm touring car chassis’. However they’re all also running 200mm bodies on them, which can sometimes look a little weird with the wheels tucked way up underneath.
Many of the 200mm VTA bodies that we use today were created by HPI in the early 2000s before the USVTA series existed. They were originally intended to be used with their RS4 chassis which included settings for both 190mm touring car bodies (The chassis actually measured 180mm), and 200mm for their wider bodies. The rear vintage wheels and tires have an offset so the 200mm bodies don’t look too bad on a 190mm chassis. But a select few bodies like the ’70 Charger and ’68 Camaro have an extra-wide 210mm rear. This is when the wheels tucked under look a little silly. Let’s fix that…
Continue reading →


 How have I not learned