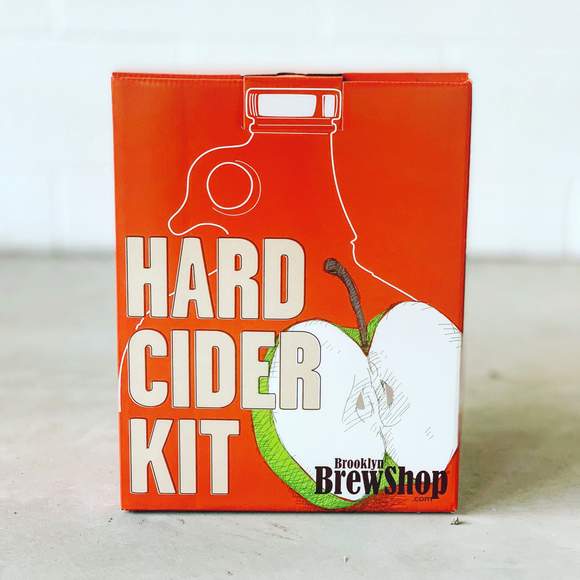
My wife got me this hard cider kit from Brooklyn BrewShop for Christmas:
Unfortunately apple cider was very out of season at the time. As we get back into the height of cider season, I want to tell you how easy it is to make hard cider with three (3!) ingredients and have it ready to drink in about a month.
Continue reading →Equipment
The Brooklyn BrewShop kit is an easy single fermentation kit that contains a gallon jug, airlock, siphon, sanitizer, and enough yeast to make three batches.
The only other thing you’ll need are bottles. I like the swing-top E-Z Cap bottles. You can get them at your local brew shop.
Ingredients
Like I said, this is super-simple, there are only three ingredients:
- Apple Cider with no preservatives (no potassium sorbate or sodium benzoate)
- Champagne Yeast – the kit includes 3 packets of Red Star Premier Cuvee yeast
- Honey or Fizz Drops from your local brew store
The Cider
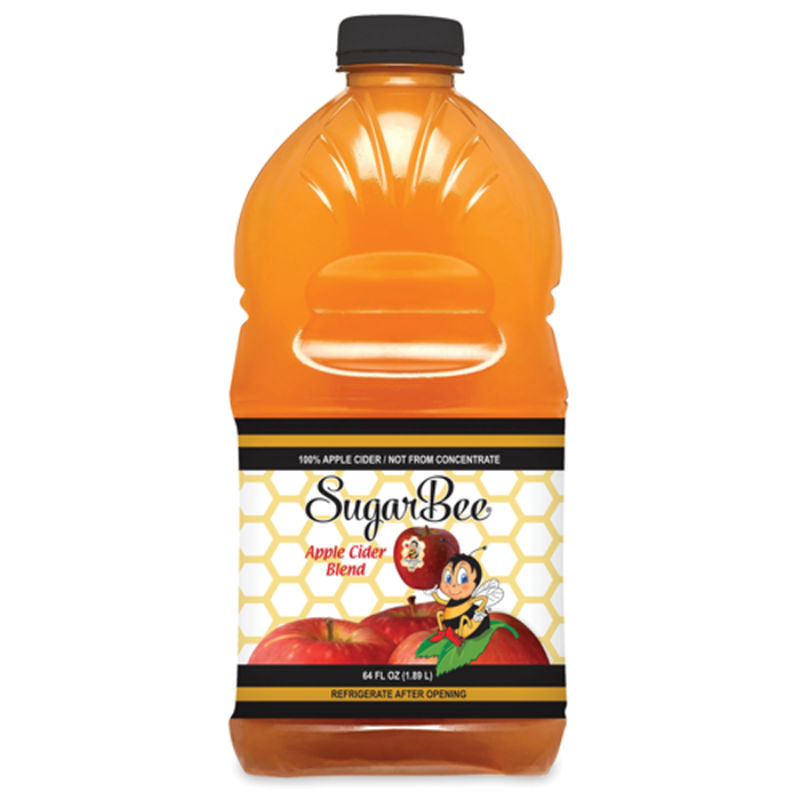
Finding apple cider with no preservatives can be tricky. I’ve noticed that almost all ciders use it. Luckily, the SugarBee brand, which is available at my local grocery store, contains no preservatives. And it makes fantastic hard cider!
Brewing
Brewing is as simple as pouring in room-temperature cider and adding yeast. You should follow the kit instructions to make sure your equipment is sanitized. But it’s really as easy as pouring in a gallon of cider and a packet of yeast.
Put the airlock on and set a reminder for two weeks later. Maybe give the bottle a light shake after a week to re-activate any live yeasts that have settled to the bottom.
Bottling
After two to three weeks of fermentation, we’re ready to bottle. During bottling, we want to make sure a majority of the yeast stays on the bottom and doesn’t get transferred during the bottling process. You should be carefully moving around your fermenter to keep things settled.
Before bottling, we need to decide how you’re going to add the priming sugar – are you using honey or fizz drops? If you’re using honey, follow the instructions and heat it with water. Then you need to combine it with the cider.
Since you don’t want to stir the cider in the fermenting vessel and get all the yeast off the bottom, you either have to:
- Siphon the cider into a sanitized bucket or pot and combine with the priming sugar OR
- Put equal amounts of priming sugar into your bottles.
If you’re using fizz drops, just add a drop to each bottle for 12-16oz bottles – the E-Z Cap bottles I like are 16oz, and a gallon of cider fills eight (8) of these.
Either way, watch this video on How to Bottle to get used to their simple (but effective) siphon:
I suggest following their instructions by trying out the siphon with some water first. It goes fast, so you’ll want to know how it works before spilling your precious cider (that you’ve waited weeks for) onto the floor, making a huge sticky mess.
Pro-tip:
I like to keep the jug or bucket on the counter and put my bottles on the dishwasher door while it’s open. That gives me the elevation I need for the siphon to work, and if I spill it will stay in the door, and go down the drain once I close the door when I’m done.
Bottle Conditioning and… drinking!
Leave the bottles condition at room temperature for two weeks. I like to put my E-Z Cap bottles back in the box they came in. The box will make sure no UV light gets to our cider, which can impart off flavors.
After two weeks I put one bottle in the fridge to test drink. I’ve never had to condition longer than two weeks, but in the spirit of science we must test! Once I’ve verified that the carbonation is good, I put them all in the fridge to prevent further fermentation (which can lead to explosion).
When you pour, go slowly and use the shoulder of the bottle to trap sediment (excess yeast) before it goes into the glass. Alton Brown does a darn good pour here:
There it is, from the package to your glass in one month. It’s super-easy and has turned out great every time I’ve done it.
Have you found any other brands of no preservative cider you like? Let me know in the comments!
