…also marching band, WGI, etc. Well we did it again this year at Minnesota Brass. This season’s problem to solve: harmonicas. The 2023 Minnesota Brass production “Speakeasy” used Billy Joel’s Piano Man as the ballad. I thought it would fun to play a little ditty on harmonica, so I worked with our arranger to put it in.
Playing Harmonica
I had never played harmonica, so I did some research. I wanted to make sure it was achievable, and that whatever I ordered would be suitable. I started with this youtube video and some harmonica note charts:
Harmonica Joe provides an easy harmonica tablature on his site for Piano Man. Looking at the tablature (tab), it’s played using two holes at a time. This allows for a nice harmony in thirds. I double-checked the sounds from the youtube video on my piano (in the key of C).
Then I went to our score, suspected a Bb model would do the trick, and then verified with our click track against the piano.
Click Track: For studio recordings it’s a metronome click for folks to use to stay in time with each other. For pageantry it refers to the MIDI output file of the arrangement produced by the computer’s notation software.
I purchased one harmonica in Bb to see if I could do it. For our ditty we used the bottom line from Harmonica Joe’s tab, effectively the 2nd half of the phrase.
It wasn’t too bad to learn! At one point I thought I broke the harmonica but it just got too wet from saliva and the reeds stopped responding 🤤💦 I put in the case and picked it up later – relieved that it still worked after it dried 😰
Then I called my Sweetwater rep and ordered enough Fender Bb Harmonicas for the entire baritone section. $100 later they all had their own harmonicas.
Harmonica Storage
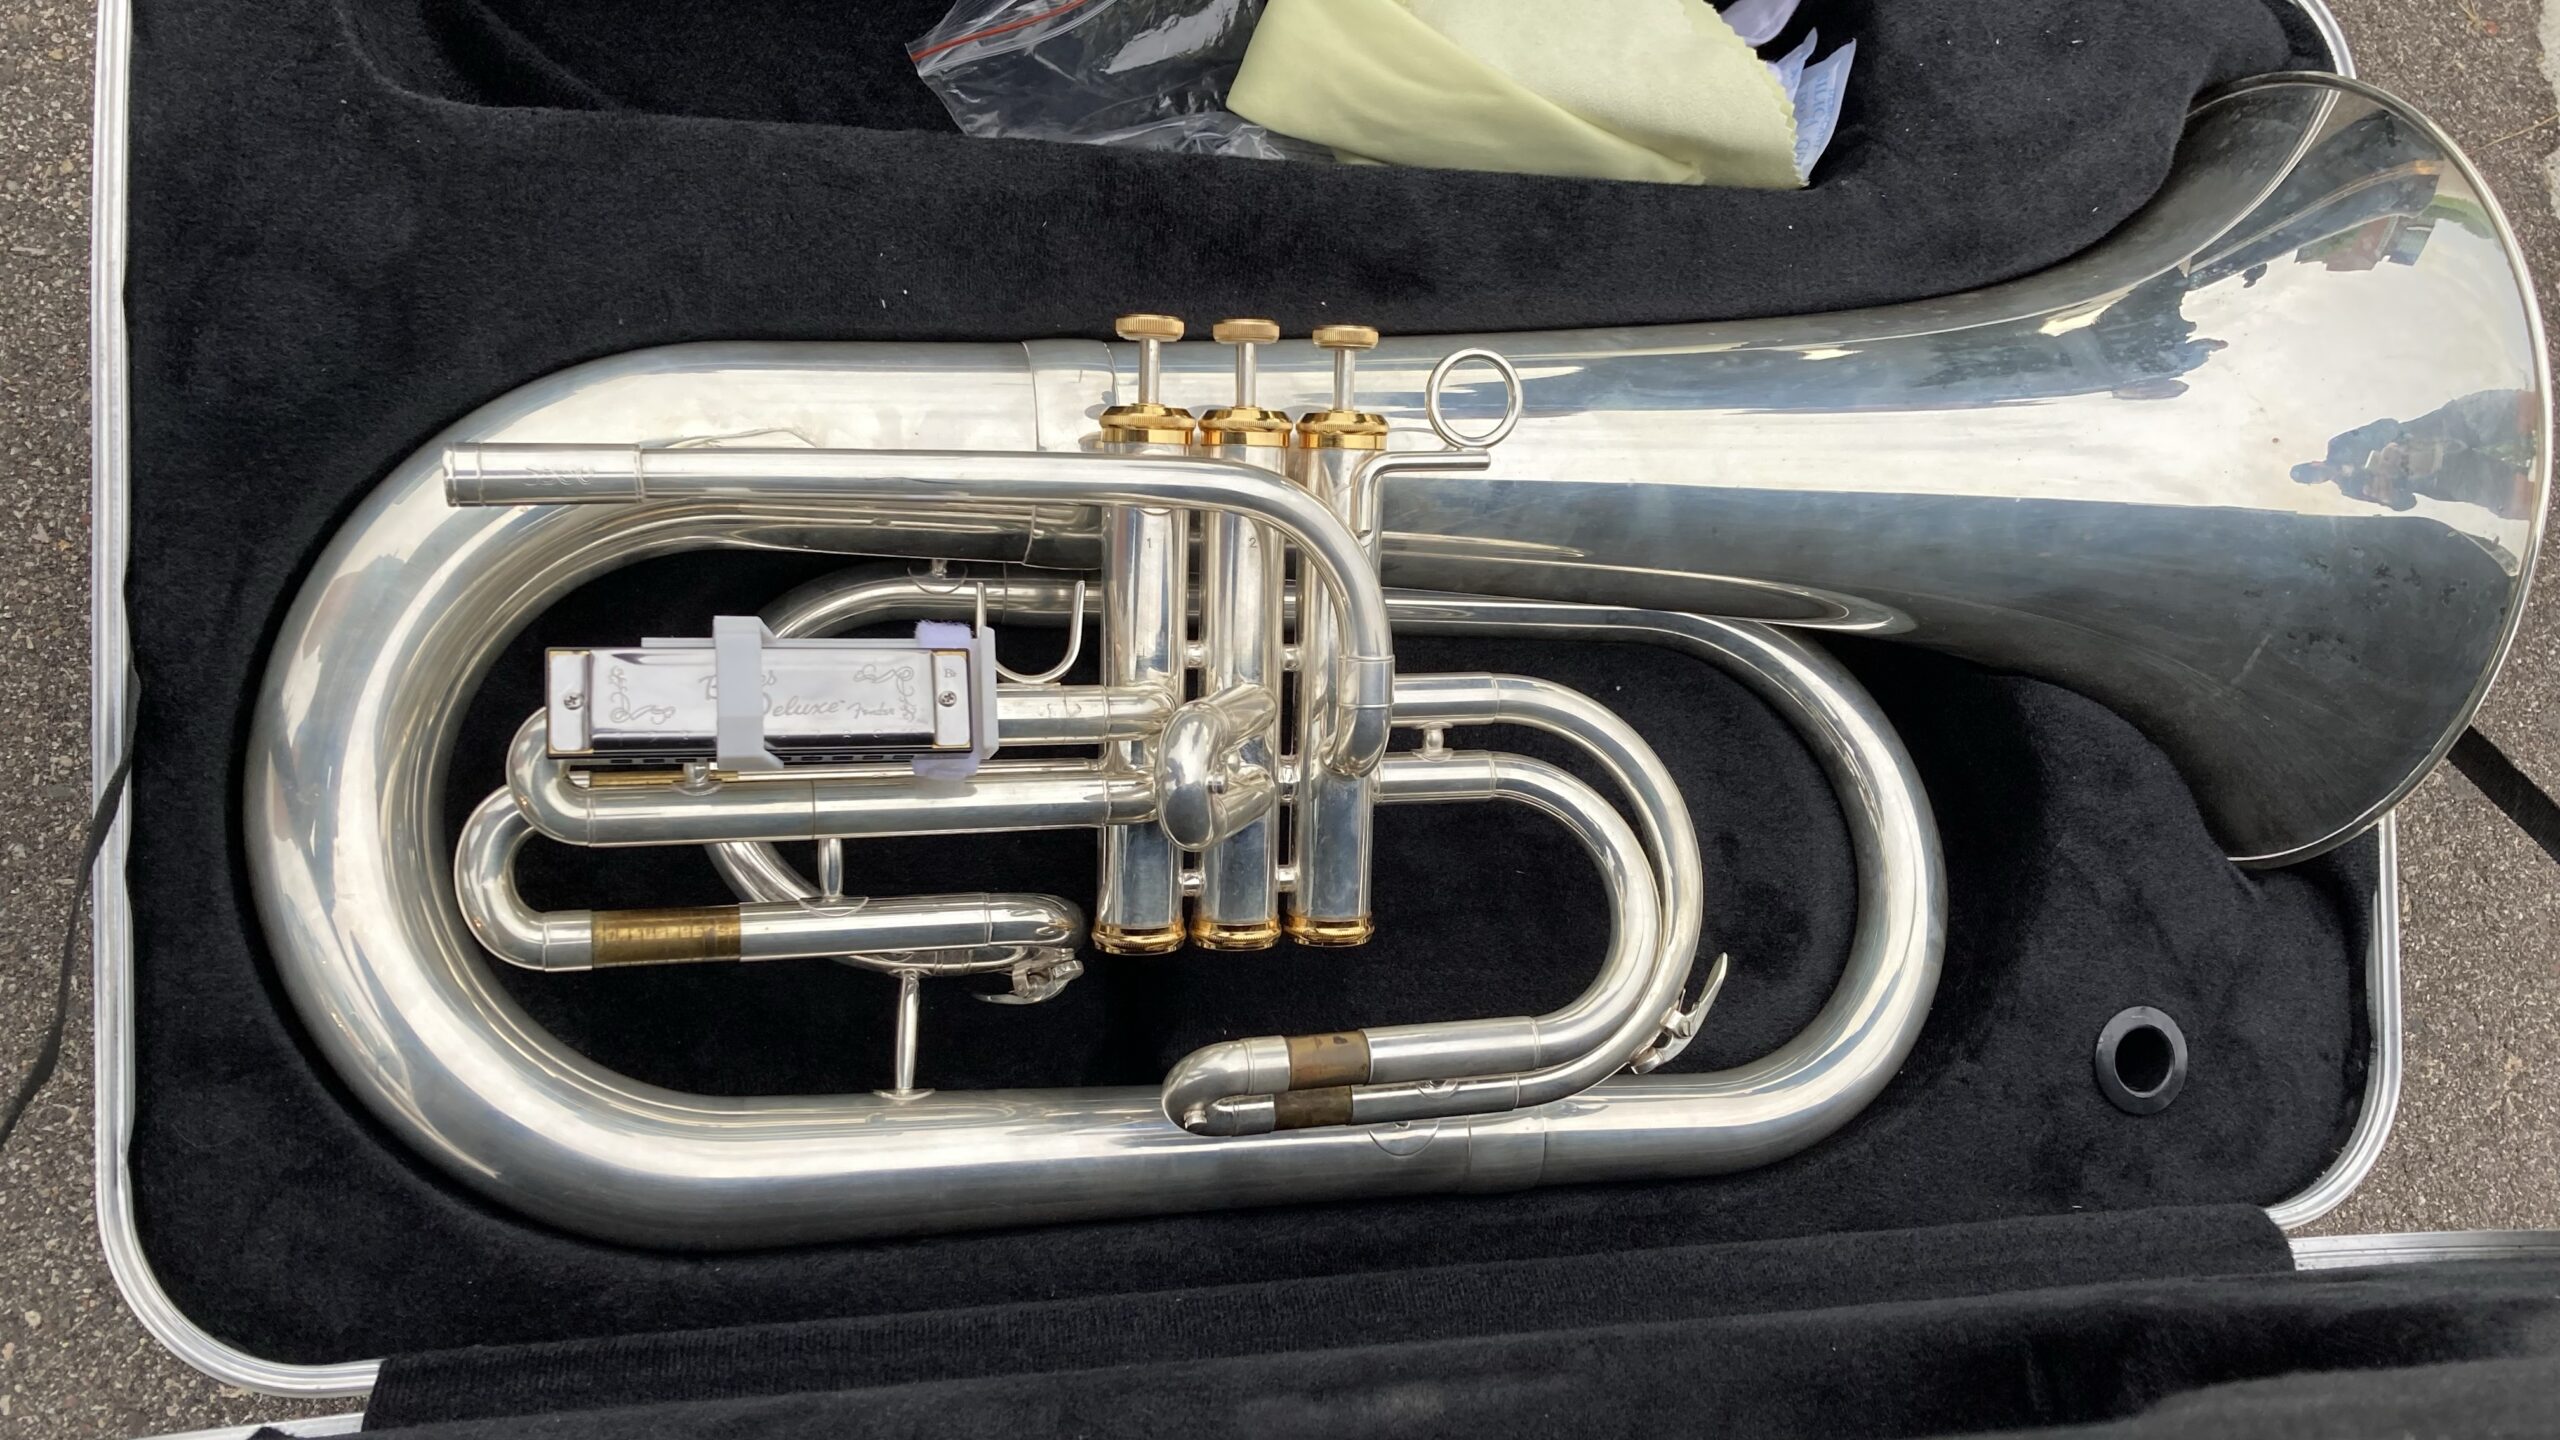
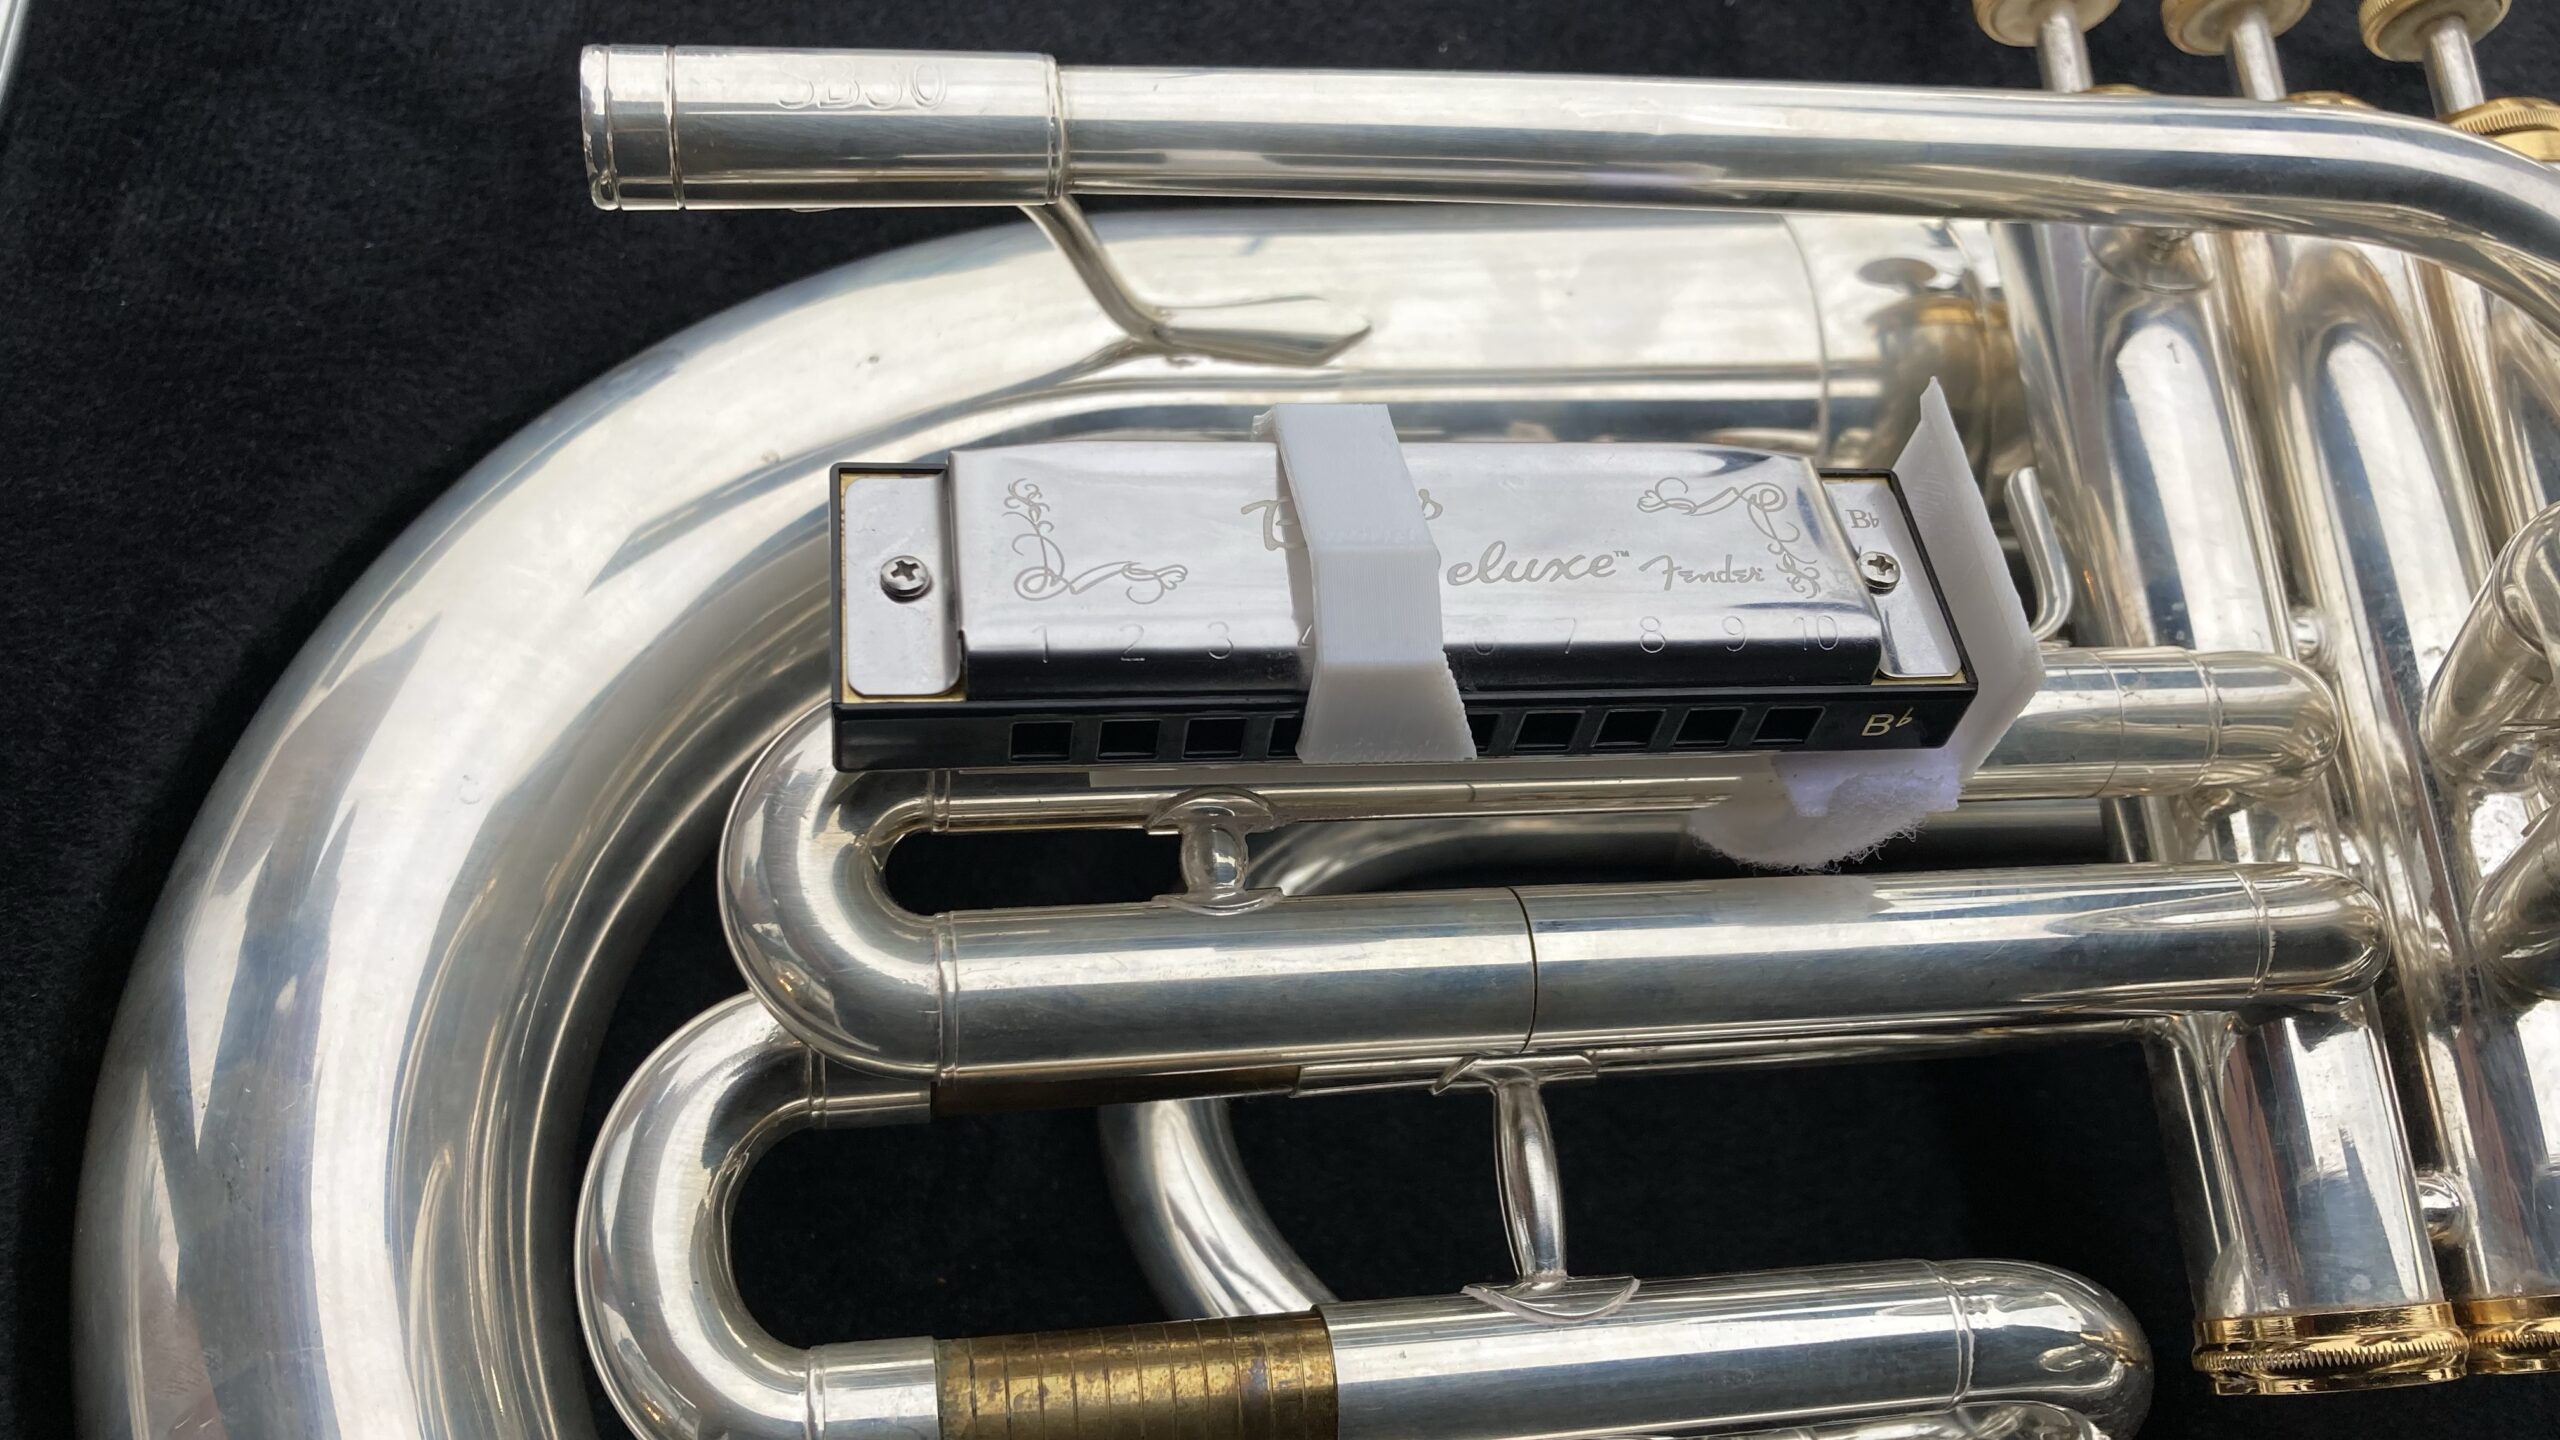
The next issue was going to be: where do we put the harmonicas in our uniforms so they’re easily accessible? A couple of our baritone players also have 3D printers and had some ideas. They skipped thinking about putting it in the uniform, and made a clip that goes directly on their horn:
Super easy! You don’t need to dig it out of a pocket. The harmonica slides right out of the holster and the holster clips to the first valve slide.
They all picked up playing the harmonica pretty quickly. The baritones would play on them at practically every break. It was like trying to get a batterie member to stop chopping on a pad 😅 In the end it paid off – it was a nice touch to our Piano Man performance:
…and marching band, WGI, etc. Props for any sort of marching arts are only as good as the best “band dad” in your group. Some band dads are great engineers, but staying in budget is always the trick. Aside: that term was not (properly) defined in Urban Dictionary, so I added a definition 😎
When it comes to props, the name of the game is cheap since they’re only used for a season. But they need to last a whole season, and work consistently. Sometimes you need to solve a problem which doesn’t have an off-the-shelf solution. When structural strength is not a concern, 3D printing can help.
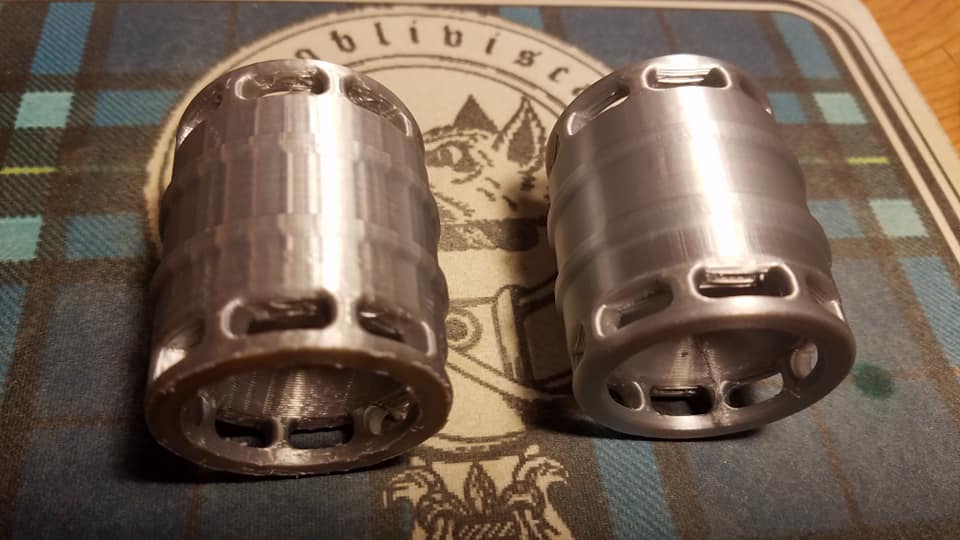
Our trumpet soloist also has a 3D printer, so I dropped the spool off at his house and he was able to print all of them up. The cork was cut from a large sheet. It had sticky backing, but he made sure it would stay permanently with cyanoacrylate (CA) glue a.k.a. super glue.
At first I thought he paused the printer and switched from orange to white filaments to get the stripe look. Nope, it’s just white electrical tape – you’d never know from 10 yards away.
If you want to print straight mutes that are show themed, you can find the STL files here. I tried getting the cork from a local music shop without luck, so we bought some from Amazon.
Flag Clips
Another prop we had was a Route 66 street sign made from 1.5″ inside diameter (ID) PVC. The goal was to be able to clip a flag to the sign post so they can be moved around together without issue. Here’s the first version to give you an idea:
Version 1 barely survived one show, but that’s OK. The trial and error revealed where additional material need to be added for strength.
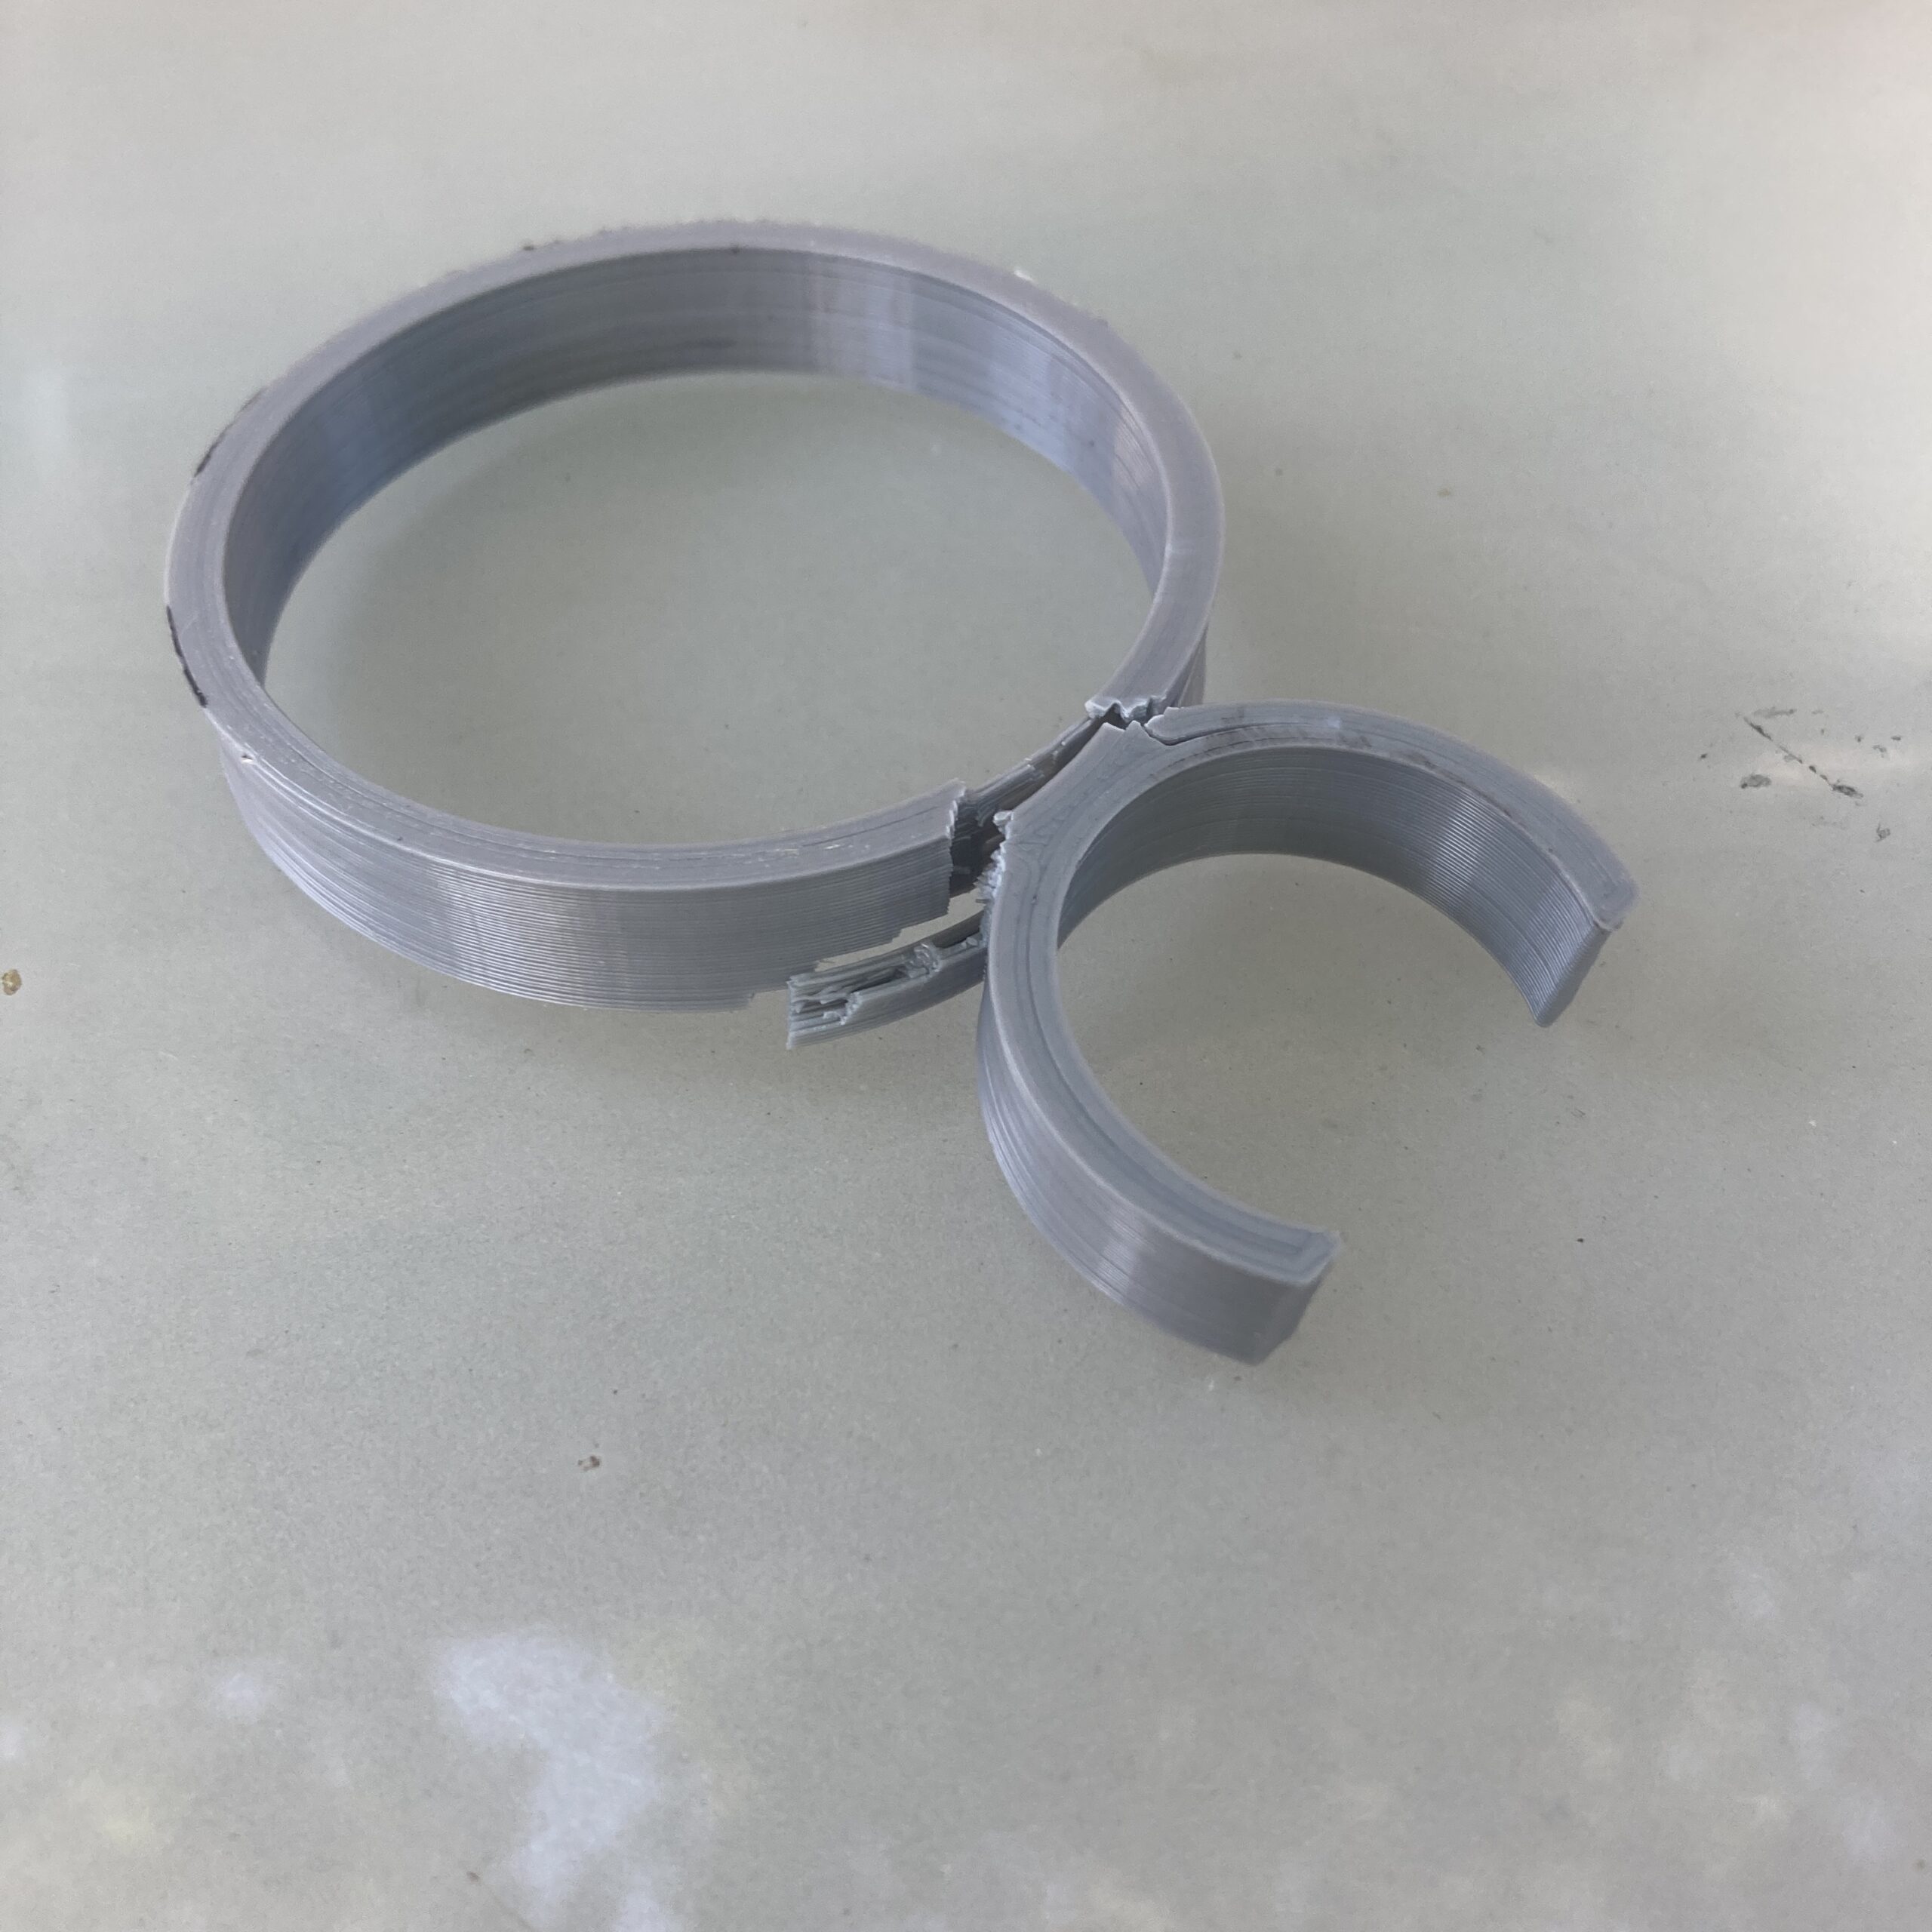
From feedback from the guard I learned the flag clip part could be a little bigger to accommodate the flag silk. Version 2 had a double-detent design to help prevent the flag from falling out on it’s own.
The clips slip over the PVC and it has enough room for pole tape (we used chrome Duck Tape). To hold them in place we just added a strip of duct tape on the opposite side of the clip. Here you can see the sign in the background. There are two small bulges on the bottom half of the post where the clips are fastened.
Both Shannon, our trumpet soloist, and myself have Creality Ender-based 3D printers. They’re not expensive, and you may already have someone in your group with access to one. They’re less than $500 and band nerds like to nerd out in other ways too. Ask around and use this new technology to your advantage, it wasn’t mainstream before but now it is. 📈
I recently saw this picture on Facebook – amazing 3D printing results from the Creality Ender 3 using the Ultimaker Cura slicer with the “Creawesome Mod”:
The Cura downloads you can get for Linux right from Ultimaker are AppImages. Basically bundles of software that can run on their own without having to install anything else. Super easy, just download the file, set it to executable, and run it. But how does the Creawesome mod install?
The Creawesome mod is a zip file with a folder in it called “resources.” I just needed to figure out where to put it. I tried putting it in ~/.config/cura/4.0 on my Ubuntu system but that didn’t do anything. The clue that it is working, according to this video, is that I should see a Creawesome mod splash screen.
But I wasn’t having any luck.
Deconstructing the AppImage
Since the AppImage is a bundle, I thought that maybe they need to go inside of it. The AppImages delivered from Ultimaker are “version 1” app images. Those types of AppImages can be mounted like a filesystem for further inspection. I used these commands:
But, we can’t just overwrite that folder and unmount the image. The image itself is mounted read-only. So I made a full copy of the directory and then unmounted the original AppImage.
$ cd /tmp
$ cp -a cura_mnt cura_image
$ sudo umount cura_mnt
Repackaging the AppImage with the Creawesome mod
I removed the resources directory so I could copy in the Creawesome mod resources directory.
This should create an updated AppImage with the Creawesome mod called Cura-x86_64.AppImage. I renamed mine to Ultimaker_Cura-Creawesome-4.0-x86_64.AppImage and put it right next to my original Ultimaker_Cura-4.0.0.AppImage file in case I need to fall back to the “vanilla” version.