Remember how your dad’s 10-speed from the 70s/80s had an extra set of brake levers by the “tops”? They were for the top part of a drop style handlebar, like this:
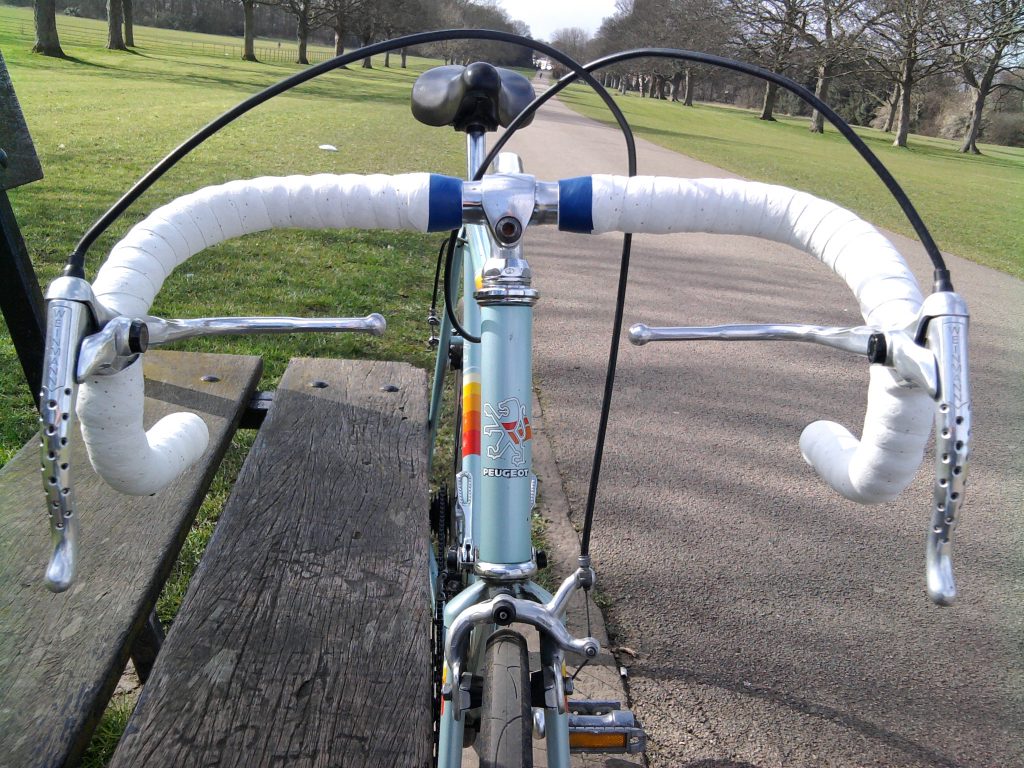
They are called extension levers, or sometimes colloquially suicide levers because some couldn’t actuate the brake fully.
Whatever the case is, I’m still fond of them and wish they were still a thing. Bike manufactures mostly solved this problem by putting ergonomic hoods on the brake levers so you can rest your hand on the top of the bar where it curves down.
Like driving with your hands at 9 & 3 the paddle shifters are easier to reach… but I can still press the brake when I’m cruising at 12 & crotch 😎 I want the same thing on my bike. I like keeping my hands on the tops when I’m relaxing, and I don’t want to do an emergency hand move if I need to stop quickly.
Enter cross levers
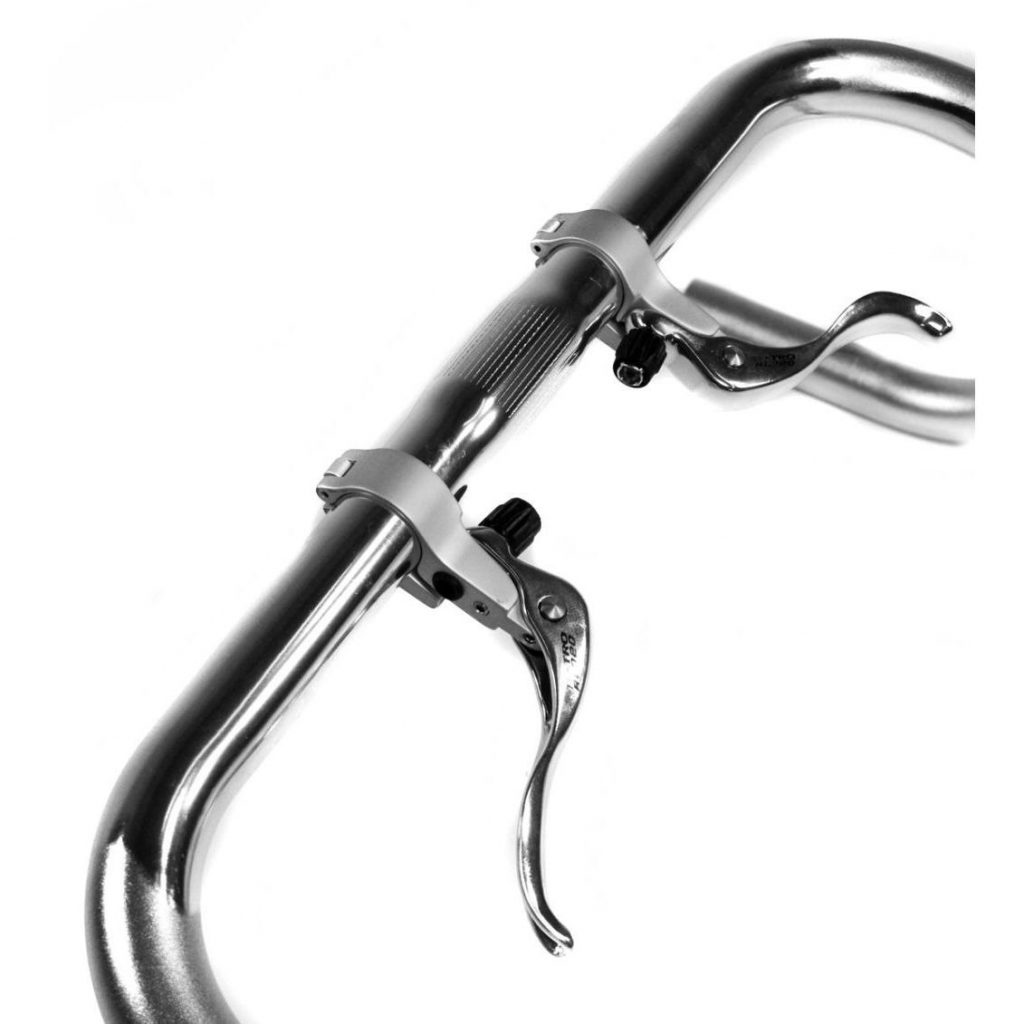
These cute little add-ons go in-line with the drop levers to provide full braking ability from the tops. When you’re adding them, you’ll need to remove and reinstall your bar tape, so I took the opportunity to get some new bar tape – went with Lizard Skins 3.2mm tape in blue to add some color.
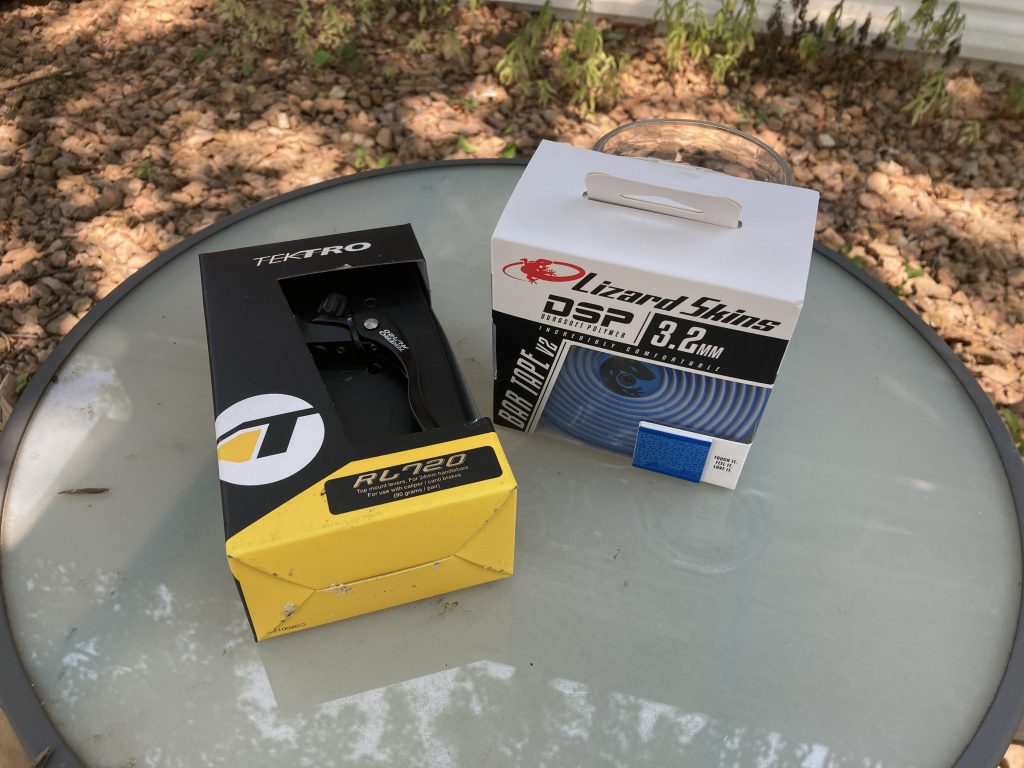
Another thing to know is that there are several sizes of cross levers for several sizes of handlebars. Tektro offers sizes in 24mm, 26mm, and 31.8mm. My handlebars from the original Cross Check complete spec are 26mm at the stem, then taper down to 24mm. After removing the bar tape, you can see this is the farthest inward I could place the levers:
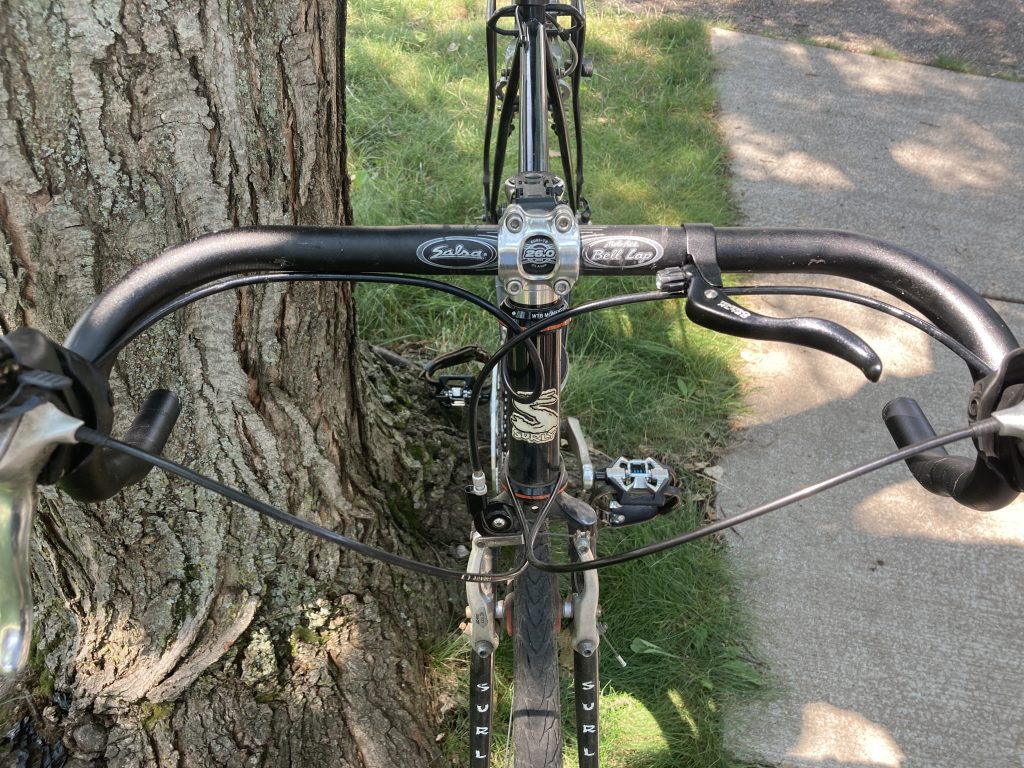
If I wanted to go closer to the stem I would have had to purchase the 26mm version – just be aware of what your setup is before purchasing levers.
You’ll need to cut your brake cable housing. After removing your bar tape, pull out the brake cables. Keep in mind that you might need to replace your brake cable(s) if they’re frayed. Figure out where you want to cut your cable to put the new levers in-line – remember to measure twice and cut once! I cut my brake cable housing 65mm from the brake hoods.
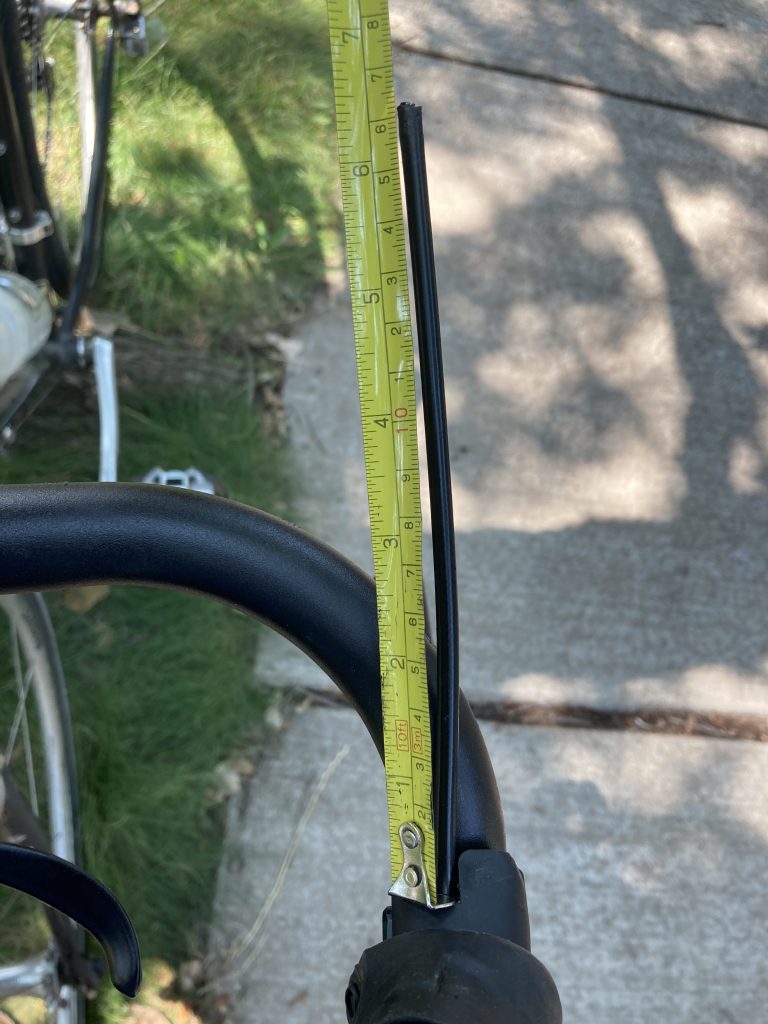
Brake Cable & Housing Tools & Tips
I cut my brake cable housing with a standard side cutter and as you can see above, the cut was rough at best. Then when I went to thread my front brake cable back in, it split and frayed 😩
So I went to the bike shop and bought a new front brake cable and a Park Tool CN-10 Cable/Housing cutter. I noticed on the new brake cable that the manufacturer spot-welds the end to make sure it won’t fray:
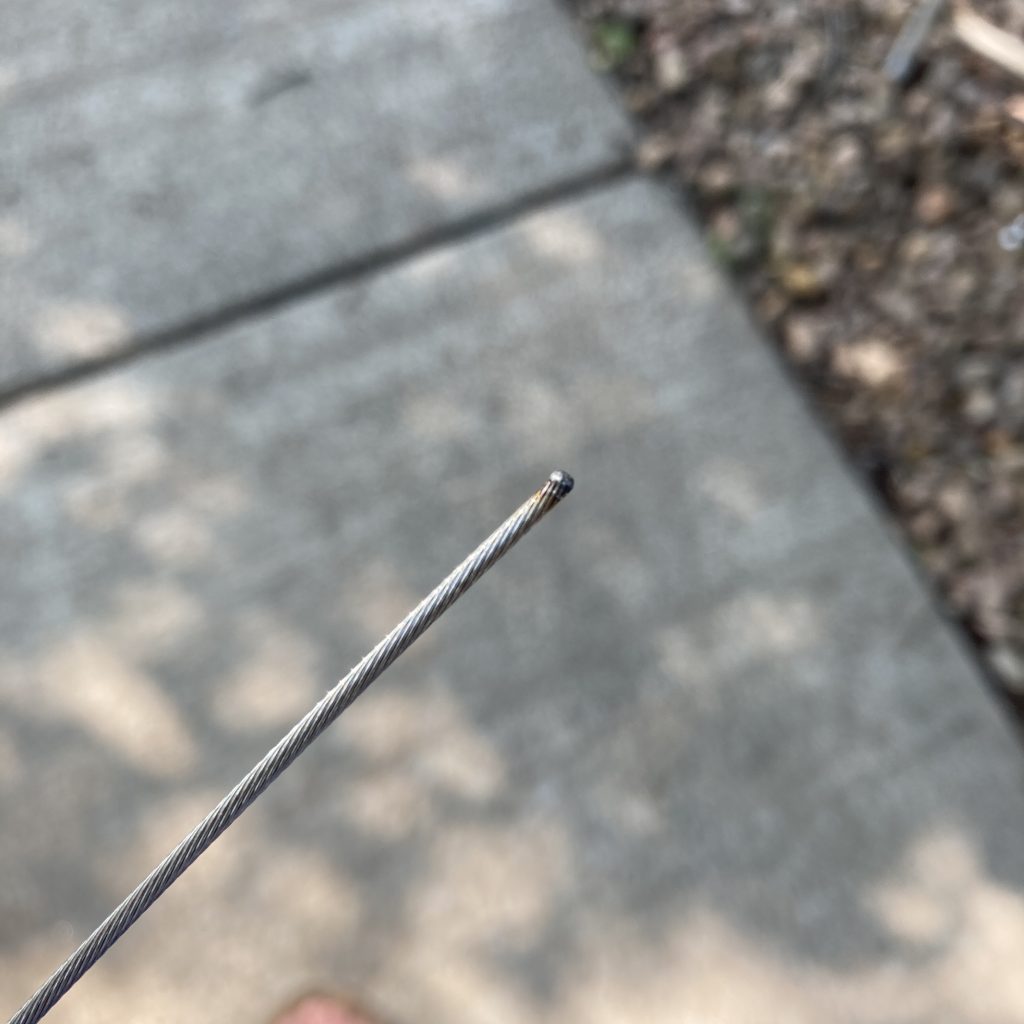
I thought to myself, why not do something similar at home before cutting the cable so it won’t fray? I decided to try and solder the cable with my TS-100 soldering iron. Apparently this is not a new or novel idea 😎 I started by applying some flux to the place I wanted to cut:
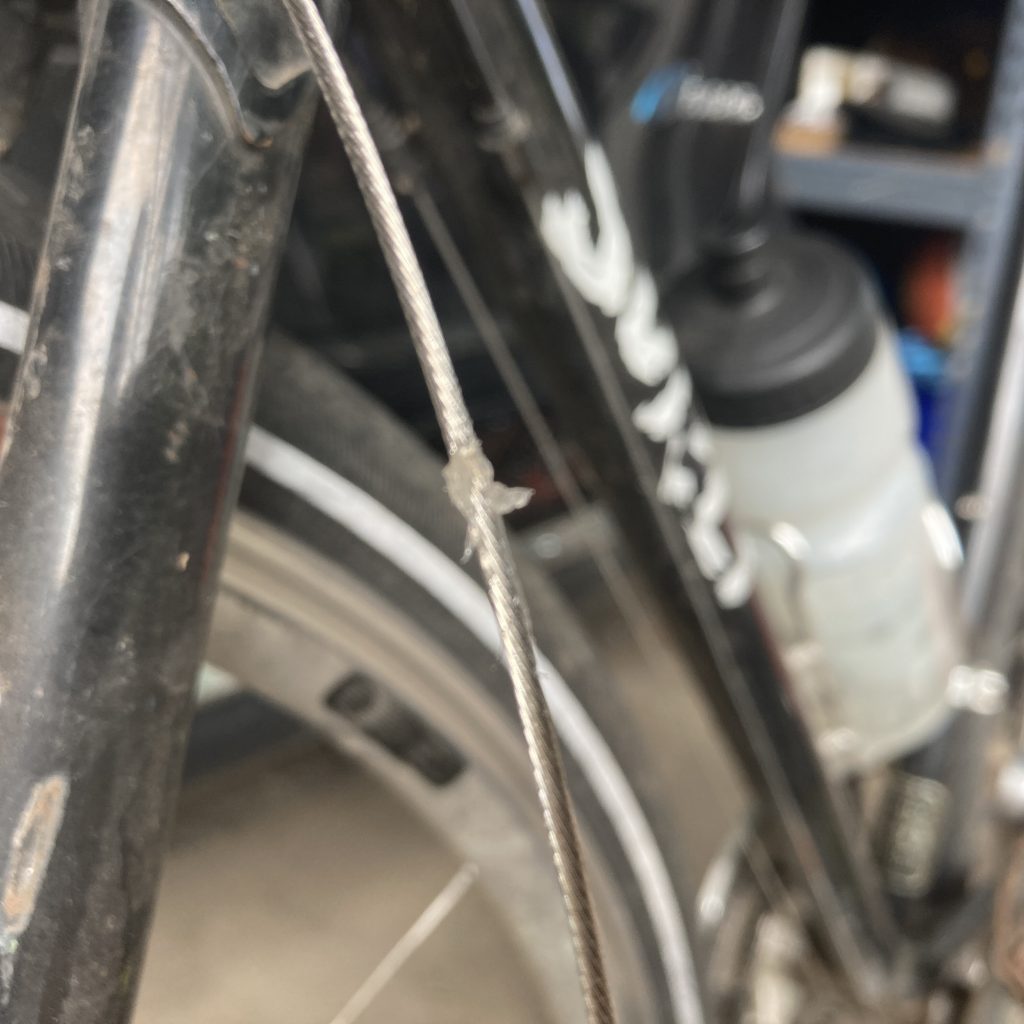
Then I added enough solder to soak into the cable and create a “solid” section:
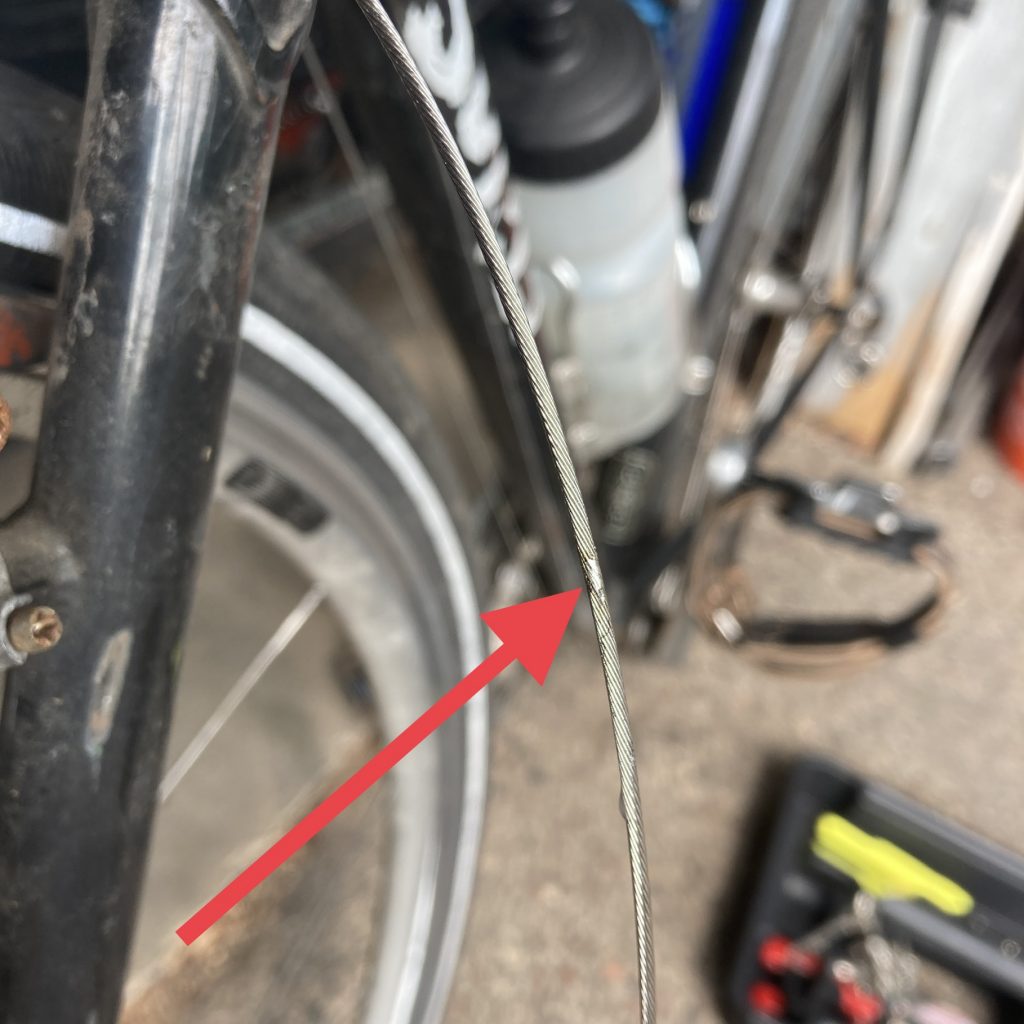
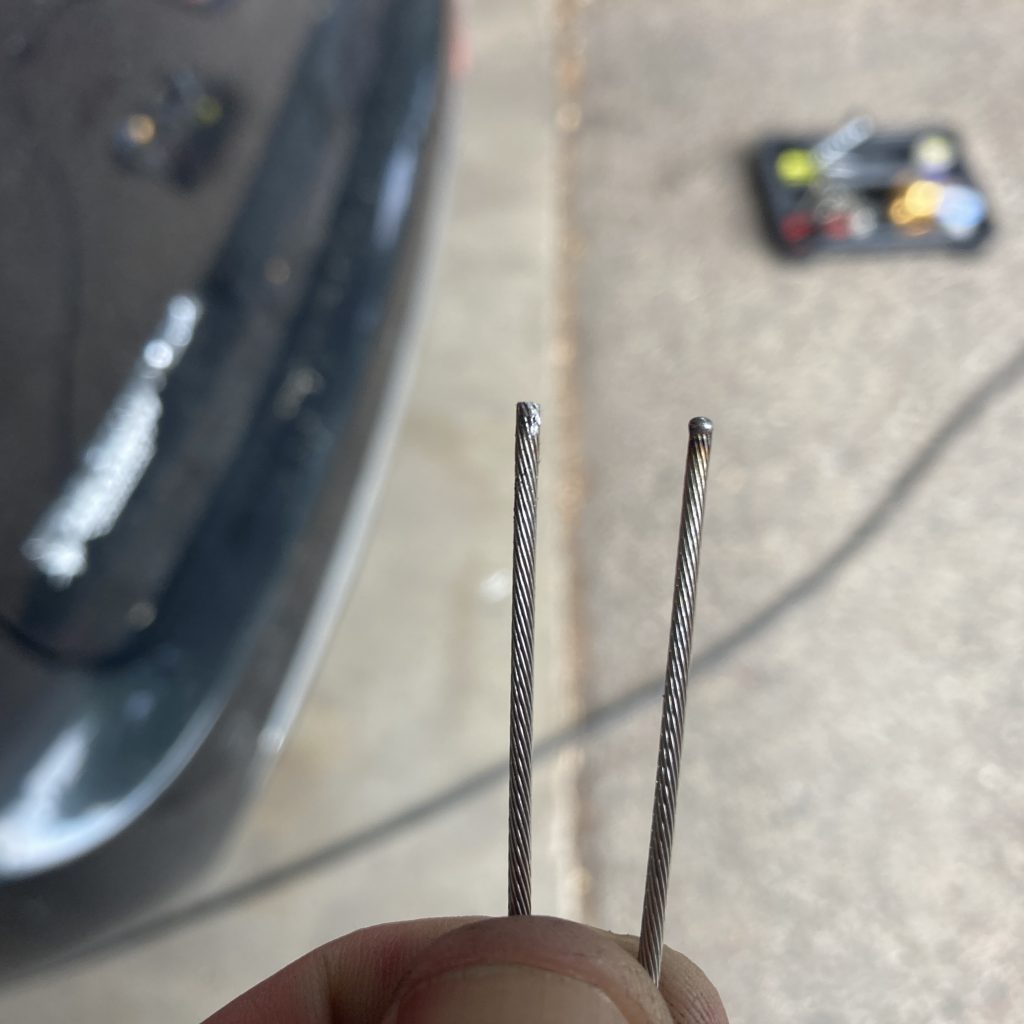
I cut it and it turned out pretty good. In the image below you can compare the soldered section (left) with the original spot-welded section (right).
Bar Tape
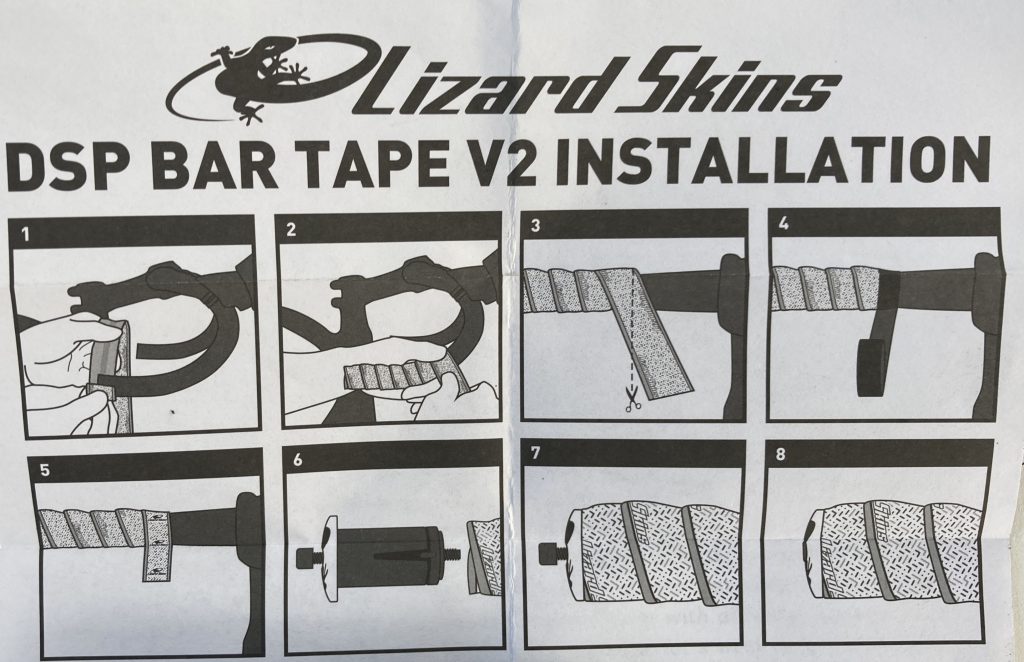
If you’re anything like me I suggest setting aside a couple hours for this project as you’ll be wrapping (and re-wrapping) your bars to get it just right. Two reference materials I kept close at hand were the Lizard Skins instruction diagram:
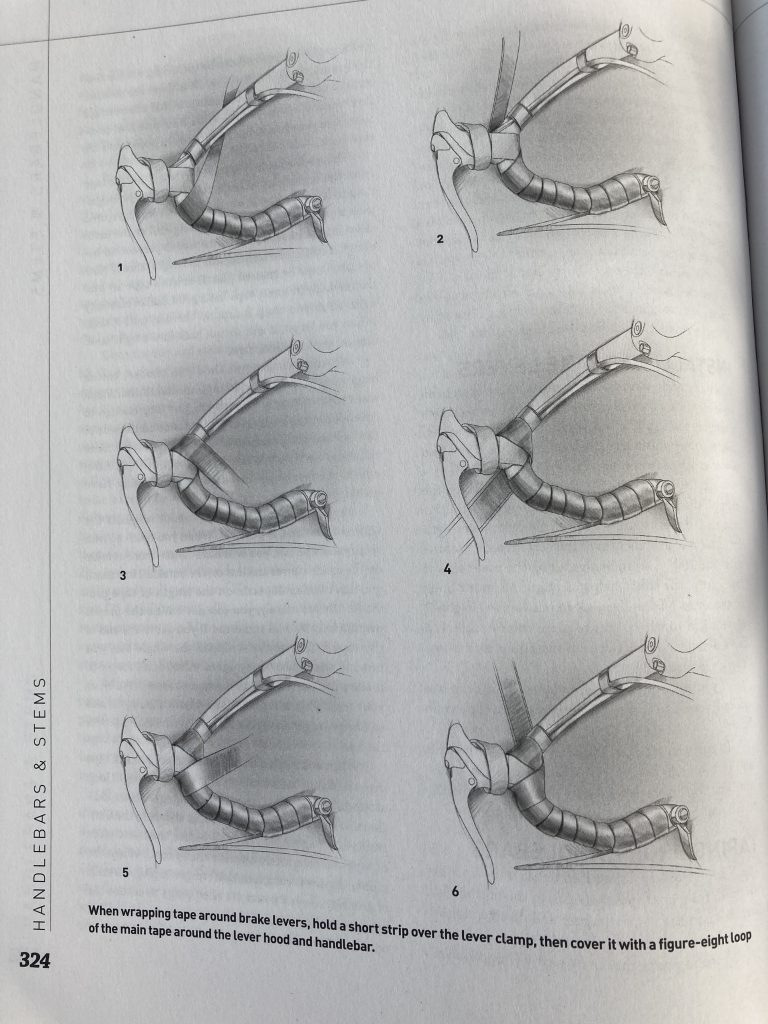
And the figure-8 diagram for going around the brakes out of my Bicycling Guide to Complete Bicycle Maintenance & Repair – as they don’t cover this part in the Lizard Skins guide:
You can see I kept this diagram open (in the grass) to reference as I was taping the bars.
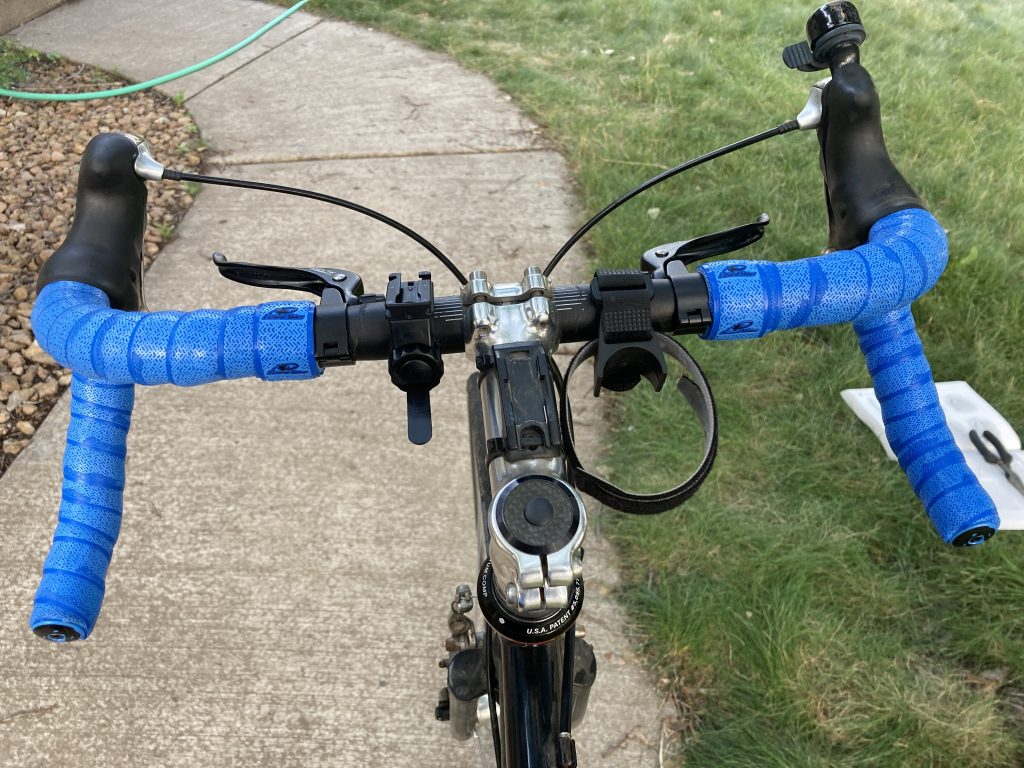
You can also see in that photo that I wrapped the right side wrong coming off the main brakes.
That mistake may have cost me $40 in handlebar tape 😩 I only wrap my bars once every 5 years or so. Next time I might practice with a strip of paper and memorize that figure 8 pattern.
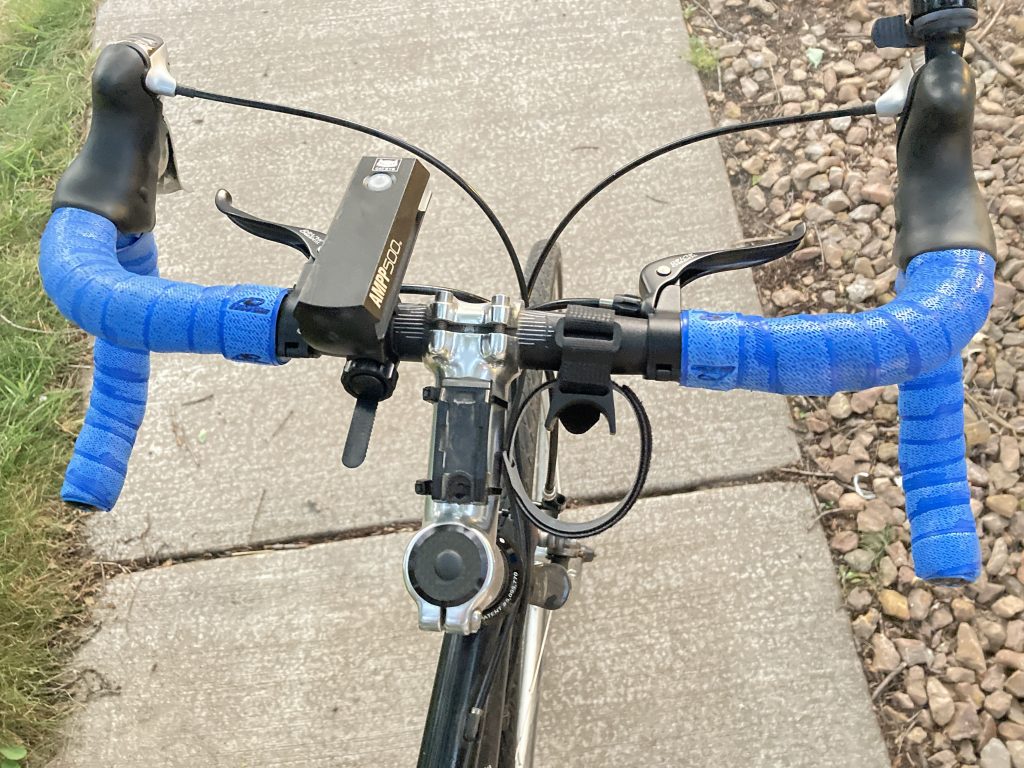
I did manage to undo and redo it correctly. Notice the tape angles are all symmetrical. We’ll see if it holds 🤞
Post-Ride Verdict
The top levers work great – I don’t have to frantically move my hands from the tops to the hoods if I need to brake quickly.
I like the bar tape so far, the best part is Lizard Skins come with screw-tighten bar ends. My old Cinelli bar tape had press-in ends that would fall out on occasion.
Leave a Reply