Last summer, I enlisted my moms help in hacking my cheap Ikea chairs (the Stefan chair, if you’re wondering). I wanted something a little classier with more padding and a removable cover for washing. Ikea sells chairs I wanted but they were more than I wanted to spend. I knew I could upscale mine on the cheap. So, with my moms help and lots of free foam from my great aunt (who recovers “davenports”), we came up with this:
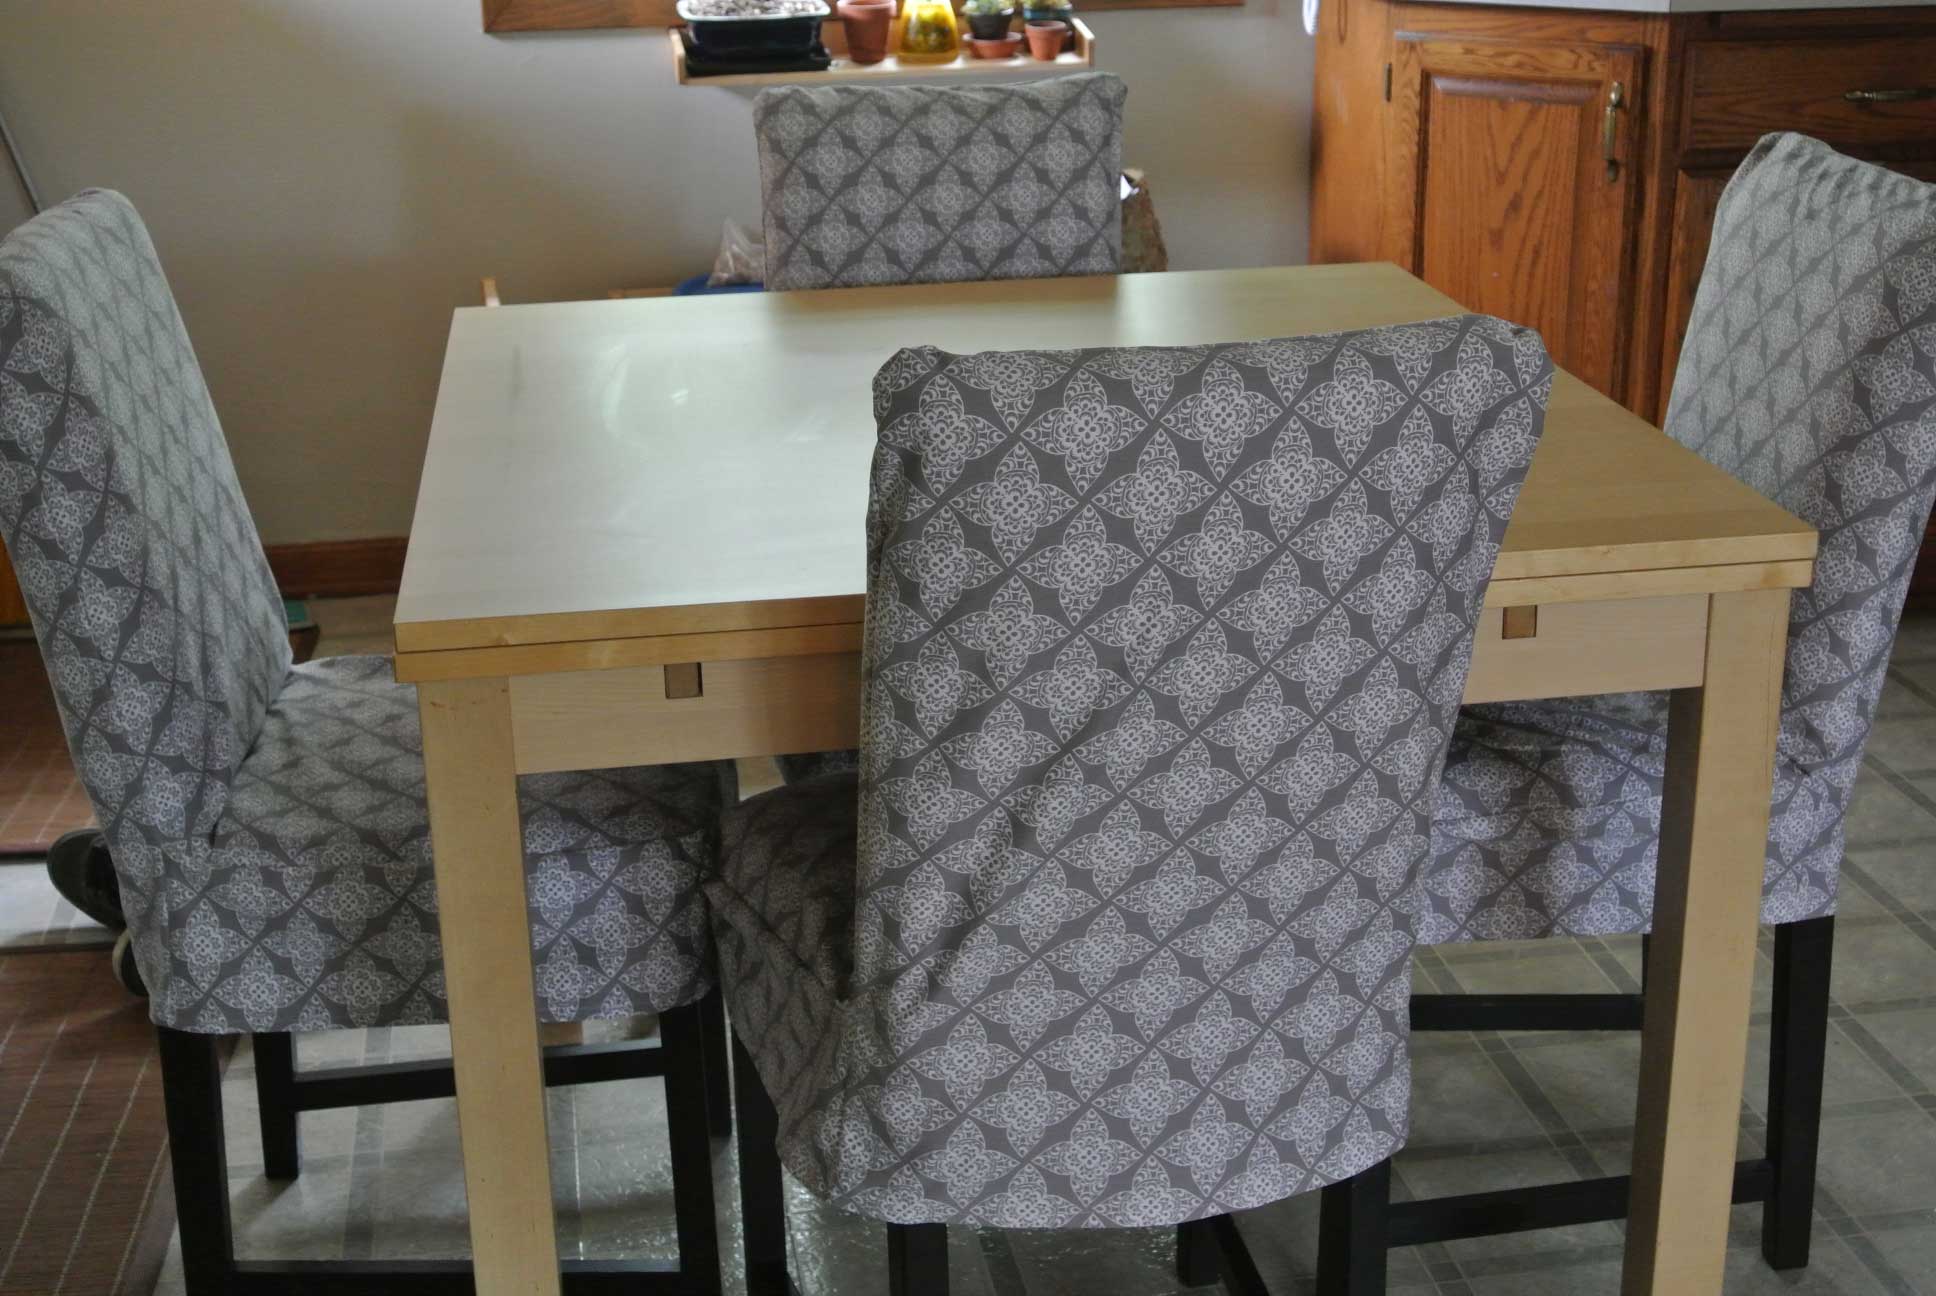
Nice, eh? Wanna class up you chairs? Here’s a tutorial! (I’m not an expert. This is just how I did it and it worked for me.)
Supplies:
Staple gun
Scissors
Marker
Foam (2 or 3 inches thick. Mine was about 4 inches thick so I had to cut it in half.)
Electric knife
Spray adhesive
Batting
Fabric (Liner and decorative. My liner was a stretchy woven and my decorative was also woven but not as much stretch.)
Chairs
The only items I purchased was: Spray adhesive, batting and the fabric. My Great Aunt gave me the foam and liner fabric. So all in all I spent about $50 for those three items and I still have fabric left over!
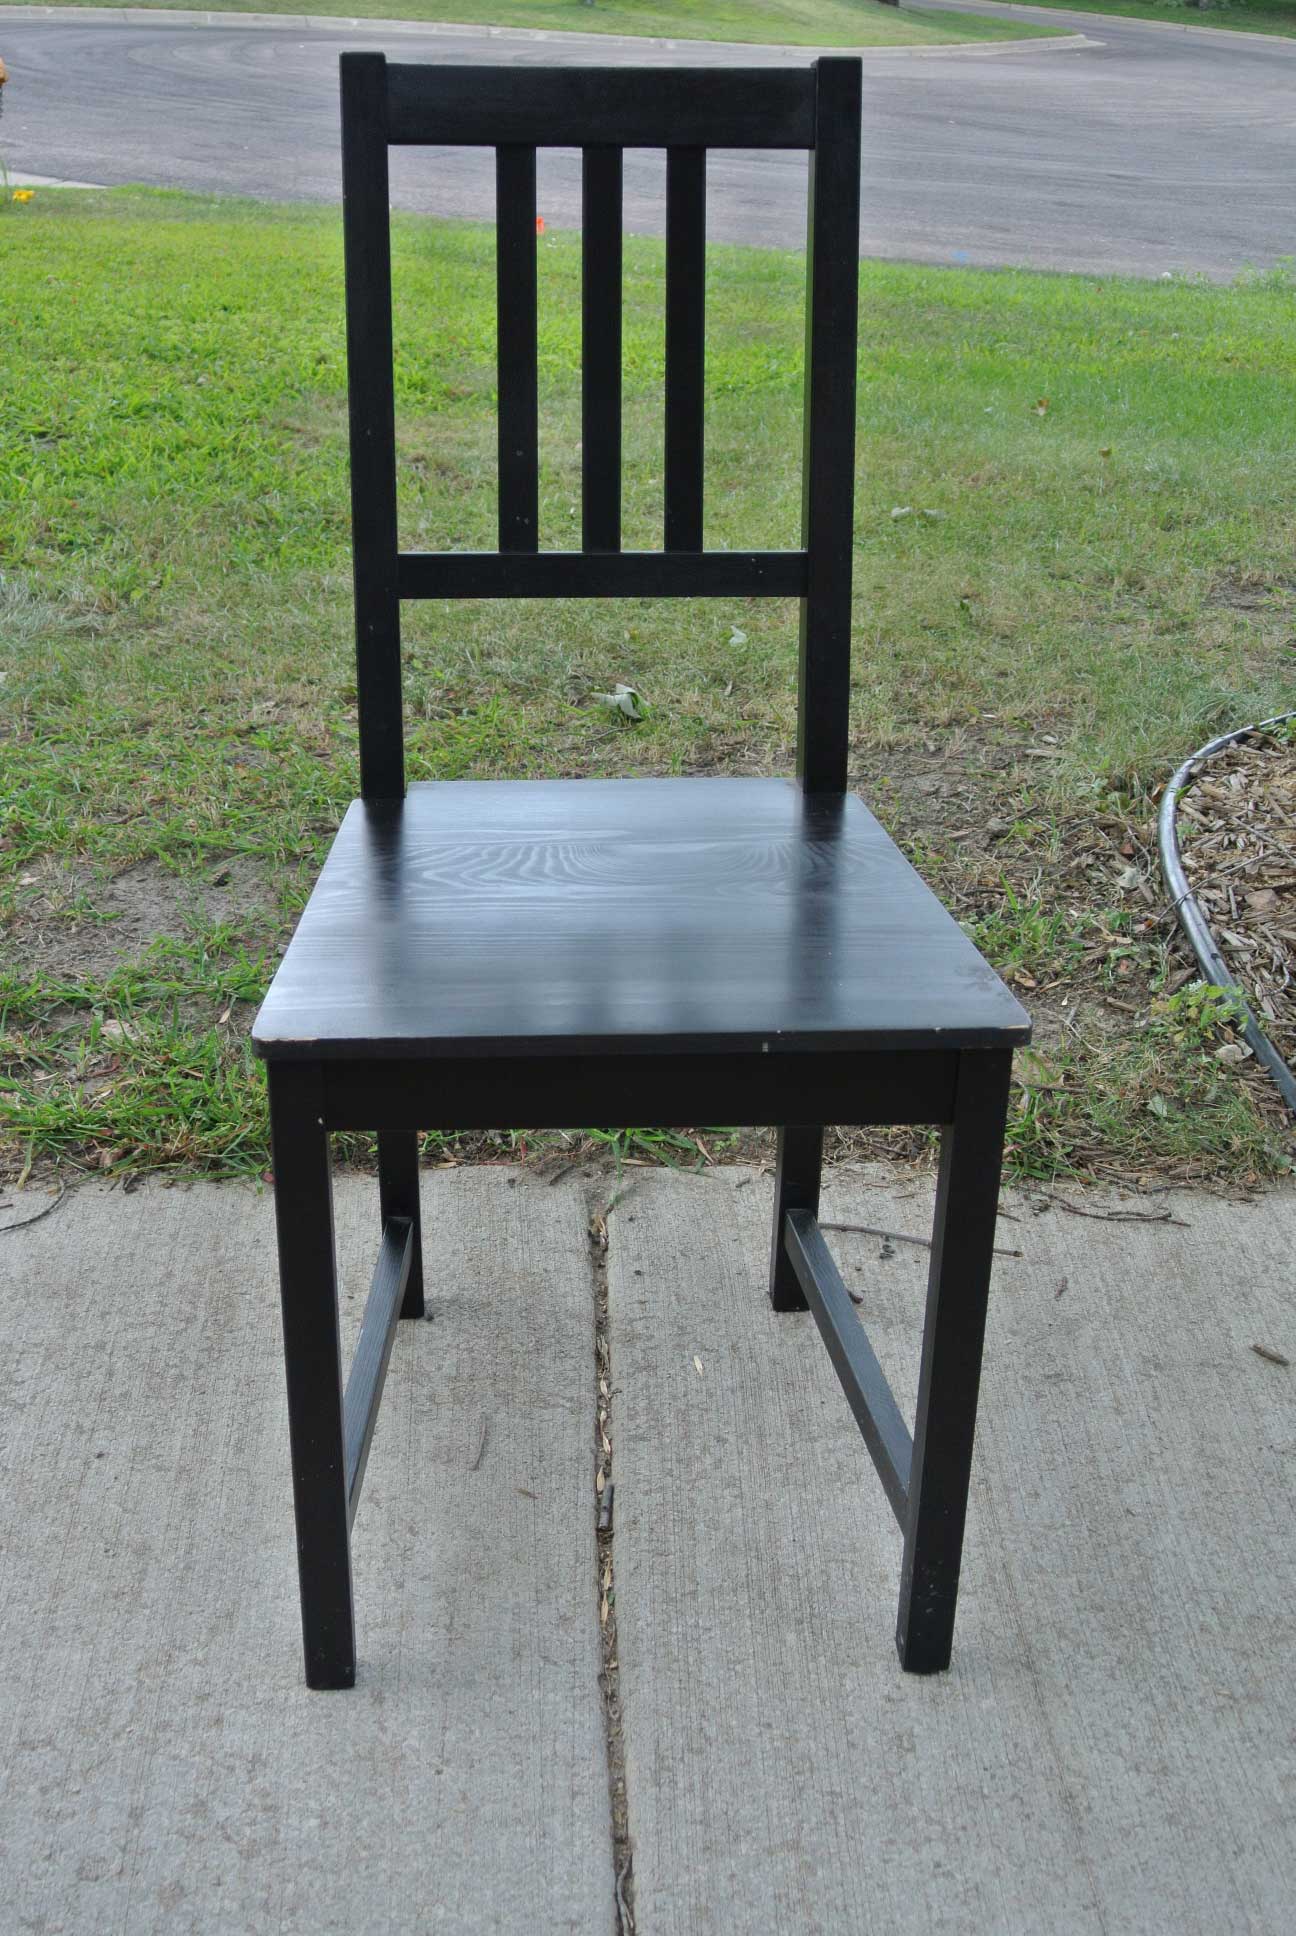
Ikea recommends tightening furniture occasionally. If your chairs are rickety, go ahead and tighten up things. Don’t worry, you won’t be covering any screws.
First, measure your foam to the size of your chair base and cut it using the electric knife. If you had cushions like I did, you can use them as a template. Take the foam piece and cut out your fabric the same shape with about 2 inches extra around. Do the same for the back foam (don’t worry about the fabric for the back yet).

Here I’ve cut it to size but I need to shave off a few sections in the front. I used my scissors to trim. I also added a piece on the side to make sure the seat is completely covered. Some of the foam I received was shaped oddly so I had to improvise on a few of the chairs. Once I got it right, I started with the bottom first, spraying the adhesive and sticking the bottom cushion to the chair.
Lay the fabric you cut on top of the foam, pull it even and start stapling! I stapled once on one side, then the opposite and so on. This way I could evenly stretch the fabric and get a smooth look.


Now, do the same for the top of the chair. I only added foam to one side of the chair (where your back is) but you could do both sides. It just becomes really bulky if you do both sides. Spray the adhesive to the chair and stick the foam. For the fabric, measure the width and height from the seat to the top of the chair and cut out and sew.

I cut the fabric on the fold so I only had to sew up two sides.
Take some batting and wrap it around the foam. You can add as much as you want. I cut a big piece and folded it over the top and wrapped it around to the back. I used the spray adhesive to hold it in place. Add batting to areas that feel lumpy. You want it smooth.

My batting ripped a little. No big deal, just smooth it out.

The back. I just wrapped it around and smoothed it.
Now slide the fabric over the foam. It should fit snugly. Just tuck the bottom in.

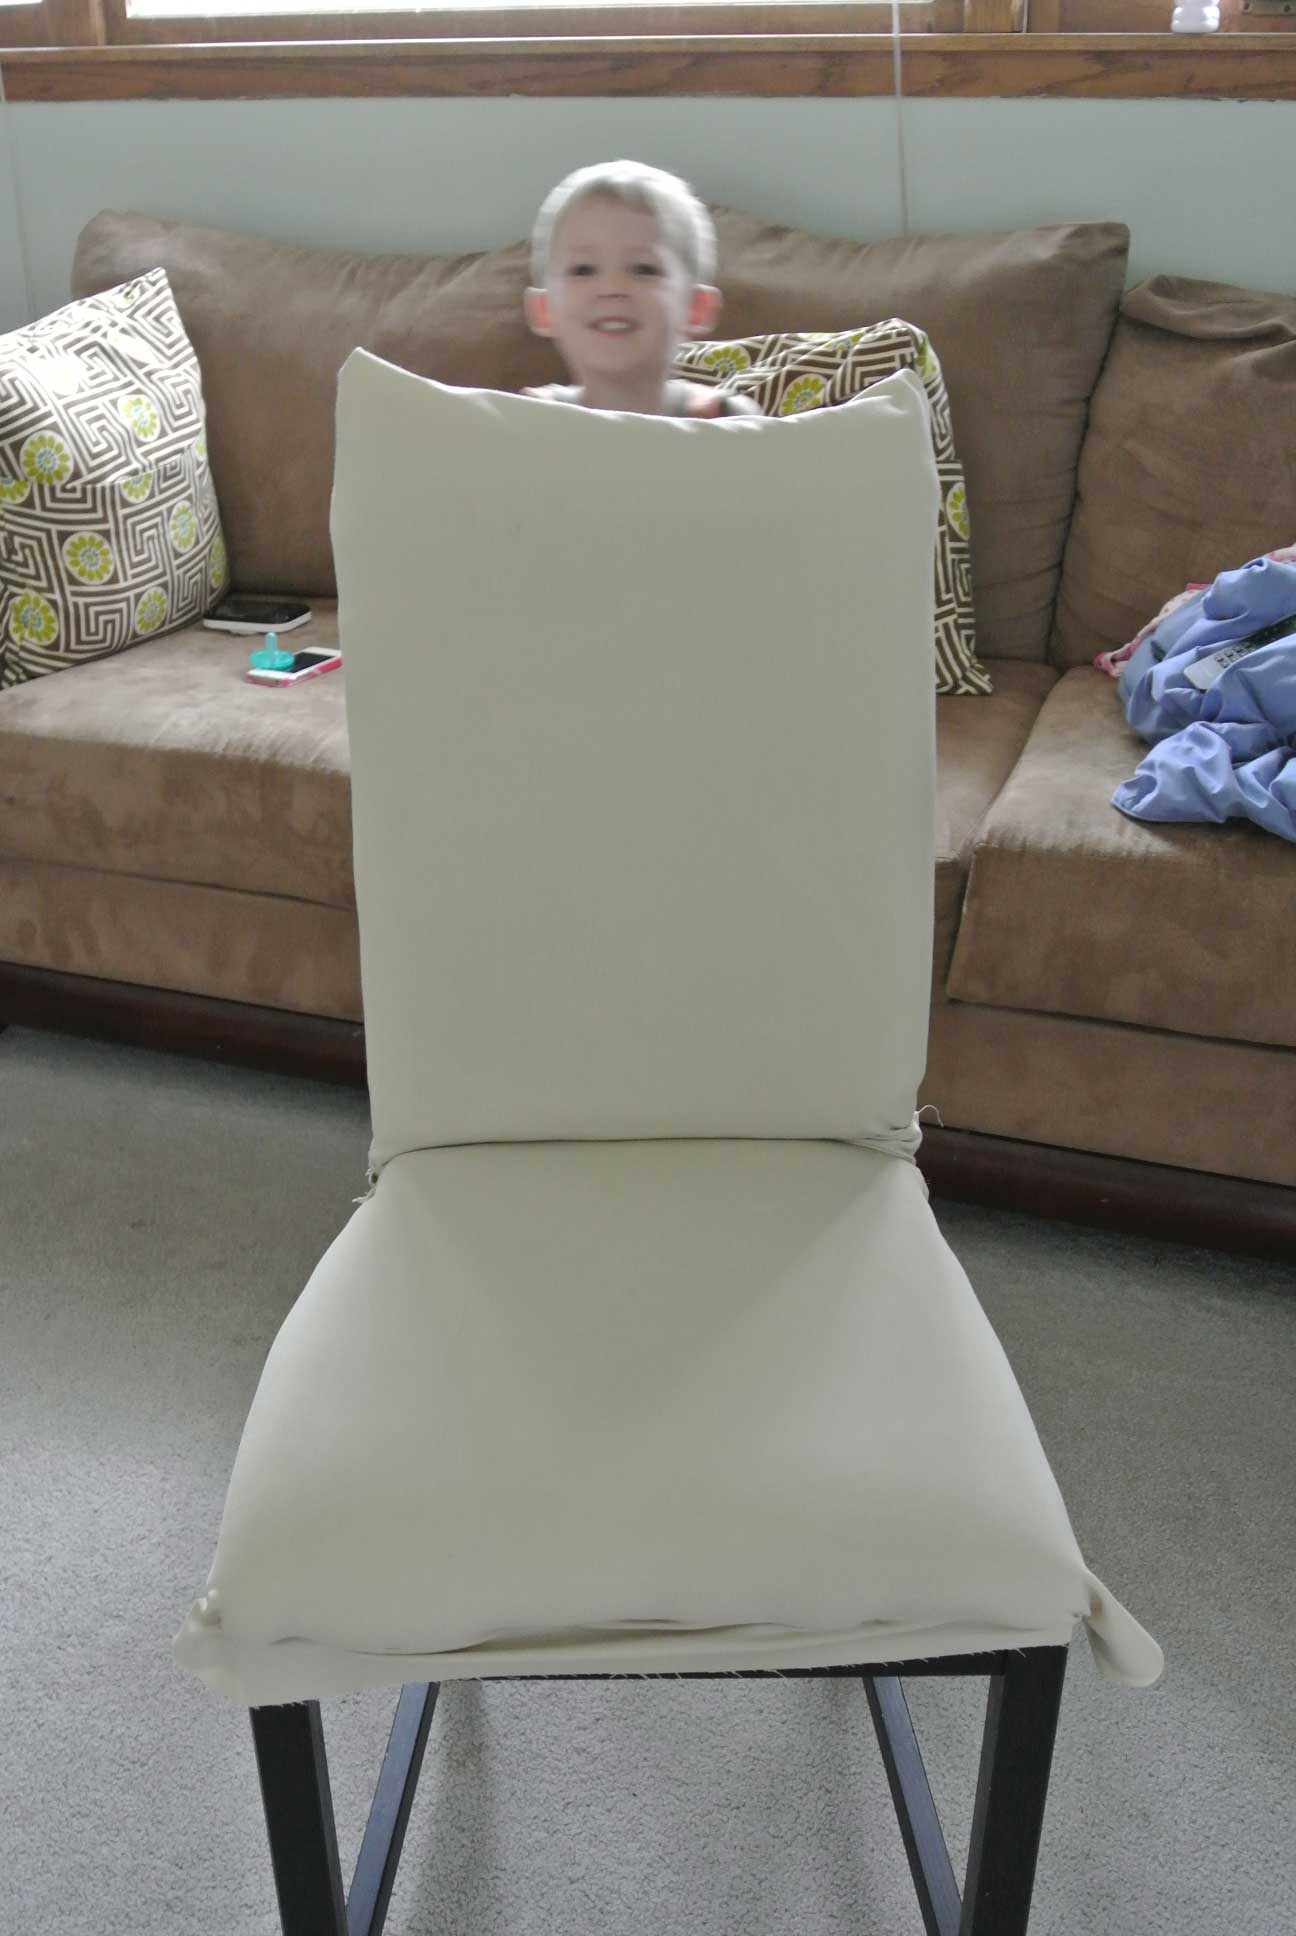
Hey there little helper!
Almost done! Now you can trim the excess from the bottom and shape the top so it’s even on the corners.
From here, you can make your own slip cover using your favorite method. We made a little skirt to hide the staples and to give it a square look.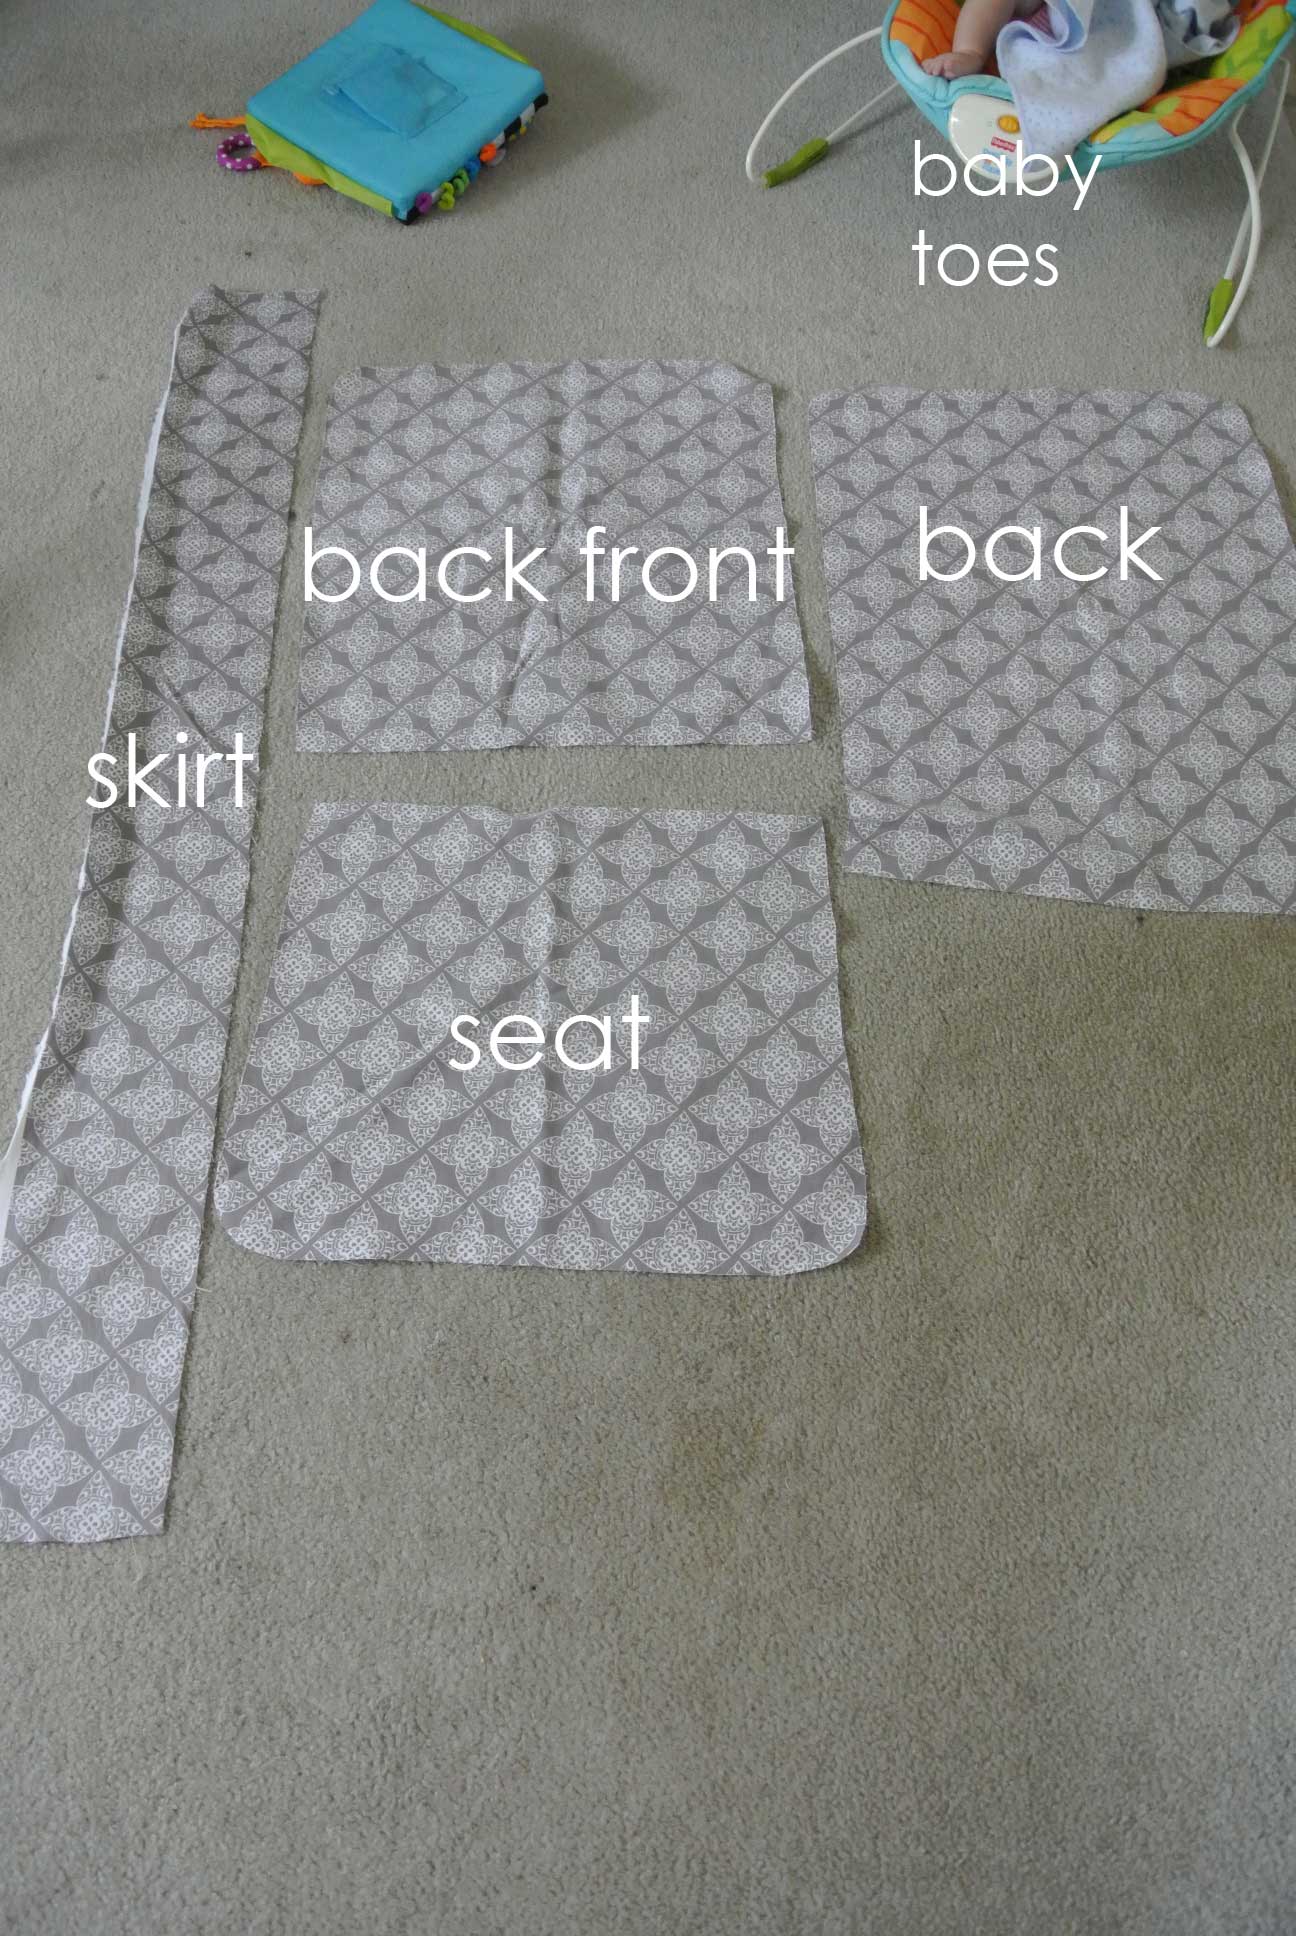
I used the same template for the base for the seat shape and the backs have curved corners. Your measurements may vary depending on the chair you use but my measurements were:
Back: 24″ x 17″
Back Front: 19″ x 17″
Skirt: 49″ x 6″
Seat measures: TOP 16 1/4″ BOTTOM 18 1/2″ with curved corners. The height is 15 1/4″
I sewed the SKIRT around the SEAT BOTTOM then the BACK FRONT to the BACK and connect the two pieces (seat to back). I hemmed it and that was it!
I’m so happy with the way they turned out. I like how I can make other covers in different colors. If I do make another set, I think I’ll add piping to class them up even more.
Thanks to my mom for helping me get started!